Adding Music to Photos: A Simple Guide for 2026
Learn how to start adding music to photos for tributes, reels, or stories. Our simple guide covers mobile apps, online tools, music choice, and sharing.
You probably have the photo open already.
It might be a faded scan of your parents dancing, a memorial portrait you want to include in a service slideshow, or a single birthday snapshot that deserves more than a silent post. Those who add music to photos are usually not trying to complete a technical task. They're trying to hold onto a feeling and make someone else feel it too.
The best results usually come from one simple shift in thinking. Pick the music first, decide what kind of memory you want the image to become, and only then choose the app or editor. That order saves time, avoids copyright headaches, and leads to something that feels intentional instead of assembled.
Table of Contents
- From Still Photo to Moving Memory
- How to Choose the Right Music for Your Photo
- Quickly Add Music on Your Phone
- Gaining Control with Online and Desktop Tools
- First Animate Your Photo for a Professional Look
- Finalizing and Sharing Your Musical Photo
From Still Photo to Moving Memory
A meaningful photo can carry a lot on its own, even if it's imperfect. Creases, soft focus, dust from an old scan, or the warm cast of an aging print often add to the feeling rather than take away from it. Music gives that still frame duration, pace, and emotional direction.
The part that confuses many people is that a photo with music is no longer just a photo. When users add music to a static photo, the image technically converts into a video file because audio has a duration. This conversion is automatic in most editors: once an audio track is added, the software creates a timeline where the image persists for the exact length of the audio clip, effectively rendering the photo as a video and exporting it as an MP4, as described in Kapwing's image-to-audio workflow.
Why this matters in practice
Once you understand that you're making a short video, a lot of tool behavior starts to make sense.
- Export format changes: You won't save the final piece as JPG or PNG. You'll export a video file, usually MP4.
- Timing becomes part of the craft: A still image now has a beginning, middle, and end because the soundtrack gives it length.
- Platform behavior feels less mysterious: Apps treat your musical photo more like a reel, story, clip, or slideshow than a plain image upload.
Practical rule: If sound is part of the project, think in terms of timeline, trim, and export, not just upload.
A simple mental model
Treat the process like this:
- Choose the photo you care about most.
- Choose the feeling you want the viewer to have.
- Choose the music that supports that feeling.
- Place the image on a timeline and let the audio determine the length.
- Export as video and share it where video is supported.
That's why adding music to photos feels easy in some apps and awkward in others. The app isn't attaching sound to an image file. It's automatically building a video around the image for you.
How to Choose the Right Music for Your Photo
You find one photo that matters. It might be a faded graduation portrait, a creased wedding snapshot, or the last good picture of a parent that everyone in the family recognizes at once. Before you touch any app, choose the music with care, because that decision shapes the memory more than the editing tool does.
I usually make the music choice first, especially for tribute pieces. It gives the project a clear emotional direction, and it helps you decide whether the photo should stay still, drift slowly, or be animated later with a gentle push-in or facial movement. That small planning step often separates a simple social post from something that feels like a finished remembrance.
Start with the feeling, then test the fit
A song can soften an old photo, add warmth to an ordinary snapshot, or push the mood too hard and make the piece feel forced. The goal is alignment.
For family history work, I start by asking a plain question: what should this photo feel like when someone watches it for the first time? Reflective. Grateful. Playful. Proud. Once that answer is clear, the music choices get narrower in a helpful way.
Non-vocal music is often the safest option for older family photos and memorial images. They leave room for the viewer's own memories, and they do not compete with faces, dates, uniforms, or small details people want time to notice. Lyrics can work well for birthdays, anniversaries, and graduation pieces, but only if the words support the moment instead of spelling it out too explicitly.
A few combinations tend to work reliably:
- Memorial or remembrance photos: soft piano, strings, sparse acoustic guitar
- Anniversary or wedding images: warm jazz, gentle love songs, light pop tracks
- Graduation portraits: hopeful pop, reflective acoustic tracks, songs with a sense of forward motion
- Childhood or playful family snapshots: bright but restrained rhythms, ukulele, light folk, upbeat oldies you have permission to use
If you need ideas for that last category, this list of songs for a graduation slideshow is a useful starting point.
Choose music that can carry a single image
One still photo does not need a huge arrangement with dramatic shifts every few seconds. In practice, simpler tracks hold attention better. You want a clean opening, a steady emotional tone, and an ending that does not feel abrupt.
This matters even more if you plan to animate the photo later. A subtle zoom, a parallax move, or a light facial animation looks more convincing when the soundtrack has space in it. Dense, busy music can make a short piece feel crowded, while a measured track gives the image room to breathe.
I have found that this order works best for meaningful tribute projects:
- Pick the photo.
- Decide the emotion you want to preserve.
- Choose the song or accompanying music.
- Trim the music to the strongest section.
- Then build the visual movement around that section.
That workflow saves time and usually produces a more polished result.
Handle licensing before you get attached to the song
Many personal projects derail due to this issue. A perfect song becomes unusable if the platform mutes it or blocks the upload.
If you are posting only inside a platform such as Instagram, use that platform's music library. Those tracks are cleared for that environment, which reduces the chance of takedowns or muted audio. If you want to export the piece, text it to relatives, upload it to multiple platforms, or play it at a service or reunion, use royalty-free music or license the exact song you want.
The trade-off is simple. Popular commercial songs carry strong emotional recognition, but they also bring the most restrictions. Royalty-free tracks are easier to reuse and share, though they may feel less personal unless you choose carefully.
A safe shortlist looks like this:
- Platform music libraries for quick posts that will stay on that platform
- Royalty-free music for tribute videos you want to export and reuse
- Properly licensed commercial songs when the song is part of the story and broad use matters
The right music should do two jobs at once. It should honor the photo, and it should still be there when you are ready to share the finished memory.
Quickly Add Music on Your Phone
For many, the phone route is enough. It's fast, familiar, and good for short social posts or a simple keepsake clip you want to send to family.
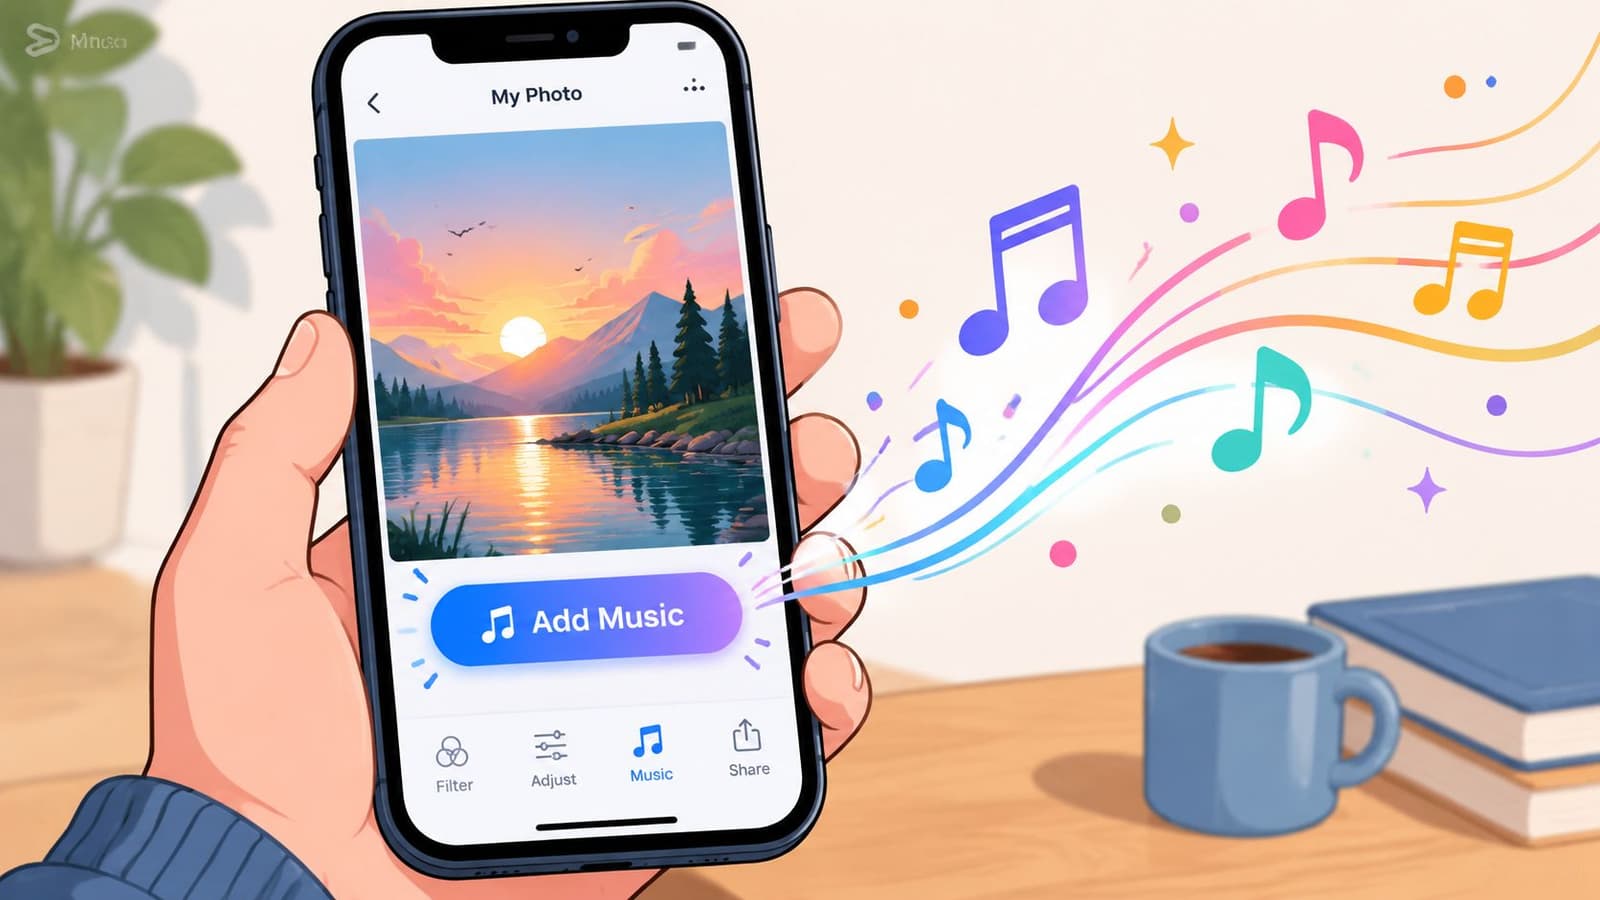
The trade-off is control. Phone apps are great when you need speed. They're less satisfying when you care about exact timing, subtle fades, or syncing a musical phrase to a facial expression or moment in the image.
Use Instagram for the fastest version
Instagram has supported music in Stories since June 28, 2018, when it introduced the feature so users could “add a soundtrack to your story that fits any moment,” as discussed in this piece on Instagram's music feature launch. For a quick result, this is still the easiest route.
A simple workflow looks like this:
- Open Instagram and create a Story or Reel.
- Add your photo.
- Tap the music option and choose a track from Instagram's library.
- Trim the section you want.
- Adjust the display style if you want album art, lyrics, or a smaller sticker treatment.
- Publish, or save a draft if you want to review it first.
This method works best when your goal is immediate sharing inside Instagram. It's convenient because the music is already licensed for platform use, and you don't need to manage external audio files.
Use a dedicated mobile editor when timing matters
If you want more control, use a mobile editor such as CapCut or another timeline-based app. These apps let you place the photo manually, trim the clip length, lower or raise music volume, and add fades.
What usually works well in a phone editor:
- Start with the photo duration: Give the image enough screen time for the music to land emotionally.
- Trim the song to one meaningful section: A verse, chorus, or intro often works better than trying to use too much.
- Add a gentle audio fade: It helps the piece feel finished instead of abruptly cut.
This walkthrough shows the kind of phone-first workflow many people use: BLOG_YOUTUBE_EMBED:txQ1postya4
A dedicated app is the better choice if you want to save the final video outside a social platform, send it on WhatsApp, include it in a memorial slideshow, or reuse it later in a longer edit.
Native social apps are for speed. Mobile editors are for control you can still manage from the couch.
Gaining Control with Online and Desktop Tools
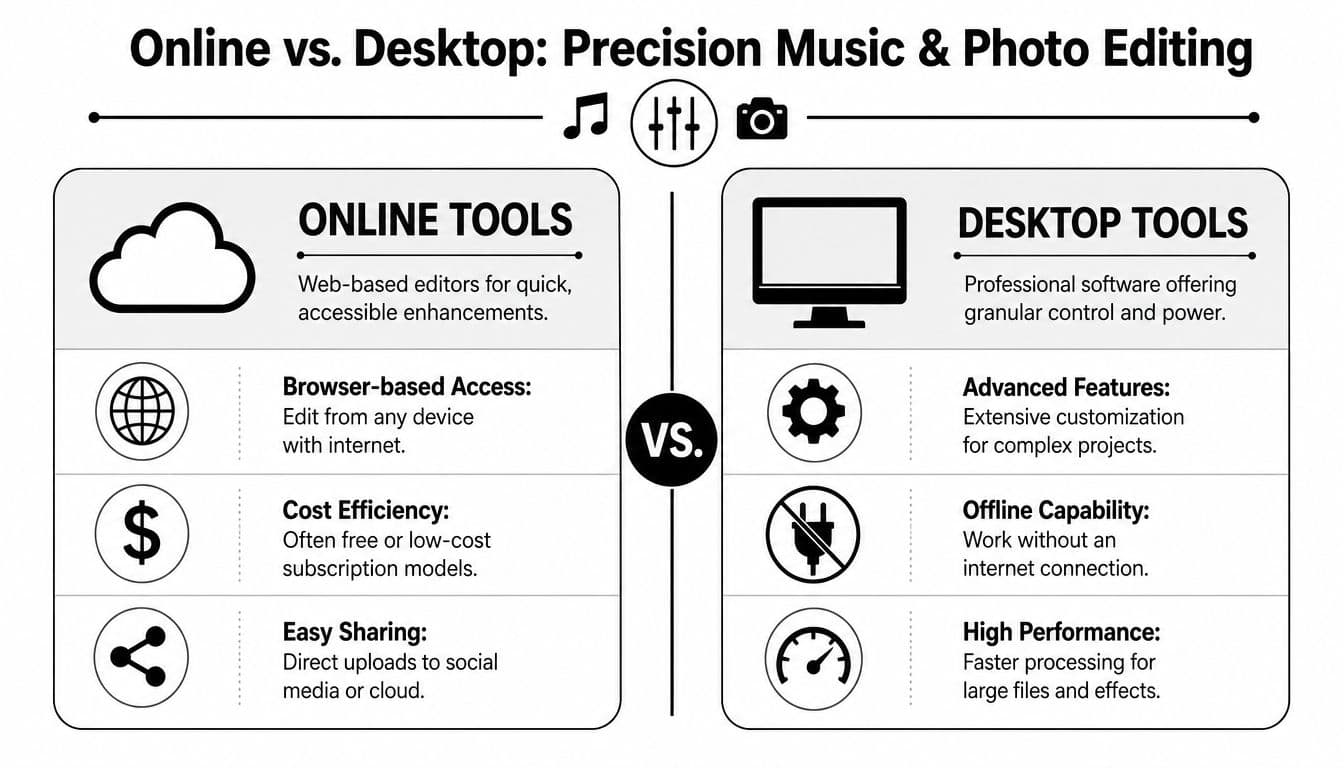
Once you want cleaner timing, better exports, or more than one revision, phone editing starts to feel cramped. That's when browser-based tools and desktop software become worth it.
When online tools make sense
Online editors are the easiest next step if you don't want to install anything. Tools like Kapwing are useful for one-off tribute clips, quick social edits, or projects you're building on a borrowed or shared computer.
They're a strong fit when you need:
- Fast access: Open a browser, upload the image, add audio, export.
- Simple collaboration: A family member can review the project without learning desktop software.
- Low friction: No setup beyond signing in and starting.
The downside is that browser tools can feel limited once you need layered edits, longer timelines, or repeated fine-tuning. If you often adjust sync by tiny increments, a desktop app tends to feel steadier.
For anyone trying to line up image changes and soundtrack cues more precisely, this guide to syncing audio with video is a useful companion.
When desktop software is the better choice
Desktop editors such as iMovie or Clipchamp are usually the better home for more polished family projects. They give you more room to work, especially when one photo turns into many photos, title cards, spoken audio, or a full memorial program.
Here's a practical comparison:
| Tool type | Best for | Main trade-off |
|---|---|---|
| Online editors | Quick projects, easy access, minimal setup | Less comfortable for detailed revision |
| Desktop software | Longer tributes, layered edits, repeat exporting | Slightly higher learning curve |
A few patterns hold up well:
- Choose online tools if this is a short, single-photo memory and you want it done today.
- Choose desktop software if you're building something you may revise several times.
- Stay with one tool per project once you've started. Constantly hopping between apps creates audio drift, duplicate exports, and unnecessary confusion.
The best editor isn't the most powerful one. It's the one that lets you finish the piece without fighting the interface.
First Animate Your Photo for a Professional Look
A static image with music can be touching. A gently animated image with music usually feels more complete.
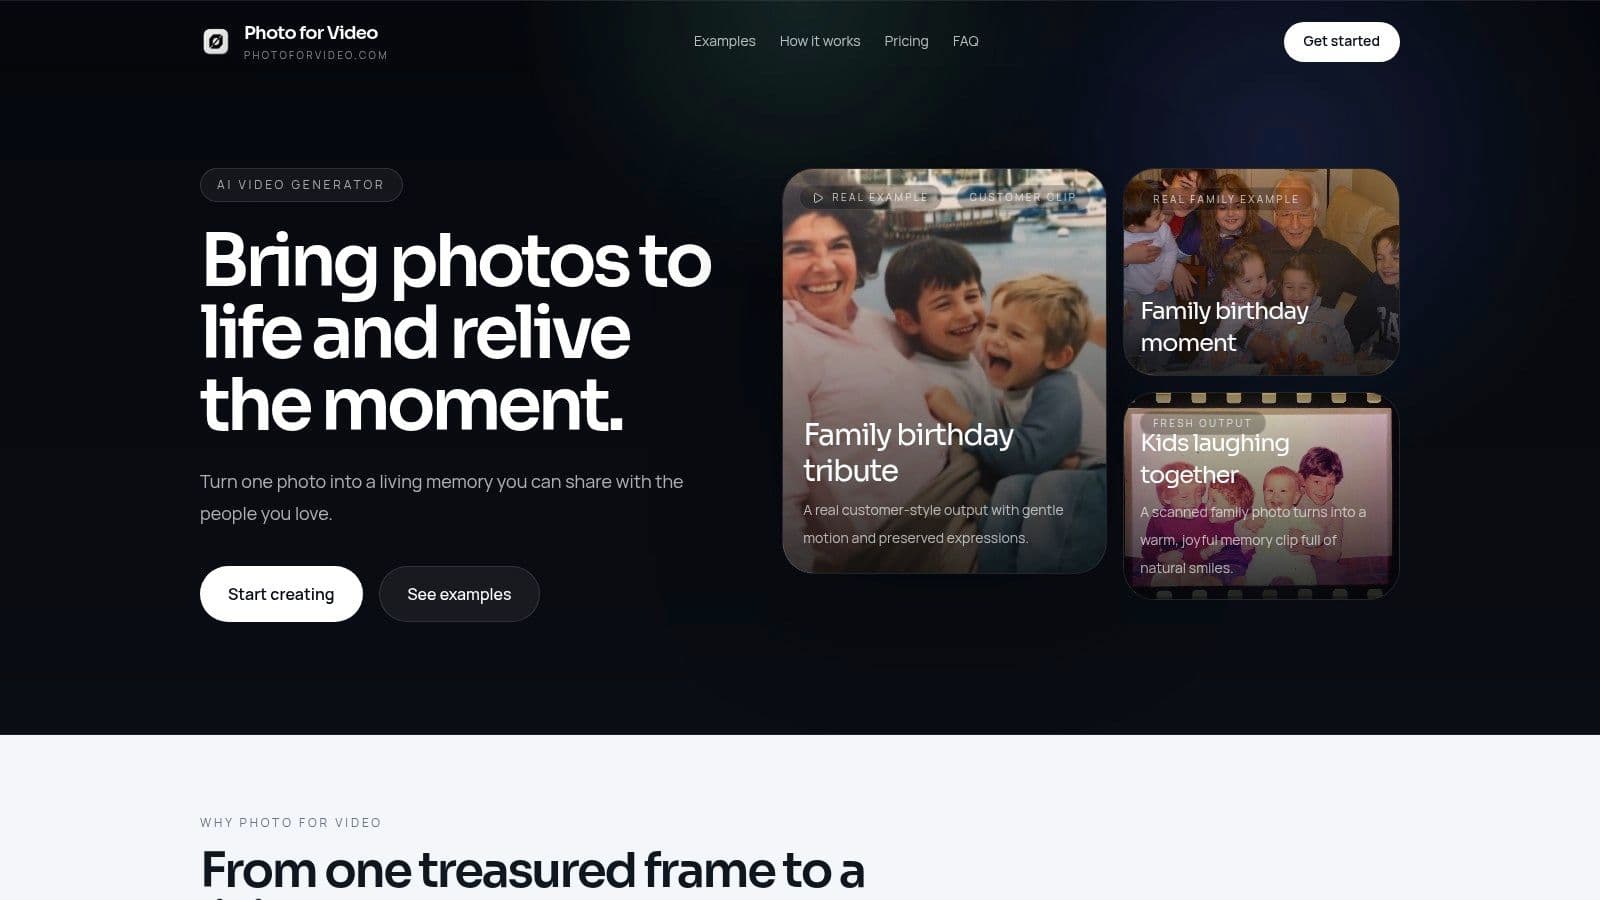
That's because motion gives the soundtrack something to hold onto. Even a small camera move, a slight push-in, or a subtle shift in expression can make the final piece feel less like a slide and more like a memory unfolding.
Why motion changes the emotional impact
Old family photos often have natural texture already. Film grain, faded corners, and soft exposure can create an atmosphere that polished modern edits sometimes lose. Animation works best when it respects that character instead of trying to overwrite it.
For memorials and anniversaries, subtle motion is usually the strongest choice. A drifting camera move or light facial motion can add presence without making the image feel artificial. That matters with sensitive material. The goal is to deepen the moment, not turn it into a gimmick.
If you want to explore that approach further, this guide on how to animate a photo shows the kind of motion prompts and results that tend to work best.
What kind of animation works best
The most effective movement is usually restrained.
- Slow push-in: Good for portraits and wedding photos.
- Gentle parallax feel: Useful when the background has visible depth.
- Soft environmental motion: Best when you want atmosphere more than drama.
What usually doesn't work is exaggerated movement on a solemn image. Fast zooms, heavy shake, or novelty-style effects can clash badly with a tribute soundtrack.
A photo should look like it's breathing a little, not performing.
This is one of the simplest ways to make adding music to photos look more professional without making the process harder. Start with the motion. Then lay the soundtrack over a clip that already has life.
Finalizing and Sharing Your Musical Photo
The last stage is where a heartfelt piece can still lose polish. I see this happen with tribute videos built from excellent material. The photo is right, the song choice is thoughtful, the motion is restrained, then the export is rushed and the result feels homemade in the wrong way.
Before you share anything, watch the finished piece once as a viewer, not as the editor. Let it play through on the same kind of device your family will use. Old scanned photos, faded prints, and softly restored portraits often look beautiful in a simple edit, but weak audio balance, a clipped ending, or the wrong file format can pull attention away from the memory.
A final export checklist
Use this as a last pass before sharing:
- Export as MP4: It is the most dependable format for a photo-and-music project because what you are posting is a video file.
- Watch the ending without touching the screen: The last second matters. If the music cuts off or hangs too long on black, trim it again.
- Check volume balance: The song should support the image and any spoken words, not dominate them.
- Test on a phone before posting: Desktop playback can hide problems that become obvious on a phone speaker.
Loop quality in Instagram Reels matters more than many people realize. If your clip restarts harshly, the piece feels less intentional. A cleaner approach is to trim to a musical phrase or beat so the ending returns to the beginning with less friction, as shown in this Instagram-focused post on looping audio technique.
Instagram pitfalls worth knowing
One frustrating problem is platform behavior that has nothing to do with your editing. Users have reported that adding alt text to a photo post with music can cause the audio to disappear, as described in this Reddit discussion about Instagram music not playing on picture posts.
A practical response works best:
- Save a copy of your final video outside the app.
- Test the post before you assume the audio is intact.
- If the music drops, try a simpler posting flow and see if the issue repeats.
A final restraint is worth keeping in mind. Tutorials often suggest that adding music to a still image will automatically increase reach in short-form feeds, but the available material does not confirm that. Build for the family member, friend, or audience who will watch it. A fitting song, careful trim, and respectful presentation usually matter more than trying to satisfy an algorithm.
A well-finished musical photo feels settled. The image has a little life, the music belongs there, and nothing technical distracts from the person or moment you are trying to honor.
If you want a still image to feel more alive before you add the soundtrack, Photo for Video is built for exactly that. It turns a single favorite photo, including old scans and family prints, into a short moving MP4 you can use in tribute edits, anniversary posts, memorial keepsakes, and reels. It's a practical way to create a more expressive base clip before you handle the music.