How to Get a High Resolution Photo: A 2026 Guide
Learn how to get a high resolution photo from any source. Our guide covers camera settings, scanning old prints, and AI upscaling for print or video.
You've probably got a photo like this sitting on your phone or in a shoebox right now. It's the one everyone loves. A grandparent laughing in the backyard, your parents on their wedding day, a child's blurry but perfect birthday moment. Then you try to use it for a tribute video or keepsake, zoom in, and the image falls apart.
That's usually the moment people assume the photo is unusable. Most of the time, it isn't. You just need the right path for the kind of image you have.
The important part is this. How to get a high resolution photo depends on where the photo starts. A new picture from a phone needs one workflow. A faded print needs another. A tiny file pulled from an old email needs a rescue job, not wishful thinking. And if your end goal is motion, not a giant wall print, the target is different. You need enough real detail, clean texture, and stable edges so the image holds up when it moves.
Table of Contents
- Your Guide to High-Resolution Photos
- Decoding What High Resolution Really Means
- Capturing New High-Resolution Photos
- Digitizing Old Prints and Negatives
- Enhancing Photos with AI Upscaling
- Prepping Your Photo for Video Animation
Your Guide to High-Resolution Photos
A lot of people start with the wrong question. They ask, “How many megapixels do I need?” The more useful question is, “What's the best version of this photo I can realistically make from the original I have?”
That shift matters. If you're holding a recent phone photo, you may already have enough detail and just need better export settings. If you've got an old print, the answer is usually a careful scan. If the only surviving copy is a compressed image someone texted you years ago, AI upscaling can help, but only after you clean up the file and set expectations.
For family archive work, the goal isn't sterile perfection. It's preserving expression, texture, and the feel of the original. That's especially true if the photo is headed into a moving memory project instead of a large print. Motion is more forgiving in some ways and less forgiving in others. It doesn't need poster-level density, but it does punish bad sharpening, clipped highlights, and crunchy noise.
Practical rule: A clean photo with believable detail beats a technically larger file with damage baked into it.
The workflow in this guide follows the same order I use when helping someone prepare an image they care about. First, figure out what “high resolution” means for your use. Then capture or scan the best possible source. Then enhance only if needed. If you want more help with restoration and animation-ready image prep, the Photo for Video guides library is a useful next stop.
Decoding What High Resolution Really Means
High resolution sounds technical, but the practical version is simple. Resolution is the amount of usable detail in the file. The number you should care about first is pixel dimensions, such as 3600x2400 or 4000x3000.
DPI and PPI matter too, but mostly in context. PPI describes pixel density on screens and in image files. DPI is a print term, describing how densely ink dots are placed on paper. People often mix them together, and in everyday conversation that's normal. But when you're checking whether a photo is good enough, start with the actual width and height in pixels.
Resolution is pixels first
For print, there are real benchmarks. Images need at least 150 DPI for clarity and ideally 300 DPI to avoid blurriness, and going above 300 DPI often creates larger files without visible gains. That standard is still used by 99% of commercial printers, and a 45-megapixel camera can produce a 27x18 inch print at 300 DPI without digital upscaling, according to the Kansas City Public Library printing guidance.
That's useful background, but many readers aren't making gallery prints. They're trying to create a clean digital image that looks good on a phone, a TV, or in a motion clip. In those cases, pixel dimensions matter more than the DPI number stored in metadata.
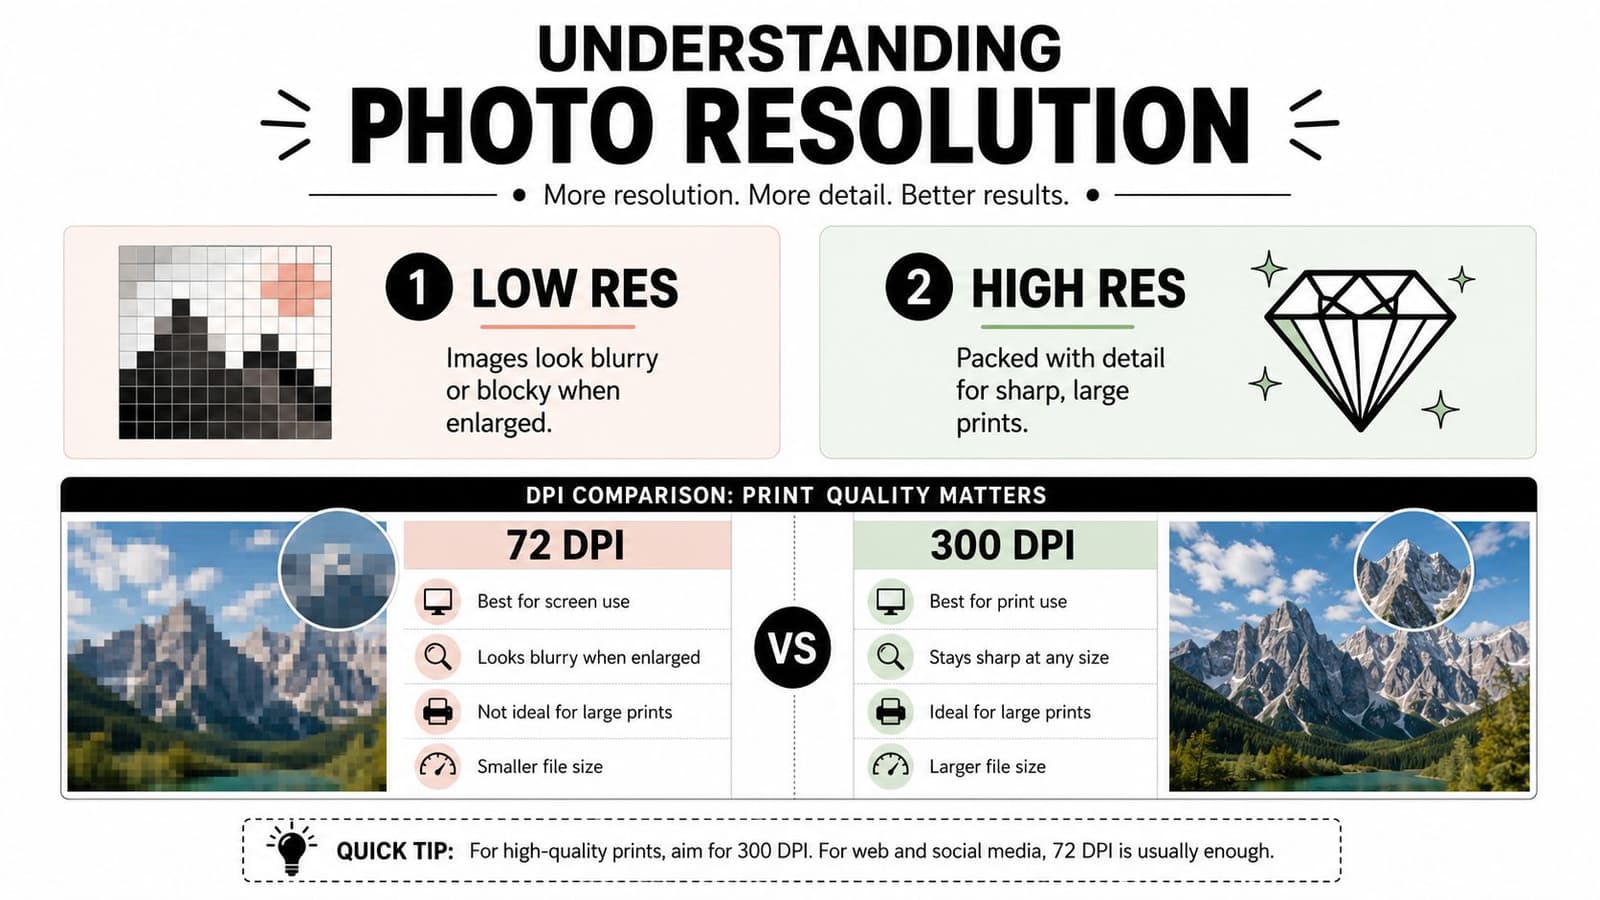
A photo can say 300 DPI and still be tiny if the pixel dimensions are small.
Resolution cheat sheet
Use this as a working target. These are practical benchmarks, not rigid laws.
| Output Type | Minimum Quality (Pixels) | Ideal Quality (Pixels) |
|---|---|---|
| Social media post | 1080 x 1080 | 2048 x 2048 |
| 5x7 inch print | 1050 x 1500 | 1500 x 2100 |
| 4K TV display | 1920 x 1080 | 3840 x 2160 |
| AI video animation | 1920 x 1080 | 3600 x 2400 |
That last line is where many people relax a little. For animation, you usually don't need a monster file. You need enough detail for movement, some room for cropping, and a source that hasn't been mangled by compression or aggressive edits.
Three quick checks tell you most of what you need to know:
- Check pixel size: On phone or desktop, inspect the file info and look for width and height in pixels.
- Zoom to the eyes: If eyelashes, catchlights, or skin edges crumble immediately, the file is weak even if the dimensions look decent.
- Look for fake sharpness: Halos around faces, white outlines on hair, and gritty skin usually mean the file was oversharpened earlier.
Capturing New High-Resolution Photos
If you're taking a new picture, the easiest win is getting the original capture right. It's much easier to preserve detail than to rebuild it later.
Start with the file you can grow
If your camera or phone offers RAW, use it when the photo matters. RAW files keep far more editing headroom than JPEGs, especially if you need to lift shadows, recover highlights, or make a careful crop afterward. JPEG is fine for quick sharing. It's a weaker starting point for rescue work.
A lot of modern phones hide the best quality settings in Pro or Advanced modes. Turn on the highest native resolution available, then check whether you can also save RAW. On dedicated cameras, pair RAW capture with a low ISO when you can and avoid digital zoom.
Here's where people trip themselves up:
- They shoot in dim light and trust the phone too much. Noise eats fine detail.
- They crop hard in camera. It feels efficient, but it throws away information.
- They rely on portrait or beauty effects. Those can smear skin and hair before you ever edit.
Use the histogram instead of guessing
Exposure has a direct effect on usable detail. A file that looks “close enough” on the camera screen can still have clipped highlights or blocked shadows that you won't get back.
Using a live histogram helps prevent that. It can stop the kind of data loss that destroys 30 to 50% of a sensor's dynamic range, and Imatest reporting shows that well-exposed images have 25% lower noise variance after correction. The same source notes that 85% of professional photographers check histograms, leading to 20% sharper final outputs, as discussed in this live histogram breakdown on YouTube.
The practical version is easy. Watch the graph while you compose. If it's slammed hard against one side, detail is at risk.
Keep highlights from piling up at the far right edge. A bright window can blow out faster than the preview suggests.
Sharp beats big
A huge file with motion blur is still a bad file. If the scene is indoors, stabilize the shot before you worry about megapixels.
Try this checklist when you want the cleanest possible source:
- Use more light if you can. Window light or a lamp often helps more than any later software fix.
- Brace the camera. Lean against a wall, rest your elbows, or use a tripod.
- Tap to focus on the subject's eyes. For portraits, that's where softness hurts most.
- Avoid heavy filters at capture. Add style later, not before the file is secure.
If the photo is for a tribute or keepsake, I'd rather see a plain, well-exposed RAW or high-quality JPEG than a dramatic but brittle image loaded with baked-in effects.
Digitizing Old Prints and Negatives
Old family photos usually don't need miracles. They need patience. Most scanning problems happen before the scan starts, when someone rushes, uses the wrong resolution, or saves the file in a throwaway format.
Handle the original like an archive item
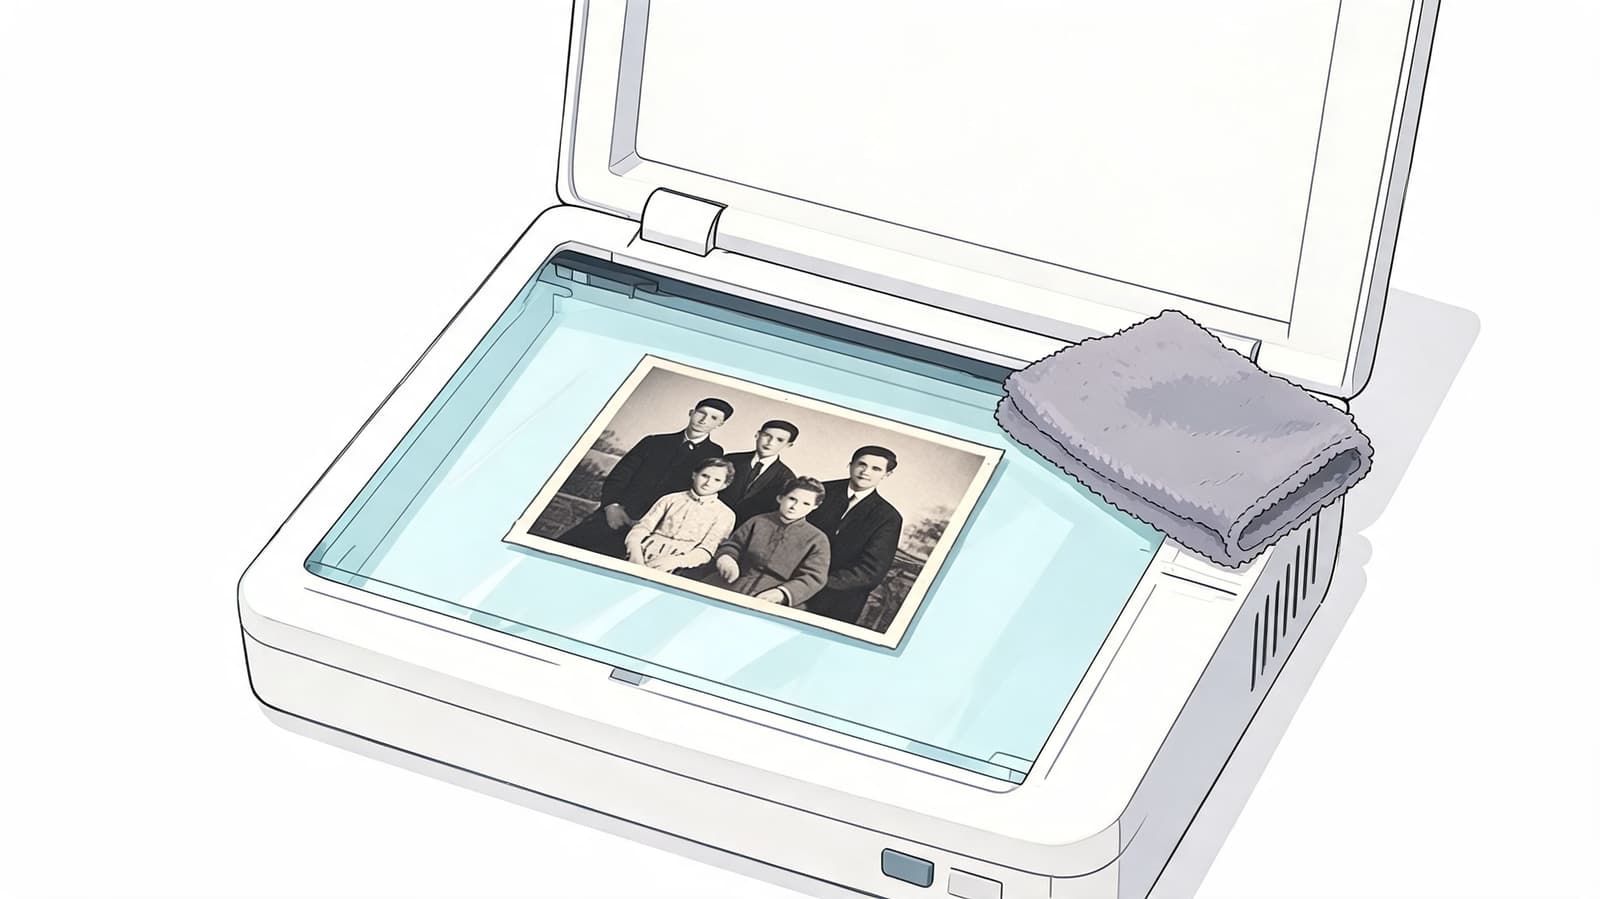
Before scanning, remove loose dust gently. A soft microfiber cloth is usually enough for prints. If the photo surface is delicate, don't scrub. For negatives, use tools made for film handling and avoid touching the image area directly if you can.
Work on a clean surface. Scan the best surviving original, not a reprint or photocopy. If you have both a print and a negative, the negative often gives you more recoverable detail, but only if you can scan it properly.
A few habits make a real difference:
- Clean the scanner glass first: Dust on the glass creates repeat defects across the file.
- Scan flat and square: A crooked original forces extra rotation and crop loss later.
- Turn off auto-enhance features: Let the scanner capture the photo, not reinterpret it.
Scanner settings that actually matter
For old prints, a strong baseline is a 300 DPI TIFF created from a 600 PPI scan setting, which can help AI upscaling retain up to 95% fidelity. That standard is enough to turn a 4x6 inch family photo into artifact-free 4K video frames, as described in the digitization guidance cited earlier. In practical terms, that means a careful scan gives you plenty of real data to work with before any enhancement.
Save the master file as TIFF if your scanner allows it. TIFF is larger, but it preserves detail and avoids the extra compression damage that JPEG can introduce. Think of it as your digital negative. You can always export a JPEG later for sharing or animation upload.
If you're trying to fix a scan that already looks soft or undersized, this guide on how to fix photo resolution is a helpful companion.
Archive habit: Keep the untouched master scan in one folder and edit a copy. Never work destructively on your only digital master.
When negatives are worth the extra effort
Negatives and slides take more setup, but they can outperform prints because they haven't already gone through one print-generation loss. They're worth the trouble if the print is faded, tiny, or heavily textured.
Use a scanner mode designed for film if available. Keep your edits restrained at first. With old family material, the priority is preserving natural grain and real edge detail, not polishing everything until faces look synthetic.
What usually doesn't work:
| Problem | Better choice |
|---|---|
| Photographing a print under room light | Flatbed scan with careful cleaning |
| Saving the first scan as low-quality JPEG | Keep a TIFF master |
| Cranking scanner sharpening | Scan neutral, sharpen later if needed |
Enhancing Photos with AI Upscaling
AI upscaling is the rescue tool people often reach for first. That's fine, as long as you use it at the right point in the process. It works best after you've found the cleanest source file available.
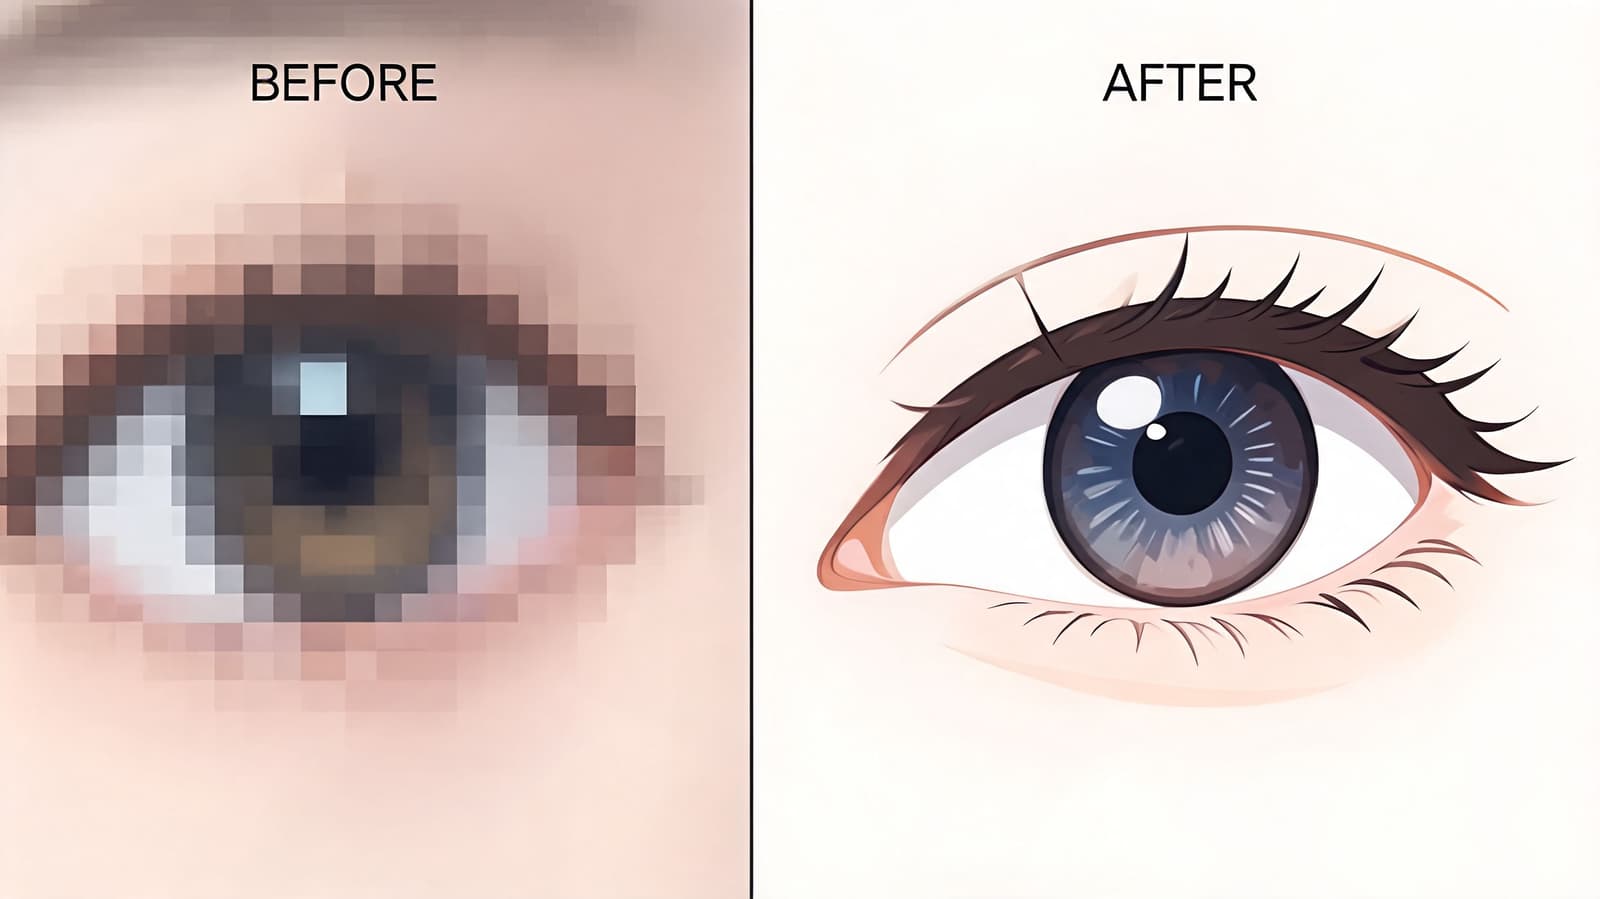
What AI upscaling can and cannot do
Good upscaling tools don't just stretch pixels. They analyze the image and generate plausible detail so the larger version looks more natural than a basic resize. That can be a lifesaver when the only surviving copy is a small file from an old message thread or social platform.
But AI can't recover detail that was never there. It can improve structure, edges, and printability. It can't tell you exactly what a lost eyelash or blurred necklace looked like in the original moment.
Adobe's Super Resolution can double an image's linear resolution and quadruple the pixel count, such as 24MP to 96MP, and Adobe notes that repeated resizing can degrade quality by 15 to 25% per cycle. That's why a one-pass workflow matters. You can review the feature in Adobe's guide to increasing image resolution with Super Resolution.
A simple upscaling workflow
This is the order that usually gives the cleanest result:
-
Start from the best file you have
Use the original scan, RAW export, or highest-quality JPEG. Don't begin from a screenshot if another version exists. -
Do light cleanup first
Remove obvious dust, scratches, or compression blotches. Leave fine texture alone. -
Run one AI enlargement pass
In Lightroom, use Photo > Enhance > Super Resolution. In Photoshop, follow enlargement with careful resampling controls if needed. -
Evaluate at 100% view
Don't judge the result only by “fit to screen.” Zoom in and inspect eyes, hairlines, hands, and textural areas.
That middle step matters more than people think. If you upscale dirt, halos, or JPEG mush, the software often makes those flaws more convincing rather than less visible.
A short visual walkthrough can help if you've never used this kind of tool before.
If you also plan to restyle a restored image later, this article on AI style transfer for photos is worth reading after the resolution work is finished.
How to keep the result natural
The most common AI mistake is overconfidence. People see extra crispness and keep pushing. Then skin turns waxy, outlines glow, and fabric develops invented texture that flickers in motion.
Use restraint:
- Add only mild sharpening after enlargement: If the file already looks crisp, stop.
- Reduce noise carefully: Too much noise reduction erases pores, grain, and fabric weave.
- Respect aspect ratio: Stretching a face to fill a frame ruins the result faster than low resolution does.
- Resize once at the end: Avoid serial exports in different sizes.
If the upscaled file looks slightly softer but believable, that's usually better than a sharp file with obvious synthetic detail.
Prepping Your Photo for Video Animation
For motion work, the best image isn't always the biggest one. It's the one with clean edges, stable texture, and enough real detail to survive movement without drawing attention to the processing.
What animation needs from a source image
A well-scanned 4x6 inch print at 600 DPI, roughly 3600x2400 pixels, provides ample data for a smooth 4K video. Production guidance also shows that a clean, moderately sized image can outperform a poorly lit or over-sharpened 50MP source because the AI has cleaner visual information to interpret, reducing animation flicker by up to 40%. That's the core trade-off for motion. Quality beats brute size.
People often overshoot at this stage. They sharpen every eyelash, strip out all grain, and export an enormous file. In still form, that can look impressive for a second. In motion, it often looks brittle.
Natural texture helps. Film grain, paper texture, and soft transitions can make movement feel more believable. Fake detail and hard halos do the opposite.
A final prep checklist
Before you export the file for animation, run through this list:
- Crop with intention: Use a standard shape such as 16:9 or 4:3 if you already know the destination.
- Clean distractions, not character: Remove dust specks, stains, and scanner debris. Leave natural grain and skin texture alone.
- Back off sharpening: If edges look outlined, reduce it.
- Check faces at full size: Eyes, mouths, and hands are where artifacts show up first.
- Export directly: High-quality JPEG or PNG is usually the right handoff format.
I'd also suggest one quick test. Duplicate the image and make two versions: one slightly cleaner, one slightly softer. If the softer one feels more natural, trust that instinct. Animation often rewards subtle files.
A photo doesn't need to be perfect to become moving and memorable. It needs to be stable, honest to the original, and prepared with care.
If you've got a treasured image ready to turn into motion, Photo for Video makes that last step simple. Upload one still photo, describe the movement you want, and turn a favorite family image into a short living memory for birthdays, memorials, anniversaries, and keepsakes.