How to Make a Video Loop: A Seamless Guide for 2026
Learn how to make a video loop that's truly seamless. This guide covers editing techniques, FFmpeg, and how to turn a single photo into an endless memory.
You probably got here for one of two reasons. You have a short clip that almost loops, but the restart is obvious, or you have a single photo of someone important and want it to feel alive without turning into a cheesy repeat. Those are different problems, and most tutorials blur them together.
A loop isn't just a repeated file. A good loop feels continuous. On a social post, that can keep people watching. In a memorial tribute, it can make a still image feel like a held breath instead of a slideshow slide. That second use case matters more than most editing guides admit. Guidance for fluid loops from single photos is still thin, even as searches like “animate photo loop video” in family and memory categories have grown 45% year over year according to Adobe's loop video guide.
If you're starting from one cherished image, the workflow is different from trimming stock footage. You need motion that begins gently, resolves gently, and doesn't snap back to frame one. If that's your situation, it helps to first understand the basics of turning a single image into motion, then shape that motion into something that can repeat invisibly.
Table of Contents
- From Static Memory to Endless Moment
- The Goal A Perfect Loop and Why It Matters
- Core Editing Techniques for Seamless Loops
- From Still Photo to Living Loop An AI Workflow
- Automating Loops for Power Users with FFmpeg
- Export Settings and Final Checks for Any Platform
From Static Memory to Endless Moment
A loop works best when it serves a purpose beyond novelty. A product clip on a website might need a quiet, polished motion that never distracts. A Reel might need a visual reset so subtle that people stay for another cycle. A memorial video asks for something else entirely. It needs restraint.
That's where most advice on how to make a video loop falls short. It shows you how to duplicate a clip, place copy B after copy A, and call it done. That works for some motion graphics and some background videos. It fails fast on portraits, old family photos, and keepsake edits because people notice human movement errors instantly.
A memorial loop doesn't need dramatic movement. It needs believable movement that returns to the beginning without feeling like it restarted.
The most underserved version of this problem is the one people run into every day. They have one scanned print, one wedding portrait, one phone photo of a grandparent, or one anniversary image they want to hold on screen longer. They don't want a slideshow pan. They want a living moment.
The good news is that the loop itself doesn't have to be complicated. The hard part is choosing the right kind of motion and the right transition. For some projects, that means classic timeline editing. For others, it means generating subtle motion first, then shaping it into a repeatable cycle. That difference decides whether your final video feels calm and natural or obviously manufactured.
The Goal A Perfect Loop and Why It Matters
A perfect loop is one where the viewer doesn't feel the handoff between the last frame and the first. They just keep watching. That matters for aesthetics, but it also matters for distribution.
Short-form platforms already replay videos automatically. When the loop point disappears, the viewer often stays through another pass because nothing tells their brain the clip ended. That's why unnoticeable loops can help creators reach over 100% average watch time on TikTok and YouTube Shorts, since replays count toward retention and can improve the chance of promotion, as described in this platform-focused looping tutorial.
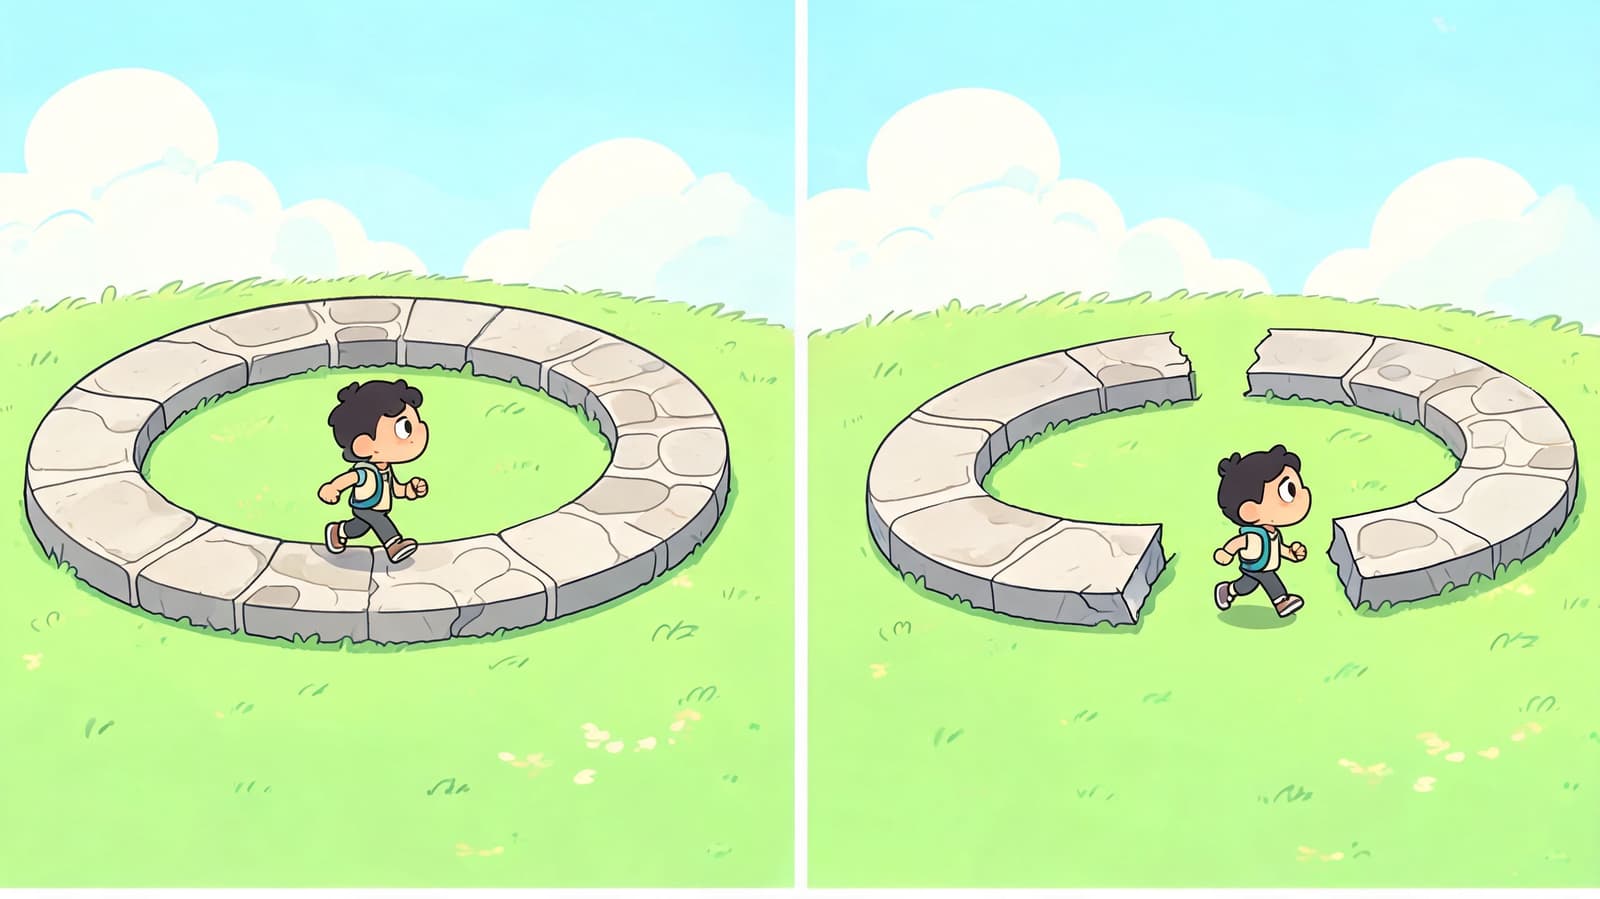
Repeat versus seamless loop
These are not the same thing.
| Type | What it does | When it works | Where it fails |
|---|---|---|---|
| Simple repeat | Plays the same clip again from frame one | Screen recordings, abstract motion, some product shots | Faces, camera moves, drifting objects, emotional tribute edits |
| Seamless loop | Hides or softens the return to the beginning | Reels, website backgrounds, ambient visuals, memorial moments | Mostly fails only when source motion is too chaotic |
A plain repeat announces itself. You see the restart. The subject snaps back. Hair resets. A hand drops into an earlier position. Even if the viewer can't explain it, they feel the interruption.
An uninterrupted loop protects continuity. It turns motion into atmosphere.
What a good loop actually looks like
You're not chasing perfection in the abstract. You're checking for a few practical signs:
- Motion continuity: The subject's movement direction, speed, and position don't jump at the seam.
- Lighting continuity: Exposure and color feel stable across the transition.
- Camera continuity: If there's a zoom or pan, it doesn't suddenly reset.
- Emotional continuity: This matters most in tribute edits. The moment should feel held, not mechanically replayed.
Practical rule: If you can spot the loop point on your second viewing without trying, your audience will spot it on the first.
When not to force it
Some clips shouldn't have a smooth flow. If the motion has a strong beginning and ending, like a toast, hug, or candle lighting, a clean repeat can feel wrong because it flattens the moment. In that case, either shorten the motion to a more cyclical slice or don't loop it at all.
That judgment call is part of real editing. The best answer to how to make a video loop isn't always “force a smooth connection.” Sometimes it's “choose footage that wants to loop.”
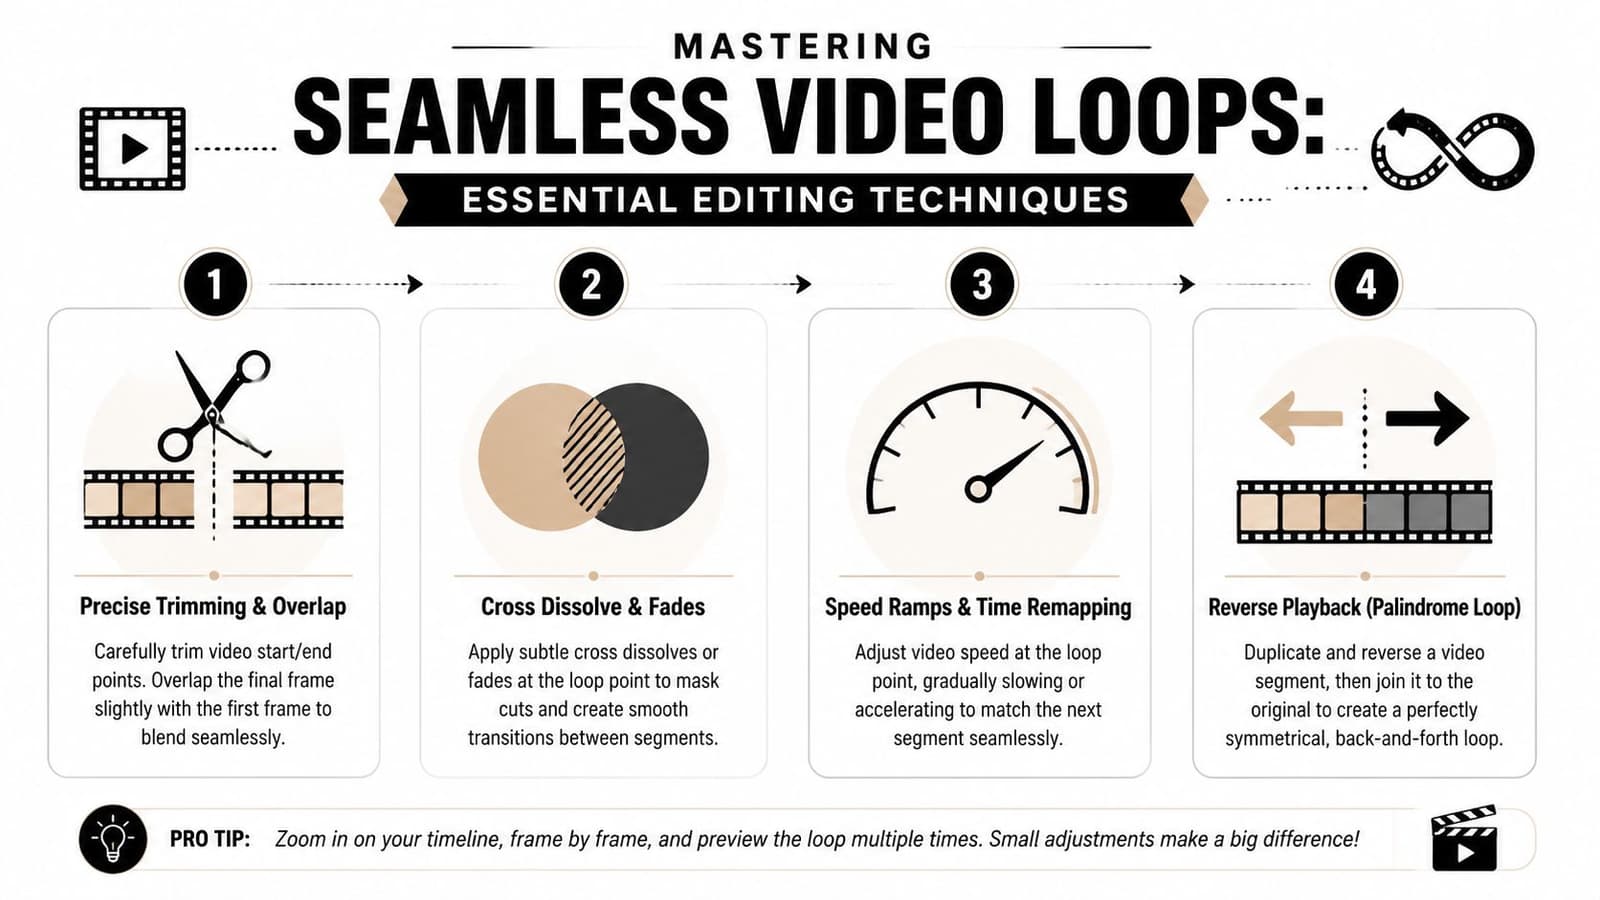
Core Editing Techniques for Seamless Loops
If you already have a short video clip, most continuous loops come down to three techniques. I use each for a different kind of footage. The mistake people make is choosing one method and applying it to everything.
The basics are the same in Premiere Pro, Final Cut Pro, DaVinci Resolve, CapCut, and most editors. You identify the seam, rearrange or overlap footage, and export without introducing a visible last-frame glitch.
The cut-and-swap method
This is the strongest manual technique when your clip has consistent motion. Think waves, smoke, crowds, trees in wind, fabric movement, or a gentle AI camera push that doesn't have a hard endpoint.
The process is simple:
- Scrub frame by frame until you find a point near the middle where the motion visually aligns with the opening frames.
- Cut the clip at that point.
- Move the front section to the end so the former middle becomes your new start.
- Apply a short cross-dissolve across the seam.
- Trim your out point carefully so you don't export an extra duplicate frame.
For the manual cut-and-swap technique, the reliable approach is identifying a loop point, splitting the clip, moving the front half to the end, and applying a 0.5 to 1 second cross-dissolve. For footage with consistent motion like ocean waves, this method reached a 92% success rate in the referenced tutorial's testing, detailed in this editing walkthrough on seamless loops.
Why it works is straightforward. You stop treating the original first frame as sacred. Instead, you choose the best visual handoff point and rebuild the clip around that.
A few things matter more than people think:
- Use arrow keys for frame precision. Mouse scrubbing is often too loose.
- Turn on snapping. Tiny gaps or accidental overlaps create stutters.
- Start with cyclical footage. This method is forgiving when movement already repeats naturally.
Here's a good mental test. If you freeze the first frame and the candidate loop frame side by side, would a viewer accept them as part of the same motion? If not, keep looking.
A short visual demo can help if you've never built one by hand:
The overlap crossfade method
Some clips don't have a clean loop point. Hair moves unpredictably. An AI portrait breathes slightly. Light flickers. A camera drift isn't perfectly even. In those cases, I'd rather overlap the tail and head of the clip than force a hard rearrangement.
This method is cleaner for portraits and tribute visuals because it softens the restart.
Try this:
- Put your clip on the timeline.
- Duplicate it onto a second track.
- Slide the duplicate left so the end of clip A overlaps with the beginning of clip B.
- Add a cross dissolve over the overlap.
- Adjust the overlap length until the transition feels invisible instead of muddy.
Longer isn't always better. If the dissolve is too heavy, the image looks ghosted. If it's too short, the seam still reads as a cut. Most editors can get very far just by testing a few overlap lengths and watching the seam at normal speed, then slow speed.
The seam should disappear before the transition calls attention to itself. If viewers notice the dissolve, you solved one problem and created another.
This is the best option when a shot has small inconsistencies that can be blended away, but not enough structure for a precise cut-and-swap.
The ping-pong option
This one is common because it's quick. You duplicate the clip, reverse the second copy, and play them back to back. The result moves forward, then backward, then forward again.
It's useful, but it has a distinct look. I'd use it for:
- abstract textures
- product closeups
- water, smoke, or clouds
- stylized graphics
I usually avoid it for faces and memorial portraits unless the movement is extremely subtle. Reversed motion can feel uncanny. Eyeblinks, drifting hair, and body posture often look wrong in reverse even when the loop is technically smooth.
If you're wondering how to make a video loop fast for a story, ad mockup, or background element, ping-pong is fine. If you're building something emotional, it's rarely my first choice.
From Still Photo to Living Loop An AI Workflow
The hardest loop to create is the one that begins with no motion at all. A still image has no natural midpoint, no cyclical movement, and no existing frames to rearrange. You have to create the motion first, then decide how to loop it.

That's why older “loop a video” tutorials don't help much with family tributes. They assume you already have footage. Demand for AI-driven infinite loops from single photos is rising, with “AI photo animation loop” queries up 300% from 2025 to 2026, according to this overview of loop video demand and workflow gaps. The need is real, especially when people want something private, efficient, and clean enough for tribute use.
What kind of motion loops well
Not all AI motion is loop-friendly. If the tool invents a strong action with a clear endpoint, you'll struggle to hide the reset. The clips that work best are restrained.
Use prompts and directions that suggest:
- gentle push-ins
- slow zoom-outs
- subtle head stillness with light environmental movement
- soft sway
- small breathing motion
- drifting particles or shallow depth movement
Avoid motion prompts that imply a single completed action. A wave, turn, big smile change, or dramatic camera move usually produces a clip with a beginning and end you can feel.
For tribute videos, less movement almost always gives you a better loop than more movement.
That's especially true with old scans and analog prints. Heavy motion can break the photo's original texture and make the image feel synthetic. A small camera drift often looks more respectful and more believable.
A simple workflow for tribute and keepsake loops
If your starting point is one photograph, the cleanest workflow is usually this:
- Generate a short motion clip from the image. Keep the movement subtle and continuous.
- Watch the generated clip without sound. Look only for resets, awkward hair motion, or background warping.
- Import the clip into a simple editor. CapCut, Resolve, Premiere Pro, and even lightweight mobile editors can handle this.
- Use overlap and dissolve first. For AI portraits, this usually works better than forcing a hard cut.
- Trim out the weakest frames. The first few and last few frames often reveal the generated motion most clearly.
- Test the finished loop at least several times in a row. A loop that looks fine once can become obvious by the third pass.
If you're building from one image and need a dedicated walkthrough for prompt-to-video generation, this practical guide to AI video from a single image is the right starting point.
One more trade-off matters here. AI makes loop creation more accessible, but it doesn't remove editorial judgment. You still need to decide what kind of motion suits the subject. A birthday keepsake can handle a little sparkle or drift. A memorial portrait usually needs a quieter hand.
A tasteful loop from a single photo often looks simple. It isn't. The simplicity is the result of choosing motion that doesn't fight the source image.
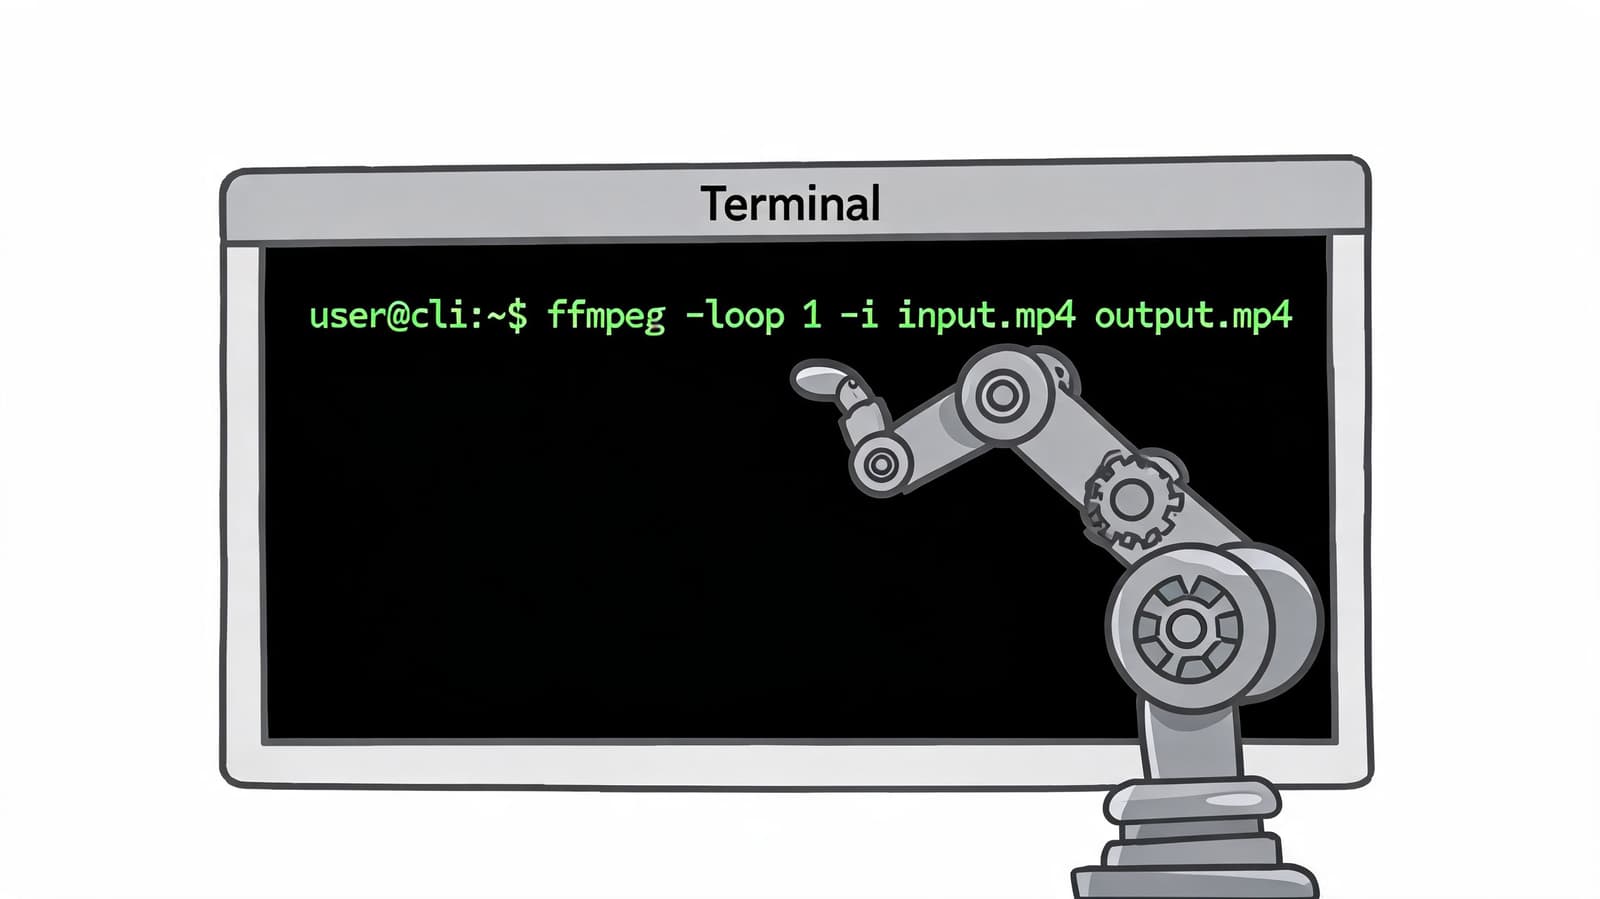
Automating Loops for Power Users with FFmpeg
If you're processing many clips, building website assets, or running repeatable content workflows, a timeline editor gets slow. FFmpeg is the practical answer when you want to script your output.
I wouldn't recommend FFmpeg for your first tribute edit. I would recommend it if you already know what kind of loop works and want a repeatable way to generate variants, batch exports, or web-ready assets.
For complex AI-animated clips, advanced overlap-dissolve methods combined with optical flow retiming can reduce visual judder by up to 85%, and the same motion-compensation ideas can be adapted into automated workflows, as described in this advanced looping tutorial focused on overlap and retiming.
When FFmpeg is the right tool
Use it when you need consistency more than interactivity.
| Need | Better with editor | Better with FFmpeg |
|---|---|---|
| One emotional tribute piece | Yes | Sometimes |
| Batch looping many clips | No | Yes |
| Quick visual experimentation | Yes | No |
| Automated website or content pipeline | No | Yes |
The trade-off is obvious. FFmpeg is fast and reproducible, but it doesn't help you judge taste. You still need to know whether your source motion is suitable.
Useful commands you can adapt
A simple repeat is easy. This doesn't create a smooth transition, but it's useful for previews or background assets:
ffmpeg -stream_loop 2 -i input.mp4 -c copy repeated.mp4
What it does:
-stream_loop 2repeats the input additional times-i input.mp4sets the source file-c copyavoids re-encoding when possible
If you want a ping-pong style loop, you can reverse a duplicate and concatenate it:
ffmpeg -i input.mp4 -filter_complex "[0:v]split[a][b];[b]reverse[br];[a][br]concat=n=2:v=1:a=0[outv]" -map "[outv]" -c:v libx264 -pix_fmt yuv420p pingpong.mp4
This creates the forward clip, then the reversed clip, then exports a playable MP4.
For a more natural loop, an overlap blend is closer to what you'd do in an editor. One workable concept is:
ffmpeg -i input.mp4 -filter_complex "
[0:v]split=2[base][tail];
[tail]trim=start=0,setpts=PTS-STARTPTS[head];
[base]trim=start=0,setpts=PTS-STARTPTS[main];
[main][head]xfade=transition=fade:duration=1:offset=4[outv]
" -map "[outv]" -c:v libx264 -pix_fmt yuv420p looped.mp4
You'll need to adapt the timing. The important part is the idea:
- split the source
- trim the segment you want to blend
- crossfade the end into the beginning
- export to H.264 MP4 for compatibility
FFmpeg is strongest when you already know your preferred seam length and motion style. It's weak as a discovery tool.
If you're using AI-generated clips with uneven motion, expect to test. Automation can save time after you've found a reliable pattern. It won't replace the initial eyeballing.
Export Settings and Final Checks for Any Platform
A clean loop can fall apart on export. Extra frames, poor compression choices, or platform-specific quirks can make a smooth edit feel broken.
Export choices that usually work
For most uses, MP4 with H.264 is still the safest delivery format. It plays nicely across social platforms, websites, phones, and collaboration tools. If your editor gives you too many options, start there.
A practical baseline looks like this:
- Container: MP4
- Codec: H.264
- Frame rate: match your source unless you have a reason to change it
- Dimensions: export for the platform you're using, not the one you might use later
- Audio: remove it if the loop is meant to function as silent ambient motion
If you're posting to social platforms, always preview the exported file on the phone itself before uploading. Some seams only reveal themselves on a smaller screen because motion feels tighter and faster there.
For YouTube, social reposting, or any workflow where file handling matters, it's worth understanding how YouTube video compression changes your file before you publish.
A final review before you publish
Don't stop after one playthrough. A loop has to survive repetition.
Use this checklist:
- Watch at least several cycles and try not to focus on the seam. If it still jumps out, re-edit.
- Check the first and last frame relationship in your timeline. Many export issues start there.
- Look for ghosting if you used dissolves. Too much blend can look worse than a visible cut.
- Inspect faces and hands first. Viewers notice those errors fastest.
- Test on the destination platform. A web background, Instagram Reel, and memorial slideshow don't all display motion the same way.
One final judgment call matters. If the loop still feels wrong after multiple fixes, the source might be the problem. Choose a different section of the clip, reduce the motion, or use a calmer generated version. Editors get into trouble when they keep polishing a motion pattern that never wanted to loop.
A good loop feels inevitable. It doesn't feel edited.
If you're starting with a single cherished image and want a loopable living memory without building the motion from scratch, Photo for Video turns one still photo into a polished short MP4 with gentle, natural movement for birthdays, memorials, anniversaries, and keepsakes. It's built for exactly the kind of tribute and reel workflow most loop tutorials skip.