Turn a Picture Into a Sketch for Free: A 2026 Guide
Learn how to turn a picture into a sketch for free with our guide to the best web, mobile, and desktop tools. Get pro tips for perfect results in minutes.
You’ve probably got a photo sitting on your phone or in a box somewhere that deserves a second life. It might be a faded wedding portrait, a childhood snapshot with creases across the corners, or a clean phone photo you want to turn into something softer and more artistic for a post, print, or tribute.
That’s why so many people want to turn a picture into a sketch for free. A sketch effect can make an ordinary image feel timeless. It can also rescue a photo that doesn’t look great in full color by simplifying it into lines, shading, and texture that feel intentional instead of damaged.
I’ve tested enough sketch converters to know the difference between a quick effect and a usable result. Some tools are perfect for a profile image or reel cover. Others are better for keepsakes, memorial programs, or family projects where the image needs to feel calm, tasteful, and printable.
Table of Contents
- From Photo to Art A New Way to Preserve Memories
- Choosing Your Free Sketch Conversion Method
- Instant Results with Free Web Based Tools
- Creating Sketches on the Go with Mobile Apps
- Advanced Control with Free Desktop Software
- Pro Tips for a More Realistic Sketch Effect
- Quick Answers to Common Sketch Questions
From Photo to Art A New Way to Preserve Memories
A sketch effect isn’t only about style. For a lot of family photos, it’s also about preservation.
Old scans often have problems that look distracting in a normal photo. Dust, fading, weak contrast, and uneven color can make a meaningful image feel harder to use. A sketch treatment can simplify all of that. Instead of fighting every flaw, it turns the image into line, tone, and structure. That can make faces read more clearly and give damaged photos a graceful new form.
Research on this use case points to a real gap. Most free converters focus on social media aesthetics, while sketch conversion can also help families working with old, damaged, or low-quality photos as part of preservation and digitization workflows, as noted by Colorify AI’s photo to sketch overview.
A faded photo doesn’t always need heavy restoration first. Sometimes it needs a different visual treatment.
That’s especially useful when you’re building something emotional, like a remembrance slideshow or a printed tribute. A pencil-style version can feel gentler than the original photo, especially if the original has stains, flash glare, or color shifts you can’t fully repair.
If the sketch is going into a larger keepsake project, it also works well as a transitional visual. A photo can appear first, then the sketch version, then motion or text. That kind of sequencing can add feeling without making the piece look overproduced. For readers creating tribute content from a still image, this pairs naturally with guidance on how to create a video from a single image.
Choosing Your Free Sketch Conversion Method
Some people need a result in under a minute. Others want something they can tweak until it looks hand-drawn. The best method depends less on the tool name and more on the job you’re trying to do.
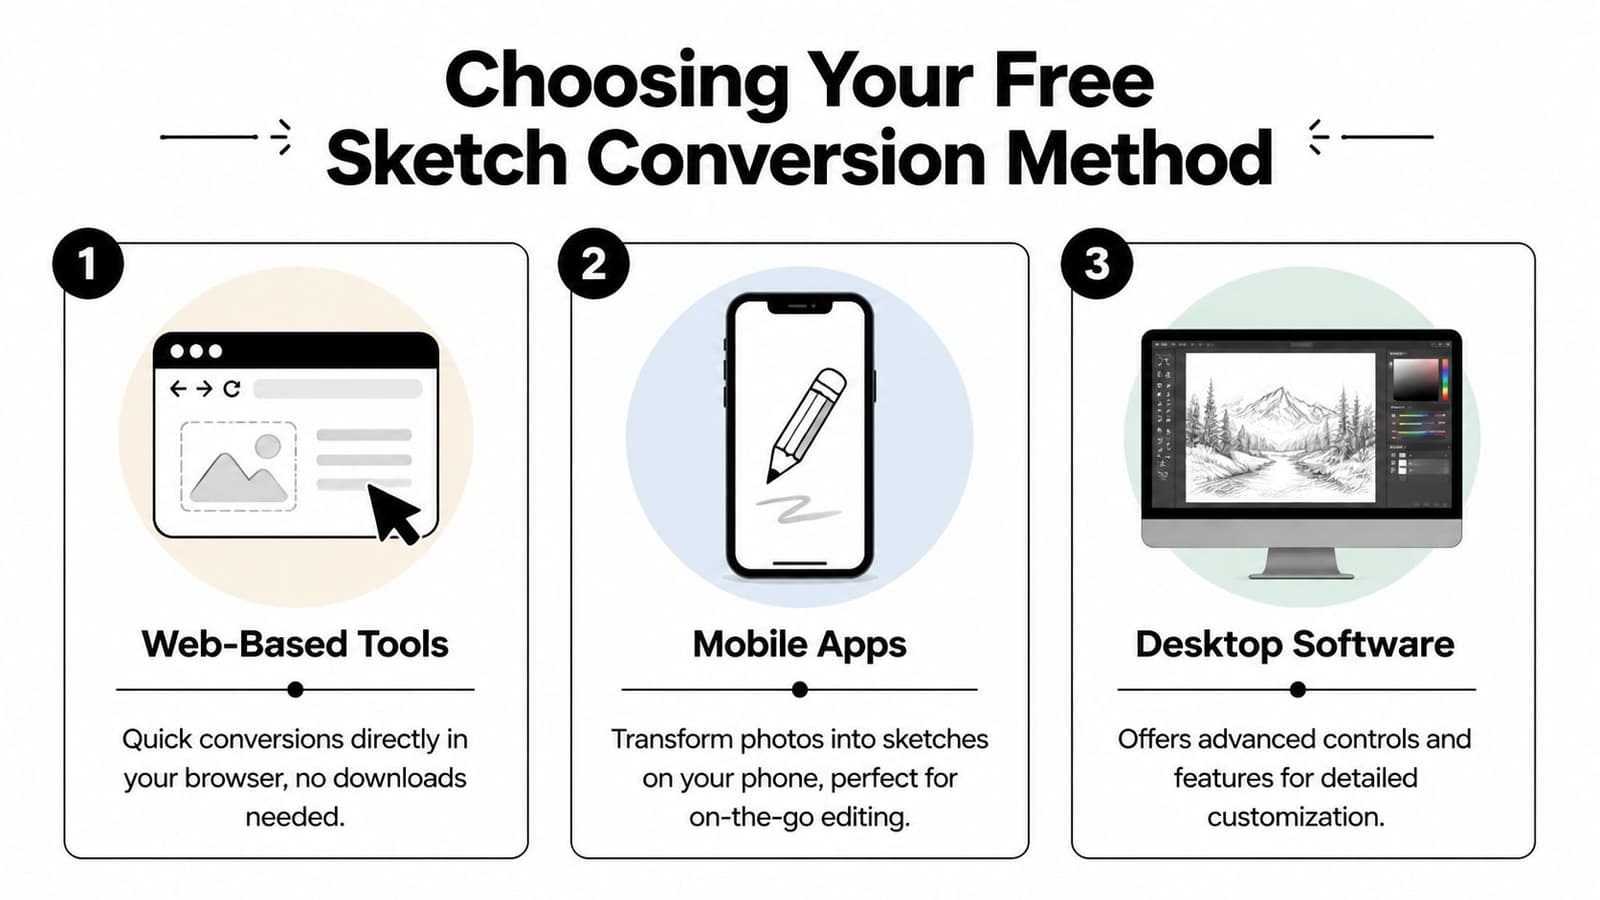
Three paths that fit different goals
Free online converters are the fastest place to start. As of 2026, at least 10 major platforms offer no-sign-up, instant sketch conversion, supporting formats like JPG and PNG up to 16MB and offering 10+ sketch styles, according to NoteGPT’s photo to sketch tool page. If your goal is a quick social post, test image, or easy tribute graphic, web tools usually get you there with the least friction.
Mobile apps are better when your photo already lives on your phone. They’re convenient, fast to share, and usually better integrated with your camera roll and social apps. The trade-off is control. Many mobile apps are designed to be fun first and precise second, so you sometimes get a stronger effect than you want.
Desktop software is the right move when the image matters. If you’re making a memorial display, a printable art piece, or a polished montage asset, desktop tools let you control contrast, line strength, texture, and cleanup more carefully. They take longer, but they also give you more believable results.
A simple way to choose
| Method | Best for | Main advantage | Main trade-off |
|---|---|---|---|
| Web tools | Fast one-off edits | No install, very quick | Less fine control |
| Mobile apps | Phone-first editing and sharing | Camera roll and social convenience | Filters can feel heavy-handed |
| Desktop software | Print, tribute, or custom art | Most control over the final look | Steeper learning curve |
A quick rule works well here:
- Choose web if you want speed and simplicity.
- Choose mobile if you’re editing and posting from your phone.
- Choose desktop if the sketch needs to look less like a filter and more like a finished piece.
Instant Results with Free Web Based Tools
Browser tools are where many users should begin. They’re fast, they don’t ask much from you, and the basic workflow is almost the same whether you use Fotor, BeFunky, OpenArt, NoteGPT, Colorify AI, or Canva.
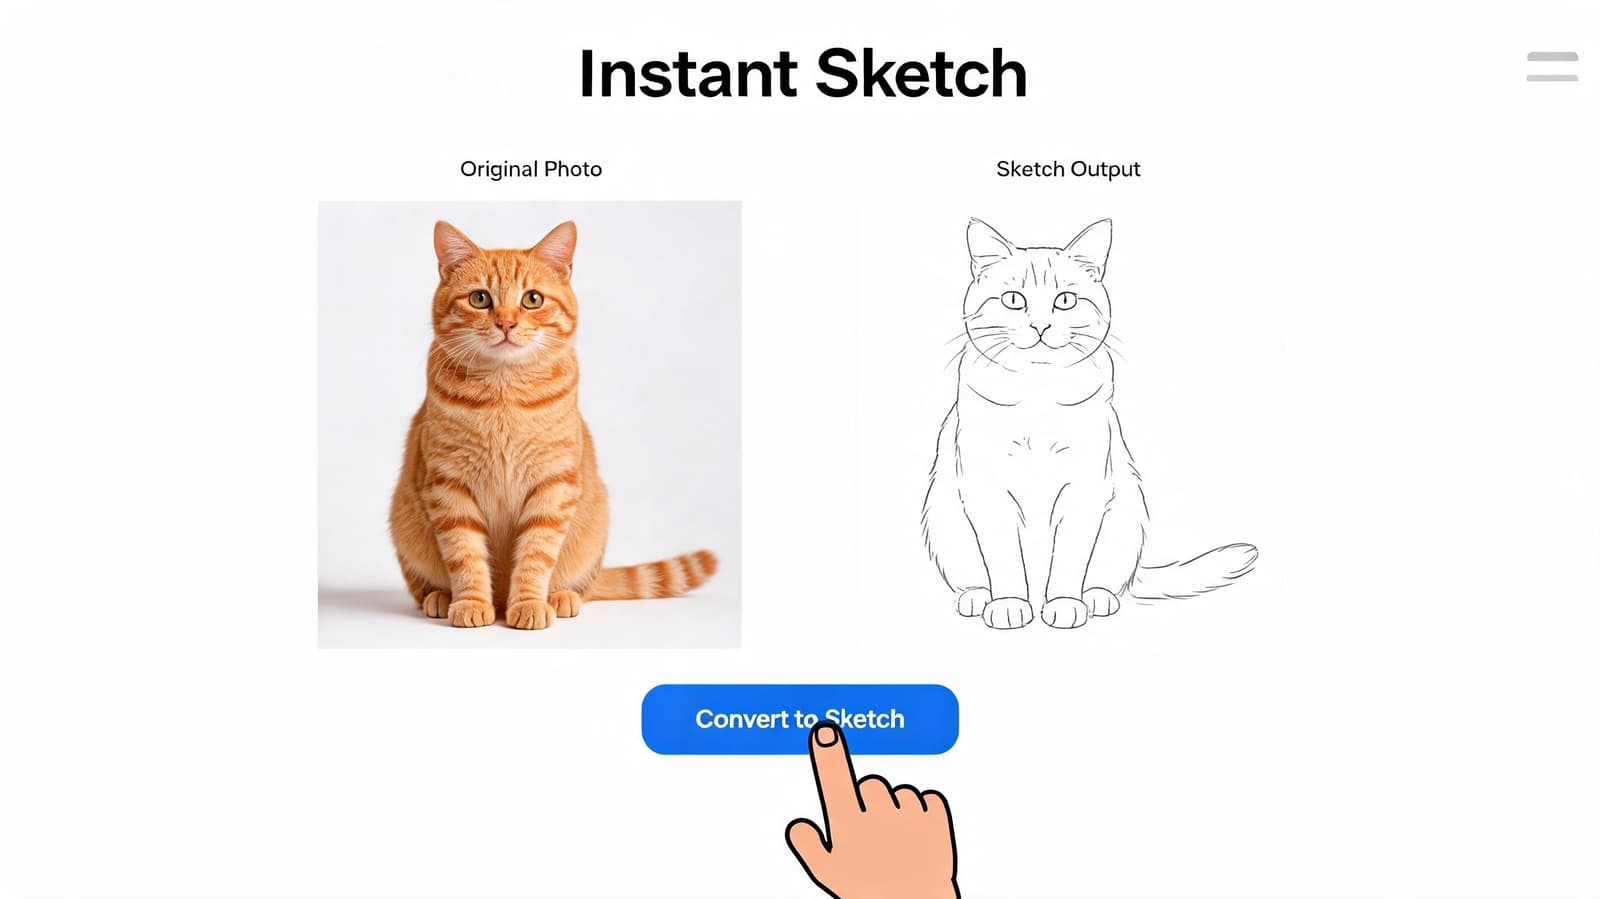
The basic browser workflow
First, upload a clean image. Portraits, pets, buildings, and scenic views all work, but the better the separation between subject and background, the better the sketch usually looks. Busy backgrounds often create messy line work.
Second, try more than one sketch style. Most web tools group them under names like pencil, charcoal, line art, ink, or coloring book. Don’t assume “pencil” is automatically best. For old photos, I often find that a softer charcoal or a lighter line-art preset hides damage better than a dark graphite effect.
Third, download a few versions instead of settling on the first one. Web tools are quick enough that it’s worth testing variations. One may look better on a phone screen, while another prints more cleanly.
Practical rule: Generate at least three versions. One with stronger lines, one with softer shading, and one with a cleaner background.
What to expect from the result
The upside of web tools is speed. The downside is sameness. Many of them are excellent at producing a recognizable sketch effect, but weaker at subtlety. Hair can become too sharp. Skin can turn waxy. Background texture may break into noisy lines.
That’s why it helps to treat web tools as a first pass, not always the final pass. Use them when you need a fast visual for a reel cover, invitation graphic, profile image, or tribute slide. If you want to see the workflow in action before testing a tool yourself, this short demo is useful:
A practical habit is to crop before upload. Tightening the frame around the face or subject often improves the result more than changing tools.
Creating Sketches on the Go with Mobile Apps
Mobile apps are the easiest option when the whole project starts on your phone. If you’ve got a family photo in your camera roll and want a sketch version for Instagram, TikTok, or a quick keepsake graphic, apps like Picsart and similar editors make the process feel natural.
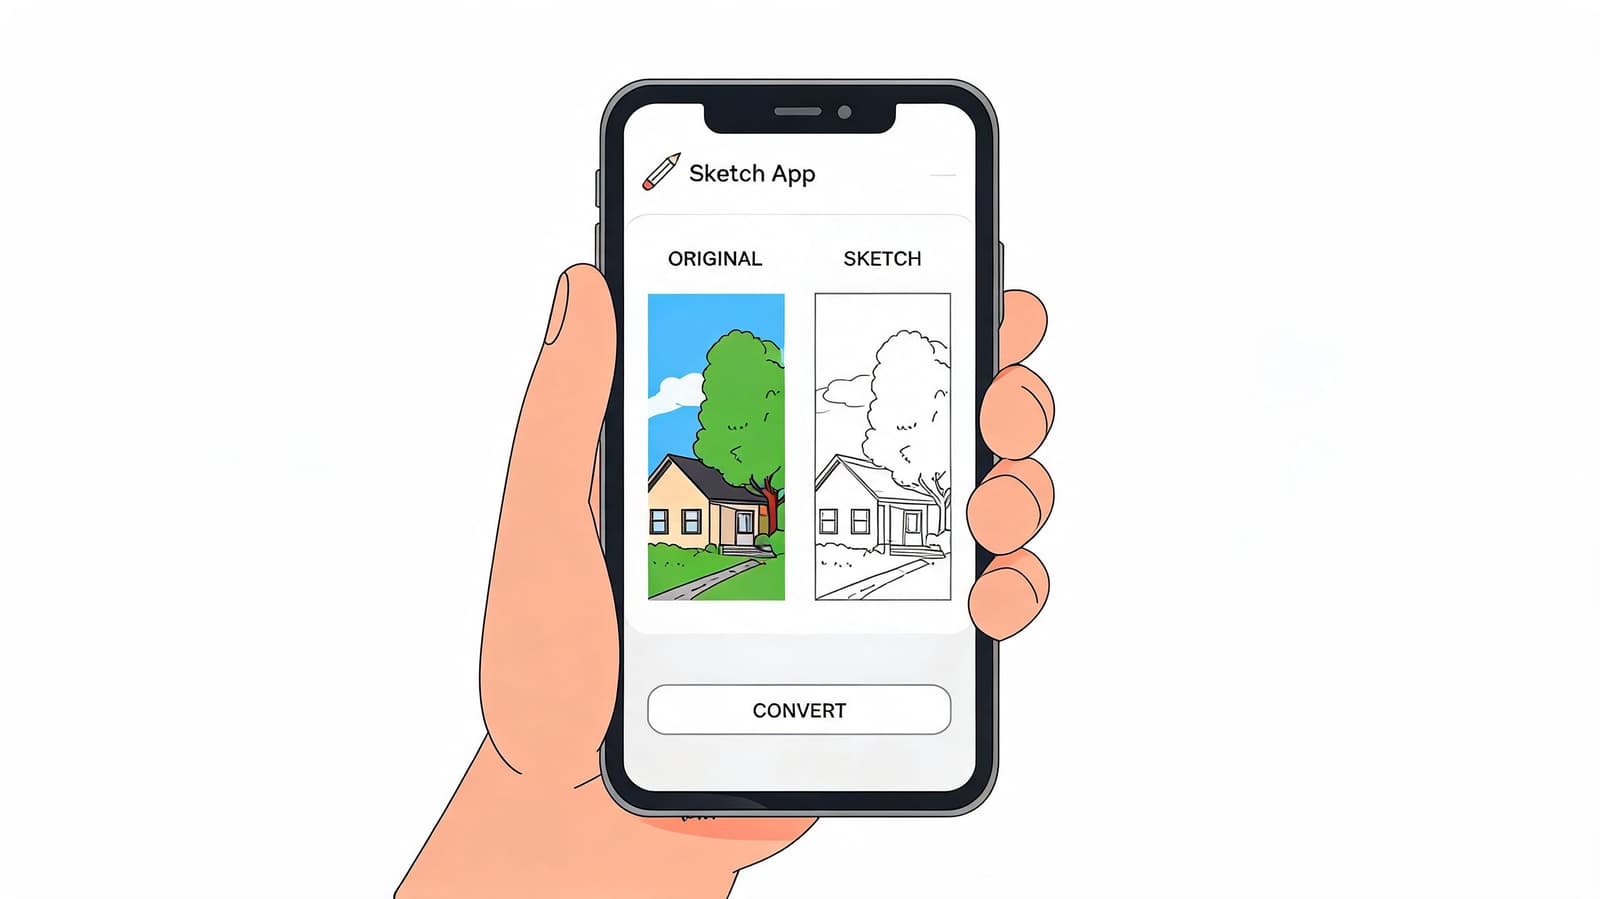
Why mobile works so well for casual projects
The strongest mobile advantage is proximity. You shoot the photo, open the app, test the sketch filter, and save or share. There’s no export-import routine, and that matters when you’re trying to make something quickly.
Mobile also helps when you’re building motion-first content. A sketch frame can become a cover image, a transition screen, or a visual layer inside a moving-photo project. If that’s your use case, it’s worth seeing how an app that makes images move can fit after the sketch step.
A better mobile workflow
Mobile sketch filters are often overdone because they preview well on a small screen. Then they look harsh once posted or printed.
A better approach:
- Import the sharpest version you have. Don’t start from a compressed screenshot if the original photo is available.
- Lower the effect strength if the app allows it. Full intensity often looks synthetic.
- Reduce clutter before saving. If the app includes blur, crop, or cleanup, use that before the sketch filter.
- Save once for sharing and once for backup. Some apps compress heavily on the first export.
Mobile apps are best when convenience matters more than precision. For quick social graphics, they’re hard to beat. For remembrance prints or detailed edits, they’re usually the rough draft.
Advanced Control with Free Desktop Software
Desktop editing is slower, but it gives you the best chance of making a sketch look intentional instead of automatic. If you use GIMP or Photopea, you can build the effect from layers instead of relying on one preset.

Why desktop still matters
Sketch effects didn’t appear out of nowhere. The underlying methods grew from edge-detection algorithms like the Canny method and the 1986 Sobel operator, and newer tools build on those ideas with AI optimization and, in some products, neural style transfer, as described in this overview of sketch effect technology on YouTube.
You don’t need to understand the math to benefit from it. What matters in practice is this: desktop tools let you control which edges stay, which tones soften, and how much paper-like texture remains.
A manual recipe that looks less generic
A simple desktop method works well:
- Desaturate first. Remove color so you can judge line and tone clearly.
- Duplicate the layer. Keep one version for structure and another for soft shading.
- Apply blur carefully. A light blur can soften transitions before edge effects are added.
- Use edge or graphic-style filters sparingly. Too much creates a posterized, brittle result.
- Blend layers and adjust opacity. The sketch begins to feel believable.
Some guides also use effects like Gaussian Blur, Graphic Pen, Glowing Edges, or Charcoal. The key is restraint. One gentle line layer plus one soft tonal layer usually looks better than stacking every sketch filter you can find.
Desktop editing rewards patience. Small opacity changes often matter more than dramatic filter changes.
If a web tool gets you 80 percent of the way there, desktop finishing is how you recover the last 20 percent.
Pro Tips for a More Realistic Sketch Effect
The tool matters less than the photo you feed it and the choices you make afterward. That’s the difference between a sketch that looks hand-drawn and one that looks like an app effect.
Start with the right photo
Image quality has a direct impact on realism. According to VisualGPT’s guide to turning a photo into a sketch, high-resolution source images produce superior detail retention, and common problems include over-applied filters, weak contrast, and blending choices that flatten the hand-drawn look.
That matches what I see in practice. The best source photos usually have:
- Clear subject separation so outlines don’t merge into the background
- Natural lighting with visible shadows and midtones
- Visible texture in hair, clothing, or facial features
- Enough sharpness to preserve small contours
If you’re working from an old scan, improve the source before converting it. Rotate it properly, crop out borders, and clean up obvious dust if you can. If the image looks soft or pixelated, basic repair often helps more than trying a different sketch filter. For older family images, a quick pass on how to fix resolution can make the final sketch noticeably cleaner.
Adjust less than you think
Most bad sketch conversions come from pushing the effect too far.
Watch for these failure points:
- Heavy line density: It makes skin, sky, and walls look dirty instead of drawn.
- Low contrast: The image turns gray and lifeless, with no focal point.
- Over-smoothed shading: Faces lose form and start to resemble plastic.
- Aggressive background detail: Trees, fabric, and wallpaper can overwhelm the subject.
A good sketch usually leaves some areas quiet. Real artists don’t render every inch of the page with the same intensity.
Leave room for white space. A convincing sketch needs areas that breathe.
Finish for the final use
A sketch for print and a sketch for social shouldn’t be finished the same way.
For social, stronger outlines can hold up well on a small screen. For printing, softer tones often look more refined. If the image is going into a memorial card or tribute board, I’d usually choose the cleaner and lighter version, not the darkest one.
One more habit pays off every time. Step away for a minute, then come back and ask whether the image still looks like a person, place, or memory first, and an effect second. If the effect is the first thing you notice, dial it back.
Quick Answers to Common Sketch Questions
A few questions come up almost every time someone makes their first sketch conversion.
Are uploaded photos private
It depends on the platform. Some tools describe privacy practices clearly, while others barely mention them. Before uploading personal family photos, check the tool’s terms, deletion policy, and whether it requires sign-in. If the image is sensitive, use a desktop workflow or a service with a clearly stated deletion approach.
Can you use sketch images commercially
Sometimes yes, sometimes no. The answer depends on the platform license, the original photo rights, and whether the free tier limits commercial use. Read the usage terms for the exact tool you choose. Don’t assume “free” means unrestricted.
What export works best for print or social
For social posts, standard image exports are usually fine as long as the sketch still looks clean on a phone screen. For print, save the highest-quality version the tool allows and avoid re-saving it through multiple apps, which can soften details and introduce compression artifacts.
A simple test works well here:
- View at actual size on your phone for social use
- Zoom in on facial features and line edges for print use
- Print a small proof first if the image matters emotionally
Can you turn a sketch back into a photo
Not really in the true sense. You can stylize a sketch, add tone, or run it through image tools, but once a converter simplifies the original into lines and shading, some photo information is gone. That’s why it’s smart to keep the original photo and every sketch version you export.
The best workflow is non-destructive. Save the source, save the edited version, then choose the right output for the project.
A sketch can make an old photo feel new again. If you want to go one step further and turn that still image into a living memory for a birthday, memorial, anniversary, or family keepsake, Photo for Video helps you animate a single treasured photo into a polished short clip with gentle motion that still respects the feel of the original.