3D Photo Effect: A Guide to Animating Memories
Learn to create a stunning 3D photo effect. Our guide covers everything from manual Photoshop methods to simple AI tools for making your photos move.
You're probably here with one photo open on your screen and a very specific feeling in your chest.
Maybe it's a picture of a parent who's gone, a grandparent at a family table, a wedding portrait you want to include in an anniversary video, or an old scan that deserves more than a basic slideshow transition. You don't want a gimmick. You want the image to breathe a little. Just enough to feel present again.
That's where a 3D photo effect can help. In practice, the term often refers to a parallax-style animation made from a still image, where the subject and background move at slightly different speeds so the frame feels deeper and more alive. Used with restraint, it can turn a static tribute into something subtly affecting. Used carelessly, it can make a meaningful photo feel synthetic.
Photography has always chased depth in one form or another. Modern image-making traces back to the 1830s and 1840s, with photography publicly introduced in 1839 through Daguerre's daguerreotype process, and later visual milestones like the 1907 Autochrome plate and 1908 Kinemacolor expanding what images could convey through realism and color, as summarized in this timeline of photography technology. Today's 3D photo effect is the software-era descendant of that same impulse.
Table of Contents
- From Still Image to Living Memory
- Preparing Your Photo for a 3D Effect
- Choosing Your Path to Animation
- Adding Polish with Camera Moves and Audio
- Exporting and Sharing Your Animated Photo
- Frequently Asked Questions About 3D Photo Effects
From Still Image to Living Memory
A still photo already holds emotion. Animation should support that, not compete with it.
The strongest memorial and family tribute edits don't scream for attention. They guide the eye. A gentle camera drift across a face, a soft separation between subject and background, a slight sense of dimensional space. Those choices can make a viewer feel closer to the moment without turning the image into a novelty.
Most tutorials approach the 3D photo effect like a trick. Cut the subject, move the layers, add motion, export. That works if your goal is social content with punch. It's less useful when the photo means something and the person watching knows every detail of that face.
The right amount of motion makes a memory feel present. Too much motion makes it feel edited.
Modern consumer tools made this effect widely accessible because image animation no longer depends on optical viewers or specialized display systems. It now lives inside apps and editing platforms. Apple's App Store listing for Motionleap: 3D Photo Animator describes it as a tool that “brings life to images through animation,” which captures the shift well in the Motionleap App Store listing.
That accessibility is useful, but it also creates a problem. People often start animating before they ask the only question that matters. Is this photo a good candidate for dimensional movement? If the answer is no, even a clean edit can feel stiff, warped, or emotionally off.
A meaningful 3D photo effect starts with judgment, not software. You need to read the image first. Where is the subject separated from the background? What depth cues are already there? Which parts should stay still because movement would cheapen the moment?
Those decisions matter more than the tool.
Preparing Your Photo for a 3D Effect
The edit usually succeeds or fails before you mask a single pixel.
If I'm choosing from a folder of family photos, I'm not looking for the most dramatic image first. I'm looking for the one that already contains believable depth. A little background separation, a readable silhouette, and lighting that gives the face shape will carry the effect much farther than heavy post work ever will.
What makes a photo work
A creator tutorial on this topic points to the strongest depth cues as depth layering, brightness contrast, directional lighting, and foreground/background blur, and notes that when a photo lacks those cues, editors have to build them artificially in post in the creator walkthrough on 3D photo cues. That's why source photo selection matters so much.
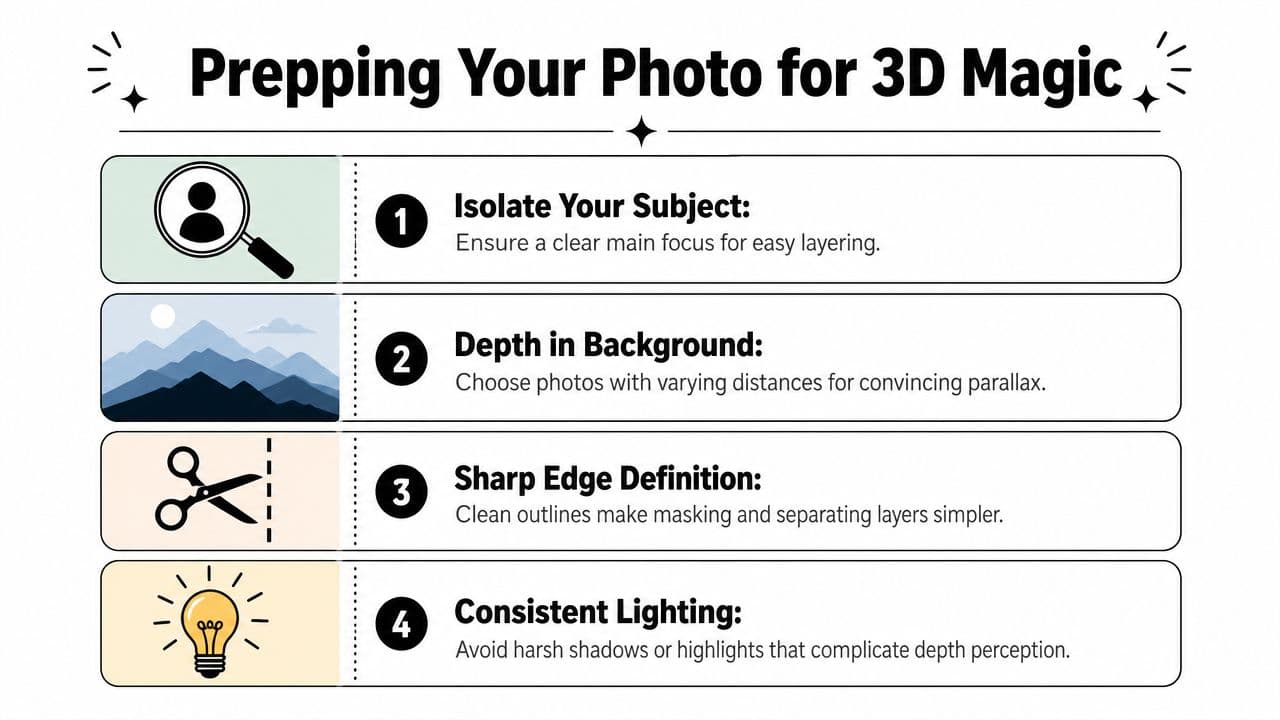
When you review a candidate image, check these points:
- Subject separation: A person against a soft or distant background is much easier to animate than a group packed tightly against a wall.
- Readable edges: Hair, shoulders, hats, and hands need a clean outline. Messy edges make masking slow and often visible.
- Layered space: A foreground object, subject, and background give you room to create parallax that feels earned.
- Natural light direction: Flat lighting tends to flatten the whole scene. Light from one side usually gives the face and body more dimension.
A classic phone snapshot with even flash lighting can still work, but it often needs more help. By contrast, an old portrait with soft falloff behind the subject is often nearly ready for animation as-is.
Practical rule: If you can instantly tell what should be in front, what should sit behind, and what should barely move, the photo is a strong candidate.
What to fix before animation
Preparation doesn't mean over-restoring the image. It means removing obstacles that make depth harder to sell.
A few small pre-edits help a lot:
- Correct obvious blur where possible. If the face or eyes are slightly soft, sharpen conservatively before you start masking. A practical guide to how to sharpen an image is useful here because sharper edge definition makes layer separation easier.
- Lift contrast gently. You're not trying to make the image modern. You're trying to make planes of depth easier to read.
- Clean damage that interrupts edges. Dust, tears, and scan streaks near a shoulder line or hair contour can break the illusion later.
- Crop with motion in mind. Leave room for a subtle push-in or pan. A crop that's too tight leaves nowhere for the virtual camera to travel.
Photos that usually fight back include large group shots, flatly lit memorial cards, and scans where the subject blends into a dark background. You can still animate them, but you'll spend more time inventing separation than refining emotion.
The best source image doesn't need to be perfect. It just needs to give you something real to work with.
Choosing Your Path to Animation
There isn't one universal workflow for a 3D photo effect. There are three common ones, and each solves a different problem.
If you want total control over every edge and every camera move, manual editing still has a place. If you want speed on a phone, mobile apps are convenient. If you want a polished result for a tribute without building a full compositing setup, AI-assisted tools can save a lot of friction.
Manual editing for full control
The manual route usually means isolating the subject, rebuilding hidden background areas, arranging layers in depth, and animating a virtual camera in software like Photoshop and After Effects. It's still the most flexible approach when a tribute edit has to match an exact beat, framing choice, or motion language.
One common version is the out-of-bounds look. Corel's tutorial shows the practical mechanics clearly: duplicate the original photo, create a background layer, and erase parts of the original so the subject appears to break out of the frame. Corel also points out a precision detail editors often skip, which is lowering layer opacity temporarily while masking and restoring it after, in this Corel out-of-bounds photo tutorial. It's a layered compositing method, not true depth capture, but it can look elegant when the edges are clean.
The downside is time. Not just masking time. Judgment time. You have to decide how much of the shoulder comes forward, how much of the background needs rebuilding, and how far the camera can move before the illusion collapses.
Mobile apps for quick experiments
Mobile tools are useful when you want to test motion ideas fast or create a casual social post. They're easy to use and often let you add directional motion, selective movement, or stylized depth without opening a desktop editor.
But convenience changes the result. Mobile workflows often prioritize visible motion over subtle realism. For tributes, that can become a problem. Water ripples, exaggerated zooms, floating hair, and aggressive movement paths tend to pull attention toward the effect instead of the person in the image.
That doesn't make them bad. It just means they're better for experimentation than for delicate family storytelling.
A simpler AI-assisted route
Some projects need a middle path. You want natural movement, but you don't want to spend an evening painting masks and patching backgrounds.
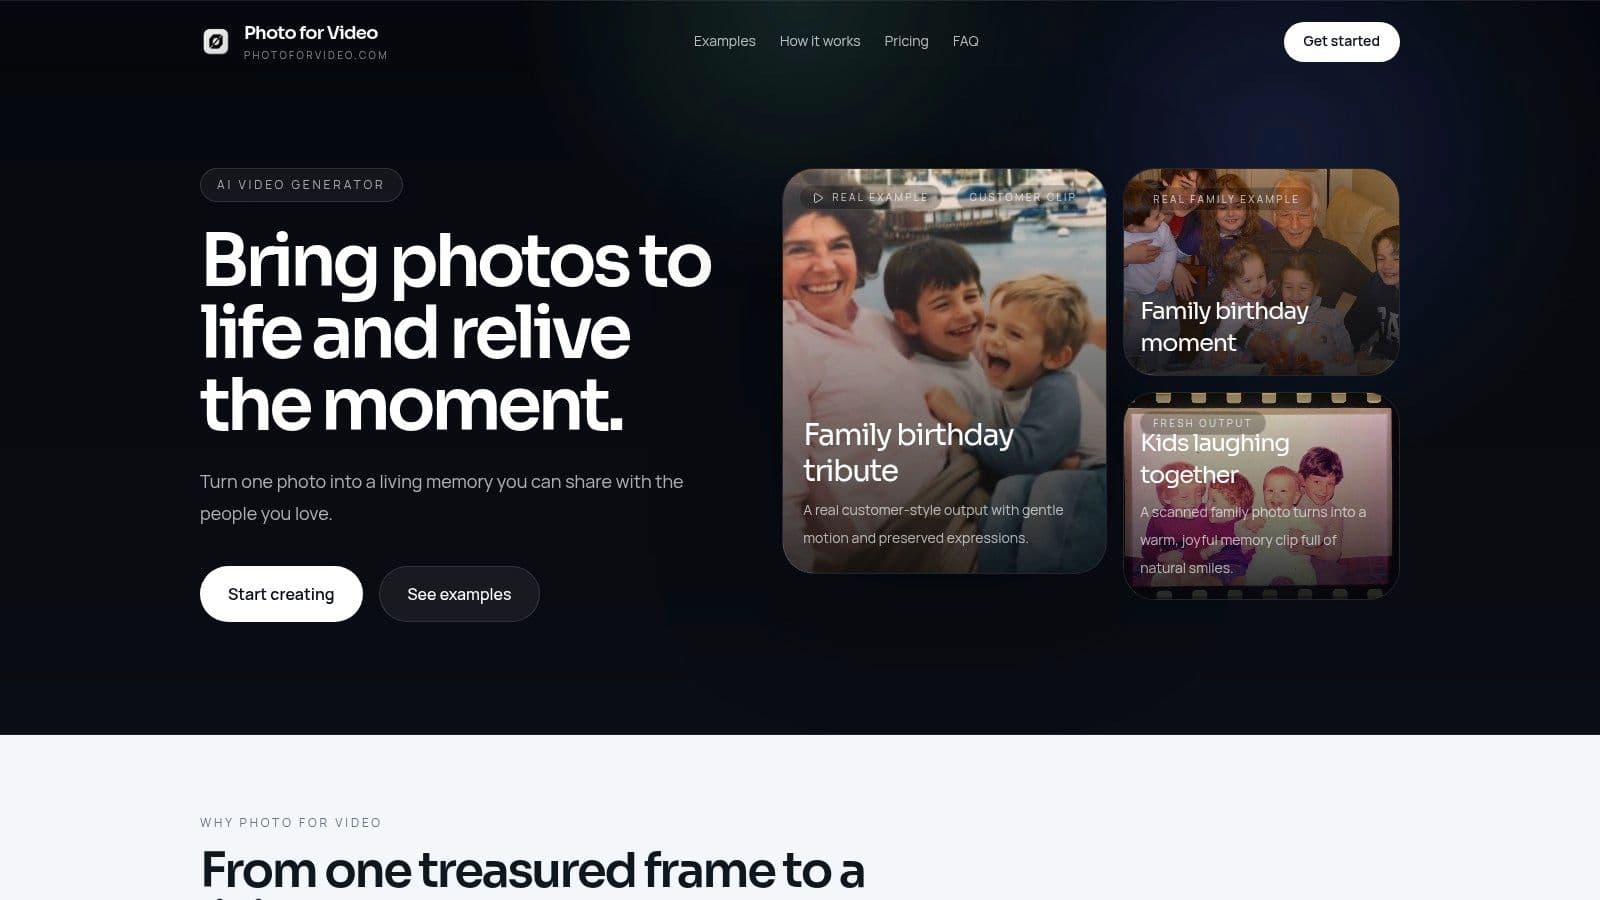
That's where tools built around photo-to-motion generation can make sense. One example is Photo to Video AI workflows, which turn a still image into a short motion clip from a simple prompt. In the case of Photo for Video, the tool is designed around turning a single image into a short animated memory for family tributes and keepsakes, which fits this use case when the goal is tasteful motion rather than manual compositing.
Here's the practical comparison:
| Method | Skill Level | Time Investment | Best For |
|---|---|---|---|
| Manual editing | High | High | Editors who want frame-level control |
| Mobile apps | Low | Low | Quick experiments and casual posts |
| AI-assisted generation | Moderate to low | Lower than full manual work | Family tributes, keepsakes, and fast polished outputs |
A short demo helps if you want to see what subtle motion looks like in practice.
The right path depends less on what's trendy and more on what the photo demands. If the image is complex and irreplaceable, control matters. If the image is emotionally important but you need a clean result fast, simplicity matters more.
Adding Polish with Camera Moves and Audio
Once the image has depth, the next job is restraint.
Most tribute edits fall apart at the motion stage. The layers are separated well enough, but the camera move pushes too hard, pans too far, or swings in a way no real camera operator would choose for a quiet memory. Good motion feels observed. Bad motion feels applied.
Use camera motion like a director
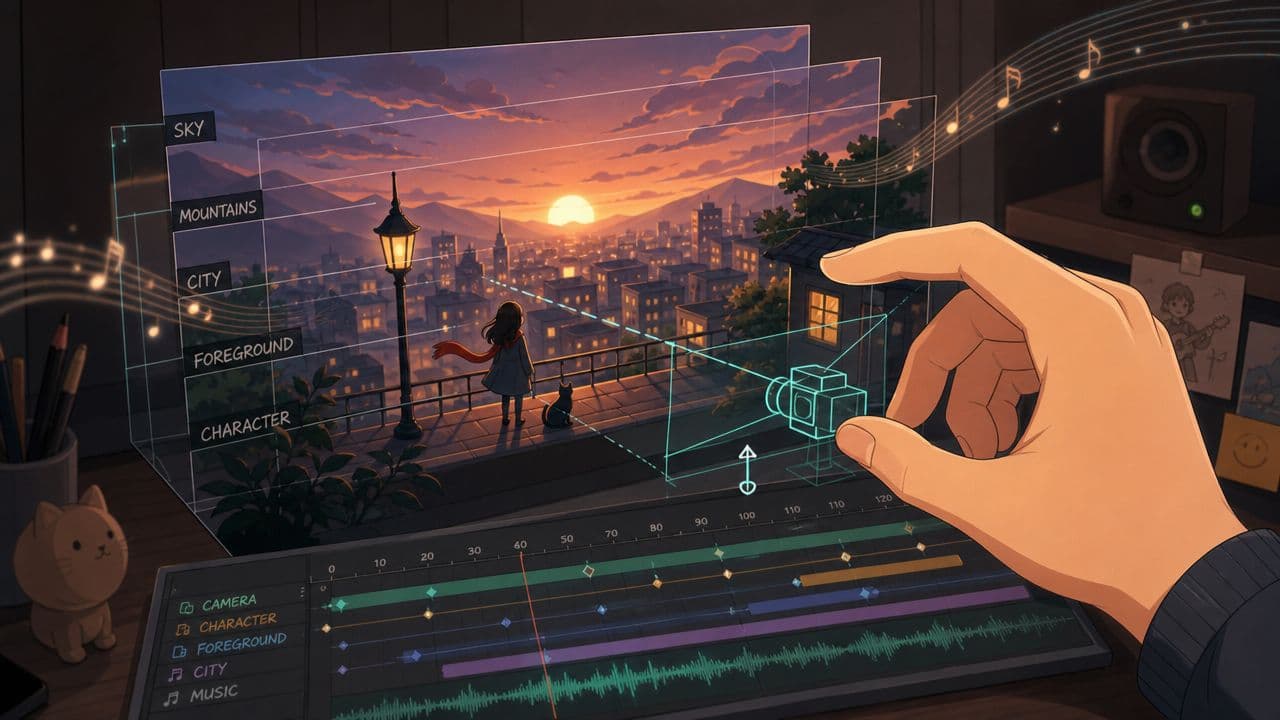
A subtle push-in is often the safest choice. It creates intimacy without announcing itself. A gentle lateral drift can work well when the background has visible distance. A slight arc can feel beautiful, but only if the scene has enough believable depth to support it.
For true stereo 3D photography, viewpoint separation matters a lot. One practical guide recommends starting with about 2.5 to 4 inches between viewpoints for close subjects and notes that too much parallax or poor alignment breaks the illusion, as covered in this Digital Photography School guide to 3D photography. Software-based 3D photo effects don't use that capture method, but the underlying lesson still applies. Push depth too far, and viewers feel the trick.
A few editing habits keep motion tasteful:
- Move toward emotion, not novelty: Faces, hands, and eye lines usually deserve the camera's attention more than background detail.
- Keep layer offsets modest: If the foreground slides too much against the background, the photo starts to feel cut apart.
- Protect anatomy: Watch jawlines, ears, fingers, and glasses. Those are usually the first places where fake depth reveals itself.
A memorial image doesn't need spectacle. It needs enough motion to invite the viewer in.
Let audio carry half the emotion
A 3D photo effect without audio can still work, but sound often decides whether the piece lands emotionally. Music gives the image context. Ambient sound gives it air. Even a simple room tone under a slow animated portrait can make the frame feel less digital.
When I'm cutting tribute work, I usually treat the camera move and the audio cue as one gesture. If the image eases forward, the music should support that movement, not fight it. If the shot holds still for a beat, the soundtrack should leave space there too.
If you want the motion and music to feel connected, a practical guide to syncing audio with video helps with timing choices that keep the piece calm and intentional.
The cleanest result usually comes from doing less than you think. A slow move, a soft entrance, and audio that doesn't crowd the image will take you farther than a packed timeline full of effects.
Exporting and Sharing Your Animated Photo
The export isn't just a technical finish line. It decides whether the piece still feels polished once it leaves your editing timeline.
A family tribute shown on a television, sent in a group chat, or posted as a Reel doesn't need the same frame shape or compression approach. The destination should determine the export, not habit.
Choose the format for the destination
MP4 often proves to be the practical choice because it's easy to share and works well across phones, social platforms, and presentation screens. If the animation depends on music or spoken audio, that alone usually settles it.
Aspect ratio matters just as much. A square or vertical layout makes sense for social feeds. A wider frame feels more natural for tribute videos played on laptops or TVs. If the original photo is heavily portrait-oriented, forcing it into a wide crop can weaken the composition, so it's often better to build the edit around the photo instead of fighting it.

A short export checklist
Before you render, check these:
- Match the frame to the platform: Social post, Reel, slideshow, and memorial display each reward different framing.
- Watch the loop point: If the clip repeats, the ending shouldn't snap abruptly back to the beginning.
- Check compression artifacts on faces: Skin, hair, and old paper texture often degrade first.
- Test on the actual viewing device: A clip that looks smooth on your monitor can feel too dark or too sharp on a phone.
Export one version for sharing and one clean master for safekeeping. Family projects tend to come back years later.
That final master matters more than people think. A tribute clip often gets reused for anniversaries, birthdays, memorial updates, and family archives. Save something you can return to without rebuilding from scratch.
Frequently Asked Questions About 3D Photo Effects
Is this real 3D or just an illusion
Usually, it's an illusion built from depth cues, layered separation, and camera movement. That doesn't make it fake in a useless sense. It just means it isn't the same as true stereoscopic capture or full scene reconstruction.
Research in computer vision is pushing beyond simple compositing toward depth-aware generation that can preserve a scene under larger viewpoint changes, which highlights why realism is hard in the first place in this ICCV paper on wide-angle 3D photography from a single image. In plain terms, the farther you try to move the camera from a single still, the more the system has to invent.
Can old family photos work
Yes, and sometimes they work beautifully because older portraits often have simpler compositions and stronger subject emphasis.
What matters is condition and structure. If the scan is badly damaged, extremely flat, or missing important edges around the face or shoulders, you may need restoration before animation. But age itself isn't the problem. In fact, old prints often carry texture and lighting that make subtle movement feel especially poignant.
Why does my result look fake or warped
Three causes show up again and again.
First, the source photo may not have enough natural depth cues. Second, the masking or separation around edges may be too rough. Third, the camera move may be more ambitious than the image can support.
If a result looks strange, reduce motion before you rebuild everything. A lot of warped-looking 3D photo effect work is over-animated.
What's the difference between a 3D photo effect and a cinemagraph
A cinemagraph keeps most of the frame still while one local area repeats motion, like hair moving or steam rising. A 3D photo effect creates the impression of dimensional space by separating visual planes and moving the virtual camera or layers relative to each other.
They can overlap, but emotionally they behave differently. A cinemagraph feels suspended. A 3D photo effect feels spatial.
For tribute work, the better choice depends on the image. If the memory benefits from stillness, a cinemagraph-like treatment may feel more respectful. If the image wants presence and gentle perspective, 3D motion often carries more feeling.
If you want a simpler way to turn one meaningful image into a short animated keepsake, Photo for Video offers an AI workflow built around family photos, memorials, anniversaries, and tribute edits. It's a practical option when you want natural motion without building a full manual compositing project.