How to Sharpen an Image for Video and Animation
Learn how to sharpen an image for video and animation. Our guide covers non-destructive workflows for old scans, phone photos, and preserving texture.
You're probably looking at a photo that matters more than its technical flaws. Maybe it's a scanned print with soft eyes and a beautiful paper texture. Maybe it's a phone photo taken quickly in low light, and now you want to animate it into a short tribute clip or family keepsake.
That's a different sharpening job than preparing a file for a gallery print. For video animation, the goal isn't to squeeze every last edge into clinical crispness. The goal is to give the image enough clarity that motion feels believable, while keeping the photo's age, grain, softness, and emotional tone intact.
A sharpened image can feel more present on screen. But too much sharpening does the opposite. It turns skin waxy, grain brittle, and outlines harsh. When the photo starts moving, those mistakes become easier to notice.
Table of Contents
- Why a Sharpened Image Matters for Animation
- Understanding the Fundamentals of Sharpening
- A Practical Guide to Sharpening Tools
- Sharpening Old Scans and Phone Photos with Care
- AI Deblur Tools Versus Traditional Sharpening
- Final Workflow A Checklist for Perfect Prep
Why a Sharpened Image Matters for Animation
A still photo can hide softness better than a moving frame can. Once you animate a slow push-in or a gentle parallax move, the viewer's eye starts tracking edges. Soft eyelashes, blurred jacket seams, and muddy hairlines become more noticeable.
That's why sharpening matters here. Not because the photo has to look modern, but because movement asks more from the image. A slightly clearer edge on a face or hand can make the whole memory feel more immediate.
Consider two common photos. The first is an old wedding print scanned from an album page. It has mild softness, visible paper grain, and a little fading. The second is a birthday snapshot from a phone, where the child's face is reasonably clear but the candles and background decor blur together. In both cases, careful sharpening can help the important subject hold up once the frame starts to move.
Emotional clarity matters more than maximum sharpness
For animation, I treat sharpening as a form of preservation. You're not trying to rewrite the photograph. You're helping the original survive motion.
That often means sharpening less than you think. Old prints can carry softness that belongs to the memory. Film grain, scanner texture, and lens character can all be part of the image's truth. If you strip those away or harden every contour, the result may look cleaner, but it often feels less authentic.
Practical rule: Sharpen the part people remember first. Usually that's the face, eyes, hands, or a meaningful object. Let the background stay quieter.
A related issue is color. Once a photo is clearer, shifts in white balance, skin tone, or fading can become easier to notice in motion. If you're also correcting tone and color, it helps to keep sharpening in balance with image color calibration for scanned and digital photos, so clarity doesn't outpace the rest of the restoration.
What works on screen
A gentle sharpening pass usually helps animation when the image is already decent and just needs definition. What doesn't work is trying to force a blurry file into false detail. That tends to create crunchy pores, glowing outlines, and a brittle look around hair, collars, or text.
For keepsake videos, the best sharpened image is often the one nobody notices as sharpened. They just feel that the person in the photo is a little closer.
Understanding the Fundamentals of Sharpening
A scanned photo can look fine as a still and then fall apart the moment it starts to move. A soft jawline turns mushy. Eyelashes disappear. The edge of a collar starts to shimmer. Sharpening helps by giving existing structure a little more separation, which makes motion feel steadier and the subject easier to read.
Sharpening does not create missing detail. It changes local contrast so edges look more defined to the eye. That idea comes from darkroom unsharp masking, where a softened version of the image was used to increase contrast along transitions. Modern sliders hide the math, but the principle is the same.
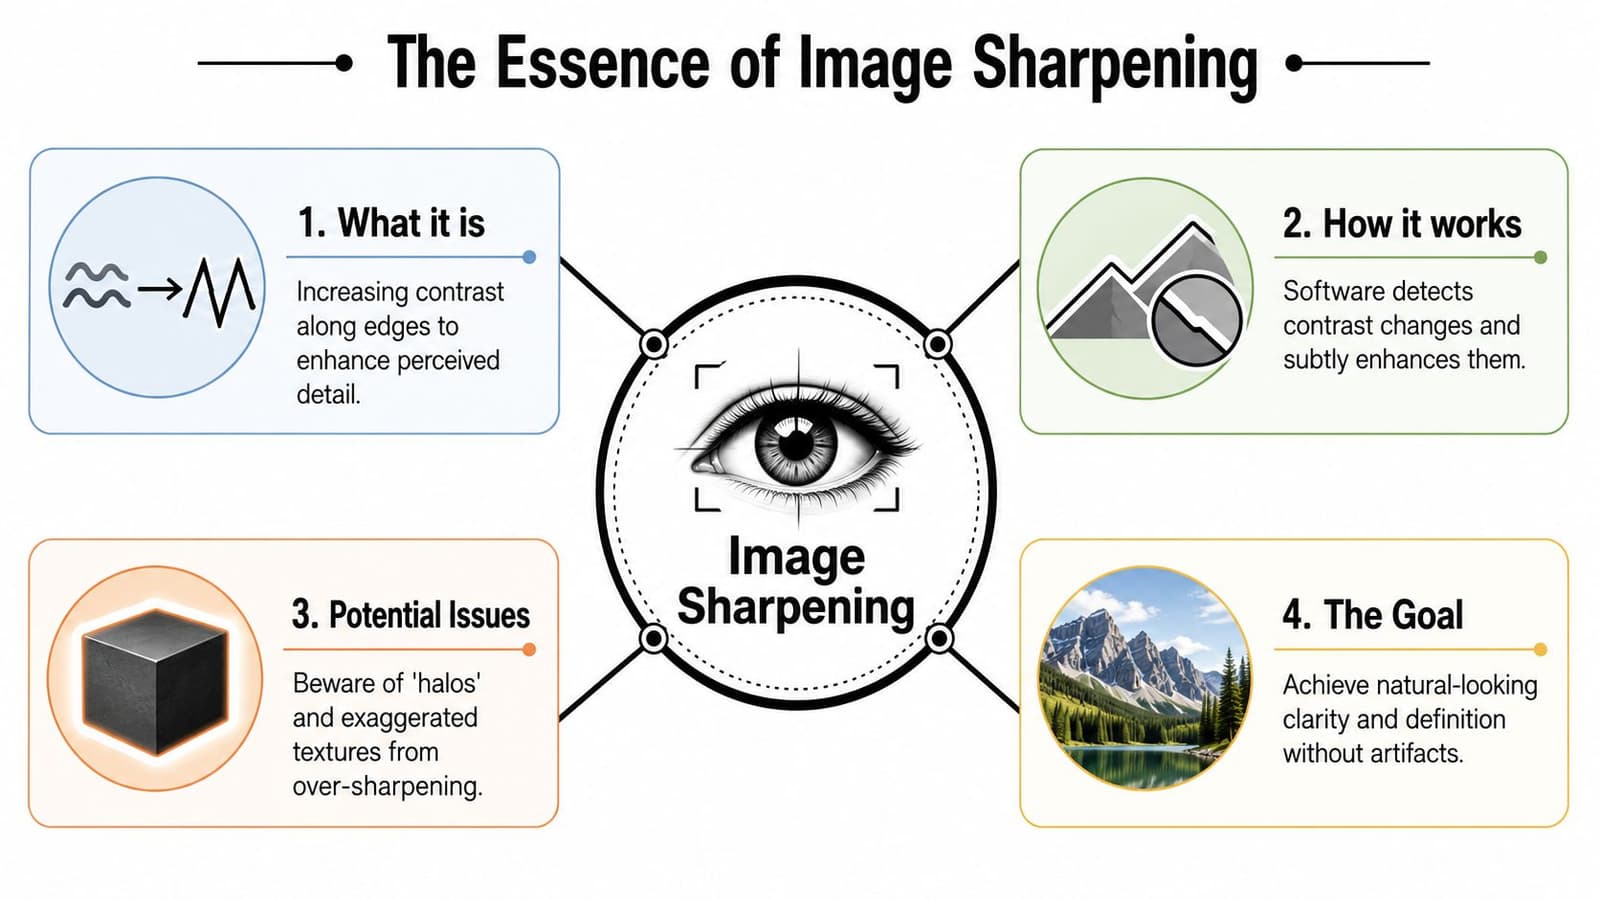
What Sharpening Changes
A soft edge between a dark coat and a pale wall already contains a boundary. It just fades too gradually. Sharpening steepens that transition, so the boundary reads as clearer without changing the underlying subject.
This is why sharpening succeeds on files that still hold usable detail and fails on files where detail has been smeared away by blur, missed focus, rough compression, or heavy noise. In those cases, the tool often intensifies defects instead of restoring information.
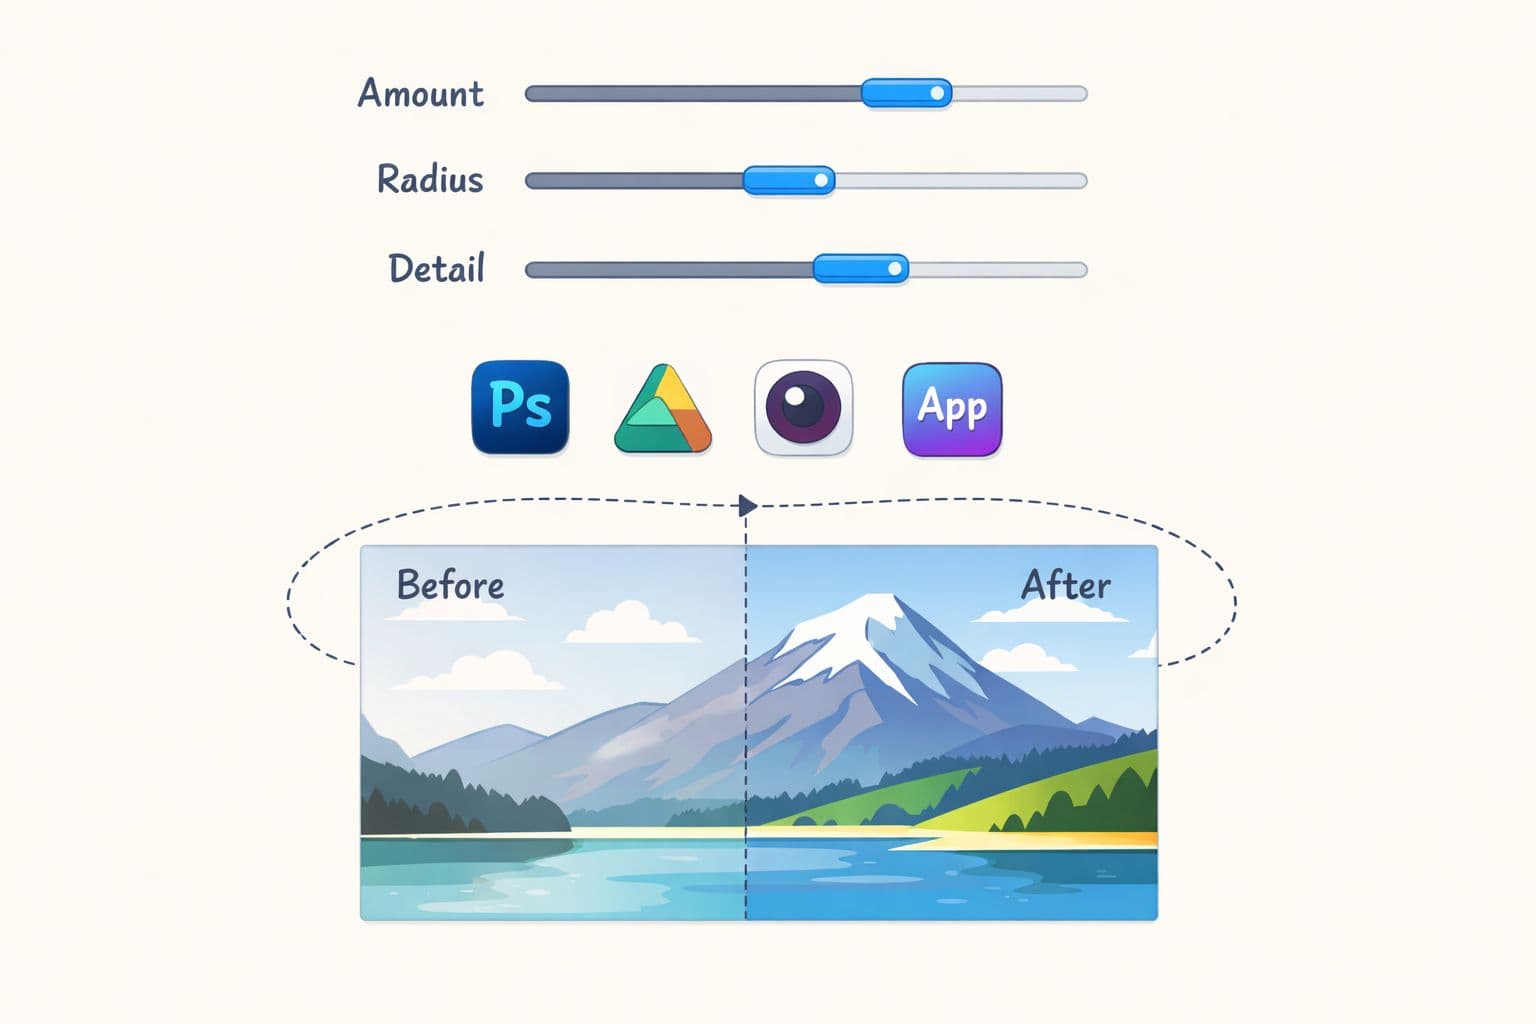
Three controls matter in nearly every editor:
- Amount controls how strongly edge contrast is increased.
- Radius controls how far that increase spreads from the edge.
- Threshold or Masking limits sharpening so flat skin, open sky, and other quiet areas stay calmer.
For photos headed into gentle animation, radius usually deserves the closest attention. Too much radius creates thick edge contrast that may look acceptable in a still frame but becomes distracting once the image pans or subtly zooms. Faces are where this goes wrong first.
The sliders that matter most
Halos are the fastest warning sign.
A halo is a light or dark outline that appears beside an edge when sharpening is too strong or too wide. You'll see it around hair, eyeglass frames, lapels, handwriting, and high-contrast borders. In a keepsake video, those outlines can flicker or pull the eye away from the expression that matters.
Narrow sharpening usually holds up better than broad sharpening. Small-radius settings tend to improve definition without wrapping the subject in visible edge treatment. Wider settings can make old prints look brittle and phone photos look overprocessed.
Halos are not a software problem. They are a sign that the sharpening has become visible.
I treat that as the line to avoid with family photos and archival scans. If the viewer notices the sharpening before they notice the person, the file has been pushed too far. Good sharpening for animation supports the memory, keeps the texture that belongs there, and stays quiet enough that motion feels natural.
A Practical Guide to Sharpening Tools
The tool matters less than the control it gives you. For photos headed into motion, the best sharpening method is the one that lets you adjust subtly, compare versions, and back off before the image starts to feel brittle.
A still image can tolerate a little extra crispness. A photo that will pan, drift, or gently zoom usually cannot. Small artifacts become more visible in motion, especially around eyes, hairlines, collars, and handwritten details. That is why I favor reversible edits and selective sharpening over aggressive global fixes.
Photoshop for controlled sharpening
Photoshop gives the most precise control, which matters when an old scan has mixed problems. One area may need help on the eyes, while another needs protection because the paper grain is already strong enough.
A reliable workflow looks like this:
- Convert the layer to a Smart Object so the sharpening stays editable.
- Judge the file at 100% view before making decisions.
- Apply Smart Sharpen or Unsharp Mask in small moves.
- Add a layer mask so you can keep the effect off cheeks, skies, walls, and other quiet areas.
- Reduce layer opacity if the result is technically sharper but emotionally harsher.
I still use High Pass when I want a restrained, layer-based result. Applied on a duplicate layer and faded down with opacity, it can add definition without locking you into a heavy filter setting. It is especially useful for scanned prints that need a little edge separation but should still look like prints.
If the photo also needs cleanup, pair sharpening with a light online photo retouch workflow for dust and small distractions before you commit to final detail work. Dust spots and scratches get louder after sharpening.
Lightroom for fast global sharpening
Lightroom is faster and simpler. It works well when the whole frame needs a modest correction and the file is already in decent condition.
The Detail panel is strongest when you keep the moves small:
- Use a low radius first so edges tighten without getting thick.
- Raise masking to hold back sharpening from soft backgrounds and skin.
- Check the image after any crop or resize decision so you are sharpening the file you will export.
For animation prep, Lightroom is often enough for phone photos that are only slightly soft. It is less forgiving with damaged scans. If the image has dust, mottling, or uneven texture, global sharpening can make those flaws compete with the subject.
Recommended starting points for sharpening
| Method | Amount/Strength | Radius | Detail/Threshold |
|---|---|---|---|
| Lightroom Detail panel | Start modestly and increase only until key edges read clearly | Around 0.5 | Keep Detail controlled and use Masking to limit spill into smooth areas |
| Photoshop High Pass | Blend gently with layer opacity after applying the filter | 1 to 3 px | Use a mask instead of sharpening smooth areas |
| Smart Sharpen or Unsharp Mask | Increase carefully while checking faces and transitions | Keep radius conservative | Use Threshold or masking to protect flat tones |
These are starting points, not targets. A faded album scan, a glossy print photographed on a phone, and a clean digital portrait all react differently. The right setting is the one that helps the subject read more clearly without making the file announce that it has been sharpened.
GIMP and other simple editors
Free editors can still do careful work. Use a duplicate layer, apply sharpening there, then erase or mask it back from skin, open backgrounds, and any texture you want to preserve.
What holds up in motion is selective treatment. A one-click sharpen across the whole frame usually pushes attention toward noise, compression, and paper texture instead of the person in the photograph.
Working habit: If sharpening is obvious at normal viewing size, reduce it and check the image again.
Sharpening Old Scans and Phone Photos with Care
A faded album scan can look fine as a still image, then fall apart the moment it starts to move in a video animation. The softness becomes more noticeable frame to frame. So do dust, paper grain, and phone noise if they get sharpened along with the face.
Old scans and phone photos need restraint because they usually carry several kinds of texture at once. Some of that texture belongs to the memory. Some of it comes from the scanner bed, JPEG compression, glare, or a low-light phone capture.
A family snapshot from an album makes the trade-off clear. The faces may need a bit more edge definition so they hold up in motion, but the print surface often carries warmth that should stay soft. If every edge gets equal treatment, the viewer starts noticing dust specks and paper pattern before the people.
Protect the intended texture
Start by deciding what deserves protection. That choice matters more than the tool.
Film grain, gentle lens softness, and a little paper tooth often help an old photo feel like itself. Scanner dust, crunchy compression, and blotchy color noise usually do the opposite. For animation, this distinction matters even more because repeated frames give distracting texture more time to announce itself.
A careful routine usually looks like this:
- Clean first where needed: Remove dust, scratches, or obvious sensor noise before sharpening so defects do not gain contrast.
- Work non-destructively: Use a duplicate layer or Smart Object so you can reduce the effect later.
- Judge at full size: Check the image at 100% and also at normal screen fit. Fine damage often hides when zoomed out, while over-sharpened halos can feel stronger once the photo is placed in motion.
- Sharpen by importance: Give more definition to faces, eyes, hands, clothing details, or objects that carry the story. Leave less important areas quieter.
If the file needs cleanup before any sharpening pass, free online photo retouching and cleanup tools can help remove distractions before you add edge contrast.
Where selective sharpening helps most
The strongest gains usually come from small, meaningful details. Eyes behind a bit of glare. The line of a smile. A wedding corsage. The border of a uniform patch. A child's cheek against a darker room.
Protect these areas early:
- Sky and plain walls: They turn rough and uneven fast.
- Skin: Extra sharpening can make age lines, pores, and scan noise feel harsh.
- Deep shadows: Noise gets brittle and flickery in animated output.
- Printed surface texture: If the paper starts competing with the subject, reduce the effect or mask it away.
The goal is clear attention, not hard detail.
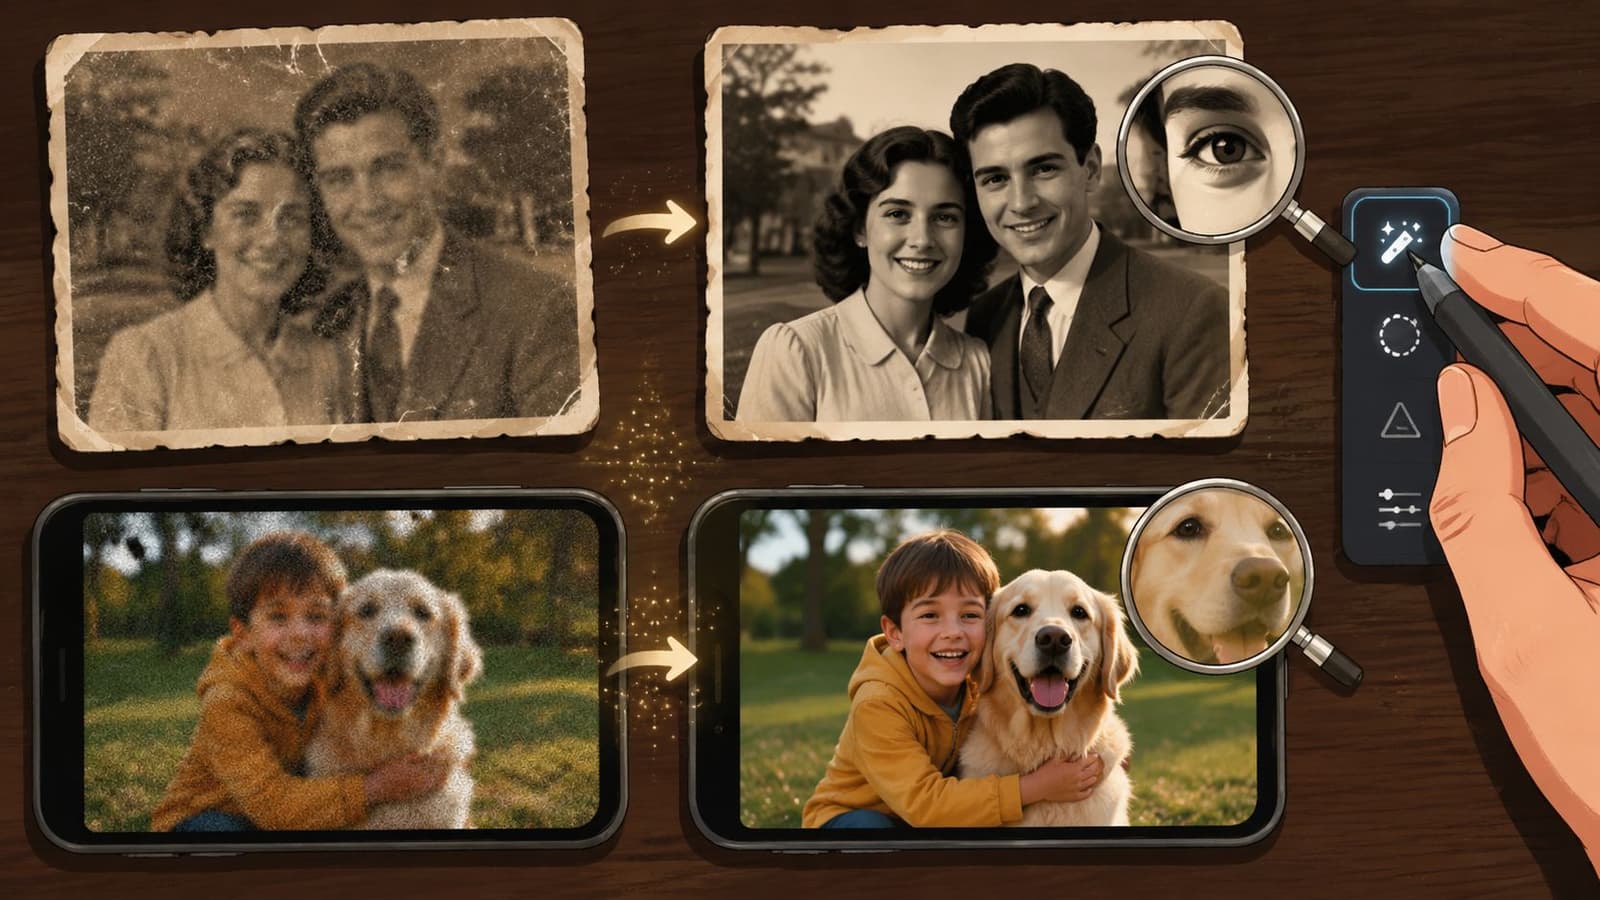
When I prepare archival photos for motion, I usually stop one step earlier than the preview first suggests. That lighter version tends to hold up better once the image is animated, because it preserves the character of the original print instead of forcing a modern, over-processed sharpness onto it.
This visual walkthrough shows the kind of gentle enhancement mindset that works well before animation:
AI Deblur Tools Versus Traditional Sharpening
Traditional sharpening and AI deblur tools solve different problems. If you mix them up, you waste time and damage the file.
When traditional sharpening is enough
Use conventional sharpening when the photo is basically sound and just a bit soft. Edges are there. The subject is recognizable. Detail exists but needs separation.
That's the right situation for Unsharp Mask, Smart Sharpen, High Pass, or Lightroom's Detail panel. These tools enhance existing edge contrast. They give you more control, and they usually preserve character better when you're handling scanned prints or sentimental phone captures.
If the issue is output softness, it also helps to review how to fix image resolution for clearer final exports, because not every “soft” image is a sharpening problem.
When deblur tools are the better first move
Use AI deblur tools when the image suffers from actual blur, not just mild softness. That includes motion smear, missed focus, or an unstable capture.
Adobe's guidance is a useful anchor here. Sharpening is most effective after a strong capture, and no post-processing can fully recover lost detail from severe blur. For that reason, Adobe emphasizes better source capture, including RAW and, on many lenses, working around f/7.1 to f/13 for sharper results, as outlined in Adobe's guide to mastering photo sharpness.
That distinction matters. Traditional sharpening says, “make what's here easier to read.” AI deblur says, “try to reconstruct what isn't clearly there.”
A simple decision framework:
- Slightly soft but focused: Use traditional sharpening.
- Noticeably smeared edges: Try deblur first, then refine carefully.
- Very damaged or heavily blurred: Accept that recovery may stay limited.
Use sharpening to finish a believable image. Use deblur only when the file needs rescue before finishing.
For memory-driven work, believable usually matters more than impressive. AI can sometimes create convincing detail, but it can also replace familiar facial texture with something synthetic. That trade-off may be fine for a casual social post. It's riskier for a cherished family photo.
Final Workflow A Checklist for Perfect Prep
When people ask how to sharpen an image for animation, they often expect one slider and one number. The actual answer is a short sequence of decisions. Good prep comes from order, not force.
A repeatable finishing routine
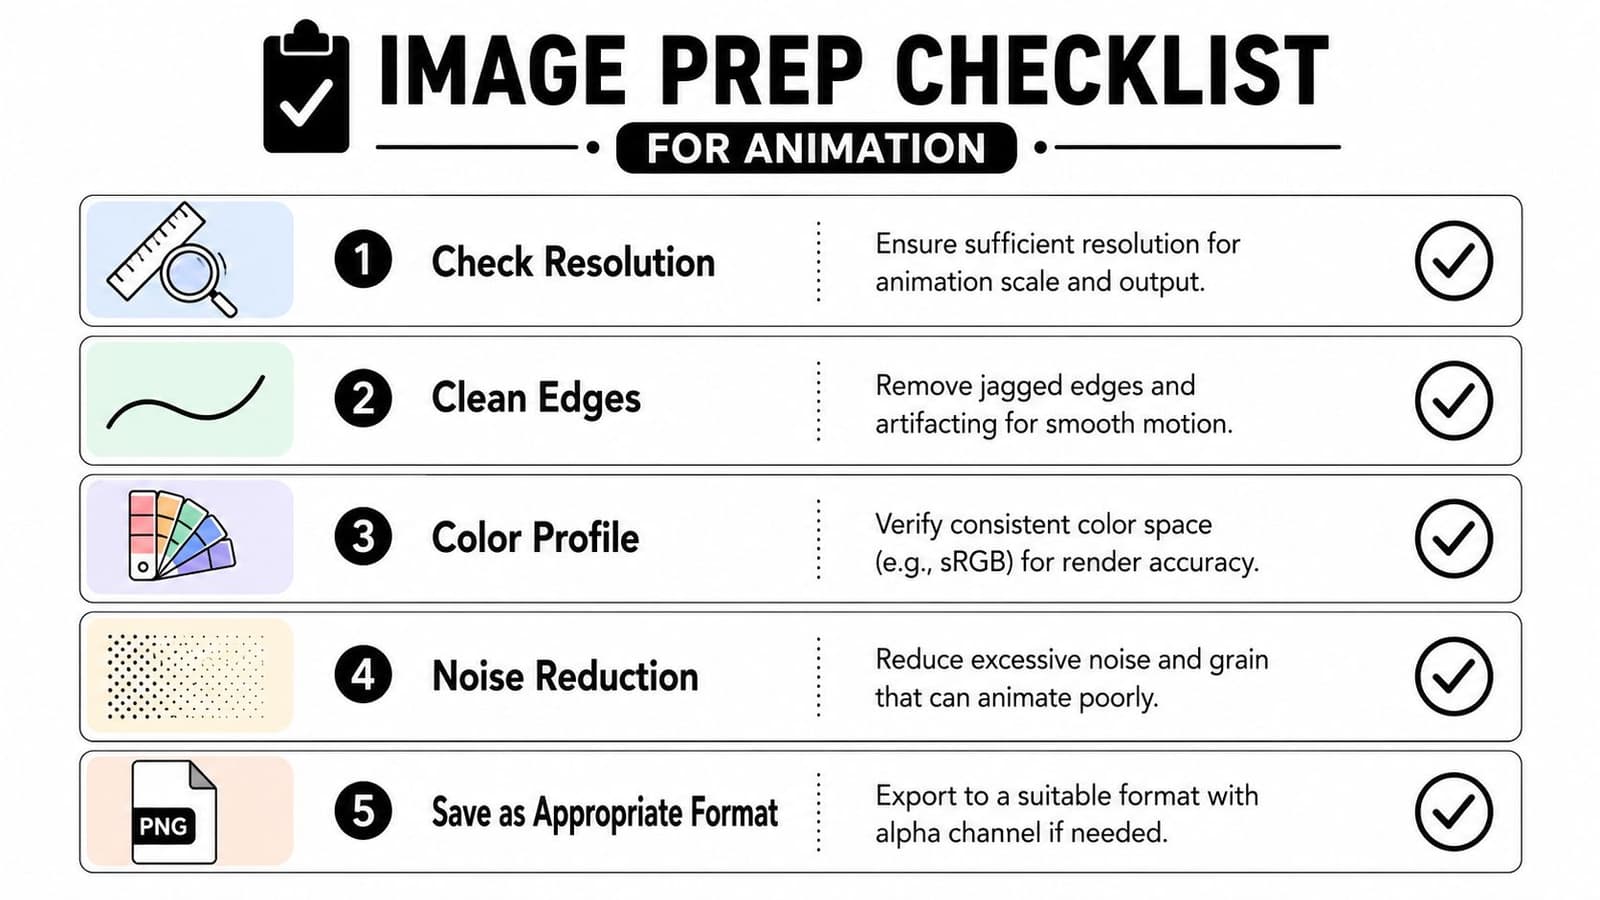
Use this checklist before export:
-
Assess the problem Decide whether the image is mildly soft, significantly blurred, noisy, or merely low in contrast.
-
Clean visible distractions
Remove dust, scratches, or obvious artifacts before sharpening. Otherwise those flaws get promoted. -
Sharpen non-destructively
Use a Smart Object, duplicate layer, or reversible workflow so you can back off without damage. -
Judge at 100%
That's where halos, brittle grain, and harsh skin texture reveal themselves. -
Sharpen after sizing decisions are clear
Resizing changes perceived sharpness, so the final pass should fit the final output.
Keep one final standard in mind. If the sharpening makes the photo feel newer than the memory itself, pull back. The strongest result for animation is usually the file that looks a little clearer, a little steadier, and completely believable.
Sharpening should support motion, not become the subject of it.
If you're ready to turn a carefully prepared photo into a short living memory, Photo for Video makes it simple. Upload a single image, describe the motion and tone you want, and create a polished clip that keeps the original feeling of the photograph intact.