Application Time Lapse: Master Techniques for 2026
Create stunning application time lapses. Our 2026 guide covers camera settings, photo series, & animating single images with AI for powerful tributes.
You're probably here because you have photos that matter, and you want them to feel alive in a tribute, birthday reel, anniversary montage, or memorial video. Maybe you have a folder of yearly snapshots. Maybe you have one portrait that carries the whole story. The hard part isn't caring enough to make something meaningful. It's knowing which kind of motion fits the memory.
That's where application time lapse becomes useful. In practice, it can mean two very different things. One method builds motion from a sequence of photos taken over time. The other creates the feeling of time passing from a single still image. Both can work beautifully for family storytelling, but they solve different problems and demand different preparation.
Table of Contents
- What Is an Application Time Lapse for Memory Making
- Planning Your Multi-Photo Time Lapse Shoot
- Digitizing and Preparing Your Photo Collection
- Editing Your Photo Series into a Smooth Time Lapse
- Animating a Single Image with Photo for Video
- Choosing Your Path and Telling Your Story
What Is an Application Time Lapse for Memory Making
The phrase application time lapse can sound more technical than it is. In one business context, “time lapse application” refers to a hiring metric that tracks the period between a department's manpower request and the date the vacancy is filled, as explained in this HR definition of time lapse data. That's useful in operations. It has nothing to do with the kind of memory-making most readers want.
For family storytelling, the meaning shifts completely. Here, application time lapse means applying time-lapse thinking to personal photos so viewers can feel change, growth, aging, restoration, or remembrance. The point isn't technical novelty. The point is emotional clarity.
A child's first-day-of-school portraits can become a fast, clean progression across years. A home renovation can move from stripped walls to a finished kitchen. A memorial video can hold on one treasured portrait and give it a subtle sense of breath and presence.
Two valid paths
There are really two workflows:
- A multi-photo time lapse uses many still images taken across hours, months, or years.
- A single-photo animated tribute uses one image and adds motion in a restrained, cinematic way.
A strong tribute doesn't need the fanciest effect. It needs the right relationship between motion and memory.
That distinction matters because people often choose the wrong method. If you already have a long series of photos captured over time, forcing artificial motion onto one frame may flatten the story. If you only have one irreplaceable image, waiting until you somehow build a full sequence means the tribute never gets made.
What works for emotional montages
In personal projects, the best application time lapse usually does one of three things well:
- Shows real change such as growth, aging, a move, or a build.
- Creates continuity across mixed photos so the montage feels intentional.
- Adds presence to a single frame without turning it into a gimmick.
What doesn't work is overprocessing. Heavy zooms, fast pans, aggressive transitions, and unstable framing pull attention away from the person in the photo. For a family piece, restraint nearly always wins.
Planning Your Multi-Photo Time Lapse Shoot
A family time lapse usually succeeds or fails before editing starts. If grandparents are going to watch a child grow up in 20 seconds, or siblings are going to see a parent rebuild a home room by room, the frames need to relate to each other cleanly. That means planning for repeatability from day one.
Consistency is the Most Important Factor
Use one camera position, one shooting height, and one lens choice whenever you can. A monthly portrait in the same hallway, a kitchen renovation from the same corner, or a garden update from the same patio spot all become stronger when the viewer can feel the change in the subject instead of noticing the camera shift.
Beginners often shoot each image as if it needs to stand alone. For a memory montage, that instinct creates problems. Time lapse asks the eye to compare frame to frame, so small changes in angle, crop, focus, or color pull attention away from the story.
Practical rule: Start with an interval a little shorter than your first instinct. You can always speed the sequence up in the edit. You cannot capture moments you skipped, as noted in CamDo's guide to choosing a time-lapse interval.
Recommended Time Lapse Interval Settings
The interval depends on how fast the subject changes. Fast motion needs frequent frames. Slow change rewards patience.
| Subject | Recommended Interval |
|---|---|
| Cloud and traffic applications | 1 second |
| Slower clouds or wind-blown trees | 3 seconds |
| Sun movement | 15 to 30 seconds |
| Stars | 15 to 60 seconds |
| Fast-growing plants | 120 to 600 seconds |
| Large-scale construction projects | 15 minutes or 60 minutes or longer |
Those settings are a useful starting point for personal projects too. A nursery makeover, holiday decorating, or a birthday party setup may need short gaps. A child's height chart, a healing garden, or a long remodel needs wider spacing so the project stays realistic to shoot and edit.
Settings that prevent amateur problems
Automatic settings are convenient, but convenience often shows up later as flicker, color shifts, or soft frames.
- Manual focus: Set focus once so the camera does not hunt between shots.
- Manual white balance: Keep skin tones and wall colors from drifting across the sequence.
- Manual exposure when possible: Small brightness jumps become obvious in motion.
- One focal length: Switching between wide and tight shots breaks continuity.
- A repeatable camera position: Tape marks on the floor, tripod leg marks, or a shelf edge can save a long project.
Phones can work well here. The trade-off is control. A dedicated camera gives you more manual stability, but a phone you remember to use every month is better than a camera left in a closet. For family archives, reliability beats ambition.
A practical setup for personal projects
Keep the method simple enough that you will stick with it.
- Choose a camera position you can return to without guessing.
- Shoot at roughly the same time of day if window light affects the scene.
- Use one framing pattern, such as doorway-wide or head-and-shoulders.
- Write the setup down in Notes or on a card taped near the tripod.
- If old prints will be mixed into the final montage later, review a guide on how to scan old photos before editing them into a tribute.
I usually tell families to make the setup a little boring on purpose. Boring is good here. It gives the final sequence emotional clarity, which matters far more than clever camera work when the goal is to turn everyday photos into a tribute people will want to watch more than once.
Digitizing and Preparing Your Photo Collection
Old prints, faded scans, and phone photos from different years can work together. They just won't do it automatically.
Start with the originals you actually have
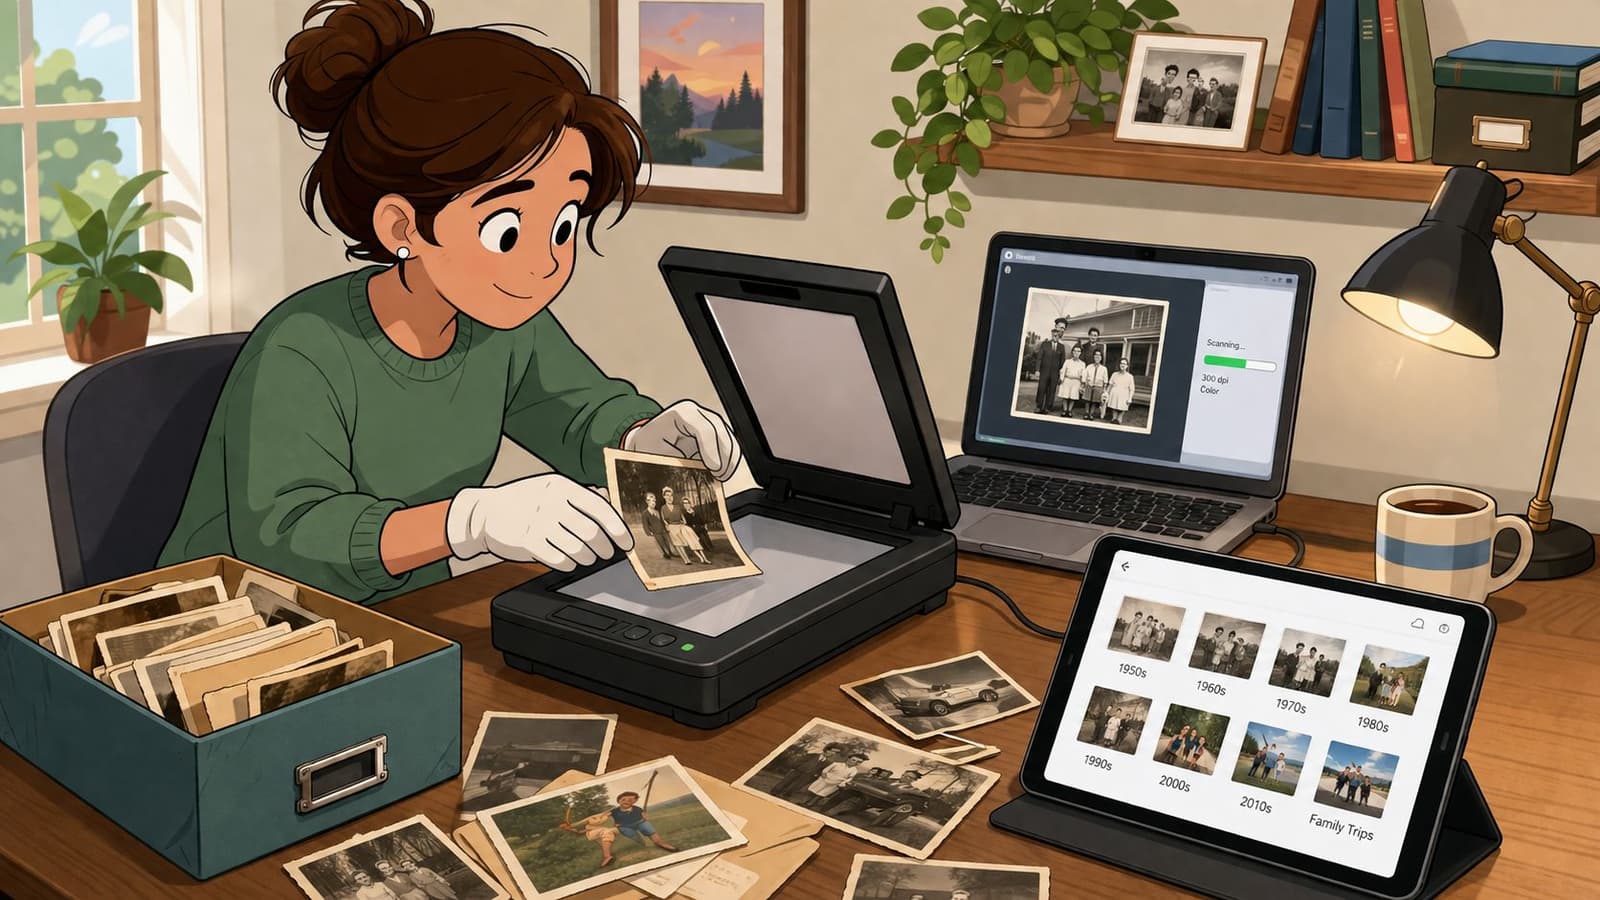
If your source is a shoebox of prints, handle them like archive material, even if the project is casual. Clean the scanner bed, scan the full print before cropping, and keep a master folder of untouched files. If you want a practical walkthrough, this guide on how to scan old photos for preservation and editing is a useful starting point.
Don't erase the character of the photo too early. Slight paper texture, edge wear, and film softness often carry emotional weight. For tributes, that texture can feel more honest than a hyper-clean restoration.
Build visual consistency before editing
A lot of consumer projects fail before the edit because the source images fight each other. According to PhotoSentinel's learning resource on time-lapse preparation, 68% of failed consumer time-lapses stem from auto-focus shifting and auto-exposure flickering due to lighting changes. Even when you're working from an existing archive, the underlying lesson holds. Inconsistency is what breaks the illusion of smooth time.
Use a prep pass before you animate or sequence anything:
- Sort by era or device: iPhone photos, compact camera shots, and scans usually need different correction.
- Choose one crop ratio: 16:9 is common for video, but commit once and apply it consistently.
- Normalize brightness carefully: Match images so no single frame flashes brighter than the rest.
- Correct color in batches: Warm one set, cool another, then compare them side by side.
- Remove duplicates and near-duplicates: Repetition slows the emotional rhythm.
If every photo has a different color cast, the viewer notices the corrections instead of the person.
Use video reference when your archive is messy
A quick reference clip can help when the collection spans many years and devices. Watch how different tones and crops feel in motion before you lock your choices.
One practical test works well. Export a short draft using ten to fifteen photos in sequence. If your eye catches jumps in brightness, face size, or horizon angle, fix those before building the full tribute. It's much easier to unify the archive early than to chase distractions across the entire timeline later.
Editing Your Photo Series into a Smooth Time Lapse
Editing is where a stack of stills becomes a readable passage of time. The software matters less than the order of operations. Adobe Premiere Pro, Final Cut Pro, and DaVinci Resolve can all do this well if the image sequence is organized first.
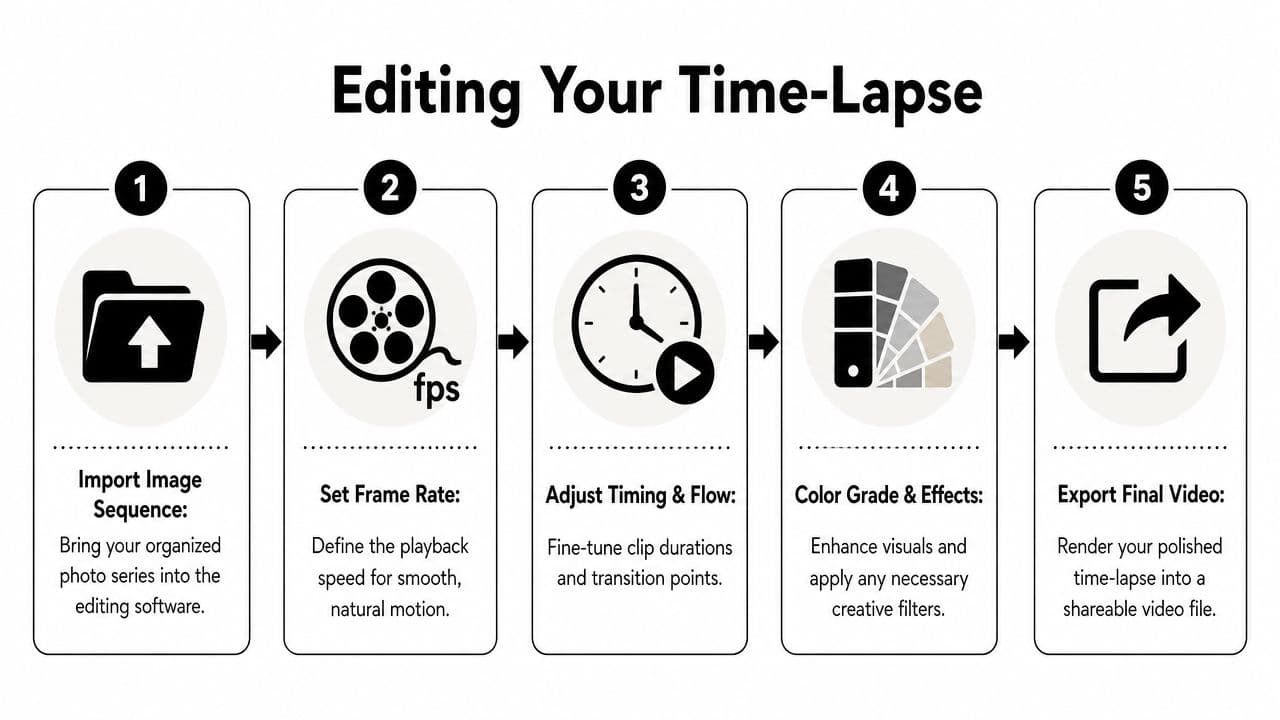
Import the sequence like footage
Name the files in order before you bring them in. Sequential filenames let your editor treat the photos as one continuous clip rather than as isolated stills. That alone saves a lot of timeline cleanup.
For broader post-production tips beyond time lapse, this resource on photo and video editing workflows is helpful, especially if you're mixing stills, scanned images, and short video clips in one memorial or celebration piece.
Once the sequence is inside the editor, check three things immediately:
- Playback feel: Does it move too fast to read faces, or too slowly to feel intentional?
- Framing stability: Do eyes and horizons jump from frame to frame?
- Color continuity: Are any frames flashing cooler, greener, or brighter than the rest?
Stabilize first then shape the pace
Small shifts in framing are normal, especially in long-running family projects. Use digital stabilization gently. The goal isn't to glue every pixel in place. It's to remove the bumps that make the sequence feel accidental.
After that, work on pacing. A tribute rarely needs one unbroken speed from beginning to end. Let the timeline breathe.
- Slow down on emotionally important frames, such as a parent holding a baby or the final stage of a renovation.
- Move faster through transitional stretches where the viewer only needs to register change.
- Pause briefly on anchor images that set location, age, or mood.
Good speed ramping doesn't call attention to itself. It helps the viewer feel where the story turns.
If you want extra movement, add modest digital push-ins or pans to the entire sequence, not random dramatic motion on every frame. Consistency reads as craft. Variety without control reads as indecision.
What usually goes wrong in post
Editors often over-fix. They add strong sharpening, heavy vignette, aggressive film grain, or transitions between every image. Those choices compete with the natural motion already created by the sequence itself.
A cleaner approach usually wins:
- keep transitions simple
- let the photo order carry the story
- reserve effects for genuine problem-solving
When the emotion is real, the edit doesn't need to shout.
Animating a Single Image with Photo for Video
A family tribute often stalls at the same point. There is no clean photo sequence to show change over time. There is one image everyone cares about. A wedding portrait in a drawer, a faded snapshot from the kitchen, a scan of a grandparent that carries the whole room when it appears on screen.
That is where single-image animation earns its place in an application time lapse project. Instead of building motion from many frames, you create a short, respectful sense of life from one still photo. For family archives, that gap matters. Technical tutorials usually focus on stacking hundreds of images. Real memory work often starts with one.
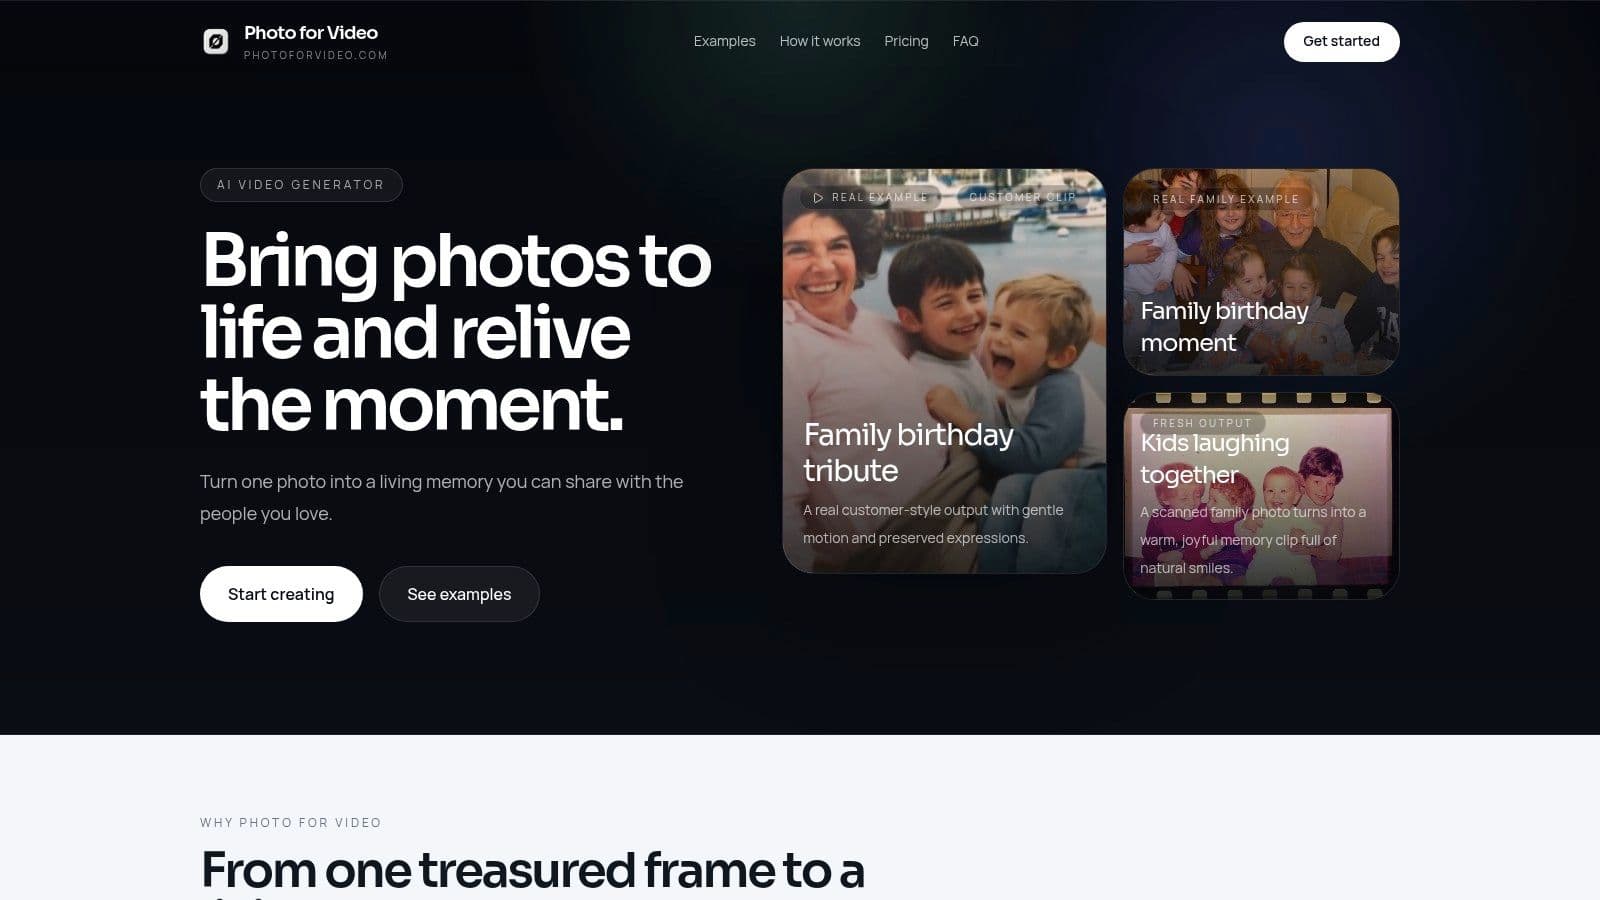
If you want to see the workflow step by step, this guide on how to animate a photo from a single still image explains the process clearly.
Why this method works for family archives
Old family collections are rarely neat. You may have twenty photos from one decade and only one usable frame from another. In that situation, animating a single image can fill an emotional gap without faking a full time-lapse sequence.
Used well, it gives the viewer a moment to stay with the person in the frame. A slight push in, a soft shift in light, or a restrained sense of breathing can make the image feel present long enough to land. That is very different from adding motion for spectacle.
How to guide the motion without breaking trust
Subtle prompts usually produce the strongest tribute footage. The more important the photo is to the family, the less aggressive the motion should be.
Good directions tend to be specific and quiet:
- Gentle camera movement: “Slow push in toward her face.”
- Light environmental motion: “Soft movement in hair and background light.”
- Minimal portrait animation: “Natural blink and slight breathing.”
- Preserve the original mood: “Warm, calm motion that keeps the photo texture.”
I usually avoid prompts that ask for big gestures, dramatic head turns, or movie-style camera sweeps. Those moves can look impressive for a second, then pull attention away from the person and toward the effect.
A short clip also helps. In most memorials, anniversary edits, and birthday montages, three to six seconds is enough.
The best result feels like the photo is opening gently, not being rewritten.
Where single-photo animation fits best
This approach works well when one frame already carries the story.
- Memorials. One familiar portrait often lands harder than a fast collage.
- Anniversaries. A wedding image can hold the emotional center of the piece.
- Birthday openings. A baby photo can set the tone in the first few seconds.
- Legacy edits. Older scans often survive as single treasures, not matched series.
The trade-off is simple. A traditional multi-photo time lapse shows real change across time. A single-photo animation creates a feeling of presence from one preserved moment. Both can belong in the same tribute. The choice depends on what the archive gives you, and what the story needs.
Choosing Your Path and Telling Your Story
Choose the classic route when you have a real sequence that shows change over time. That's the right fit for a renovation, a garden, yearly portraits, or a child growing up in the same chair by the window.
Choose the single-photo route when one image carries the emotion and there isn't a usable series behind it. That's often the better choice for memorials, anniversary moments, and keepsake intros.
The best application time lapse isn't the most technical one. It's the one that protects the feeling inside the photo and helps other people feel it too.
If you want to turn one treasured image into a short, tasteful living-memory clip, Photo for Video is built for that exact job. Upload a favorite photo, describe the motion you want in one line, and create a polished video that fits naturally into birthday reels, memorial tributes, anniversary edits, and family keepsakes.