AVI to MOV Format: Convert Your Videos Safely in 2026
Learn how to convert AVI to MOV format safely. Our guide covers free tools, preserving video quality, and fixing common errors for Mac and Windows users.

You open an old hard drive, a DVD-R, or the folder your cousin copied years ago, and there they are: wedding clips, a grandparent laughing at the table, shaky camcorder footage from birthdays, all sitting in AVI files your current Mac or editing app barely recognizes.
That frustration is normal. The problem usually isn't just that the file ends in .avi. It's that older video files often carry old codecs, odd frame behavior, or settings modern software handles badly. One AVI opens but has no sound. Another plays, but the picture stutters. A third imports into your editor and immediately throws an error.
If your goal is preserving family memories, speed shouldn't be the first priority. Safety and quality should. A rushed conversion with a random online tool can create new problems you didn't have before, including softer image quality, broken audio sync, or privacy concerns if you're uploading personal footage to a third-party server.
The good news is that you don't need to become a video engineer to get this right. Once you understand the difference between the container and the codec, the avi to mov format decision gets much easier. From there, it's mostly about choosing the right method for your specific situation: one file versus a full archive, quick playback versus editing, standard home video versus footage that needs transparency preserved.
Table of Contents
- Introduction
- Understanding AVI vs MOV Containers and Codecs
- Choosing Your Conversion Method The Three Main Paths
- How to Convert AVI to MOV with FFmpeg
- A Step-by-Step Guide Using a Free GUI Converter
- Troubleshooting Common Conversion Errors
- Frequently Asked Questions About AVI to MOV Conversion
Introduction
The avi to mov format question usually shows up at the worst time. You're building a memorial slideshow, trying to edit a birthday tribute, or organizing old family tapes before they get lost again. You finally locate the files, but they won't behave on modern software.
That's partly because AVI and MOV are containers, not just “video types.” A container is the file wrapper. Inside it sits the actual video and audio encoding. So if you merely rename a file from .avi to .mov, you haven't fixed what matters. You've only changed the label on the outside.
For family archives, that distinction matters more than people think. A careless conversion can strip out details, create playback issues, or make a file less useful for editing later. A careful conversion keeps the footage easy to open, easy to back up, and much easier to use in software like QuickTime-based tools, Final Cut Pro, Premiere Pro, or DaVinci Resolve.
Practical rule: If the footage is emotionally irreplaceable, make a copy of the original AVI before you convert anything.
Keep the original file untouched. Convert a duplicate. Test one clip first. Then commit to the rest of the folder only after you like the result. That one habit prevents a lot of regret.
Understanding AVI vs MOV Containers and Codecs
The box and the video inside it
The easiest way to think about this is simple. The container is the box. The codec is what's packed inside the box.
An AVI file can hold video encoded one way and audio encoded another. A MOV file can do the same. That's why two files with different extensions can look identical, or two AVI files can behave completely differently from each other.
This is also why a direct wrapper change sometimes works and sometimes fails. If the streams inside the AVI are already compatible with MOV, you may be able to rewrap the file cleanly. If they aren't, you'll need a real transcode into a modern codec.
Why AVI and MOV behave so differently
The history helps explain the weirdness. AVI was introduced by Microsoft in November 1992 as part of Video for Windows, making it one of the earliest mainstream Windows video containers, while MOV was created by Apple in 1991 as part of QuickTime and became known for richer multimedia handling and later professional editing use, as described in Coconut's AVI and MOV comparison.
That difference still shows up in practice:
| Format | Best known for | Typical modern experience |
|---|---|---|
| AVI | Legacy Windows playback and older workflows | Can be unpredictable with newer editors and devices |
| MOV | QuickTime ecosystem and editing interchange | Often easier to use in modern creator workflows |
AVI became widely adopted because it could store audio and video together in one file. It favored compatibility in its era, not aggressive compression. That's one reason older AVI files often feel bulky or awkward in current workflows, as noted in LSoft's history of AVI.
MOV, by contrast, grew into a more flexible container. Adobe describes it as a QuickTime format that can hold multiple media tracks, including video, audio, text, 3D models, and VR panoramas. That flexibility is a big reason editors still reach for it when preserving quality matters.
Which codec usually makes sense
When converting old home footage, the safest answer is straightforward:
- H.264 for broad compatibility if you want the MOV to play easily across devices and apps
- HEVC when smaller files matter and your devices support it
- ProRes-compatible options when quality preservation or alpha transparency matters
Don't choose MOV as if it were the whole technical decision. Choose MOV plus the right codec.
If the footage came from a camcorder transfer, VHS digitizer, or early digital camera, H.264 in a MOV container is usually the practical middle ground. If you're working with graphics, overlays, or any clip that needs transparency, you need a codec choice that preserves that special property. The container alone won't save it.
Choosing Your Conversion Method The Three Main Paths
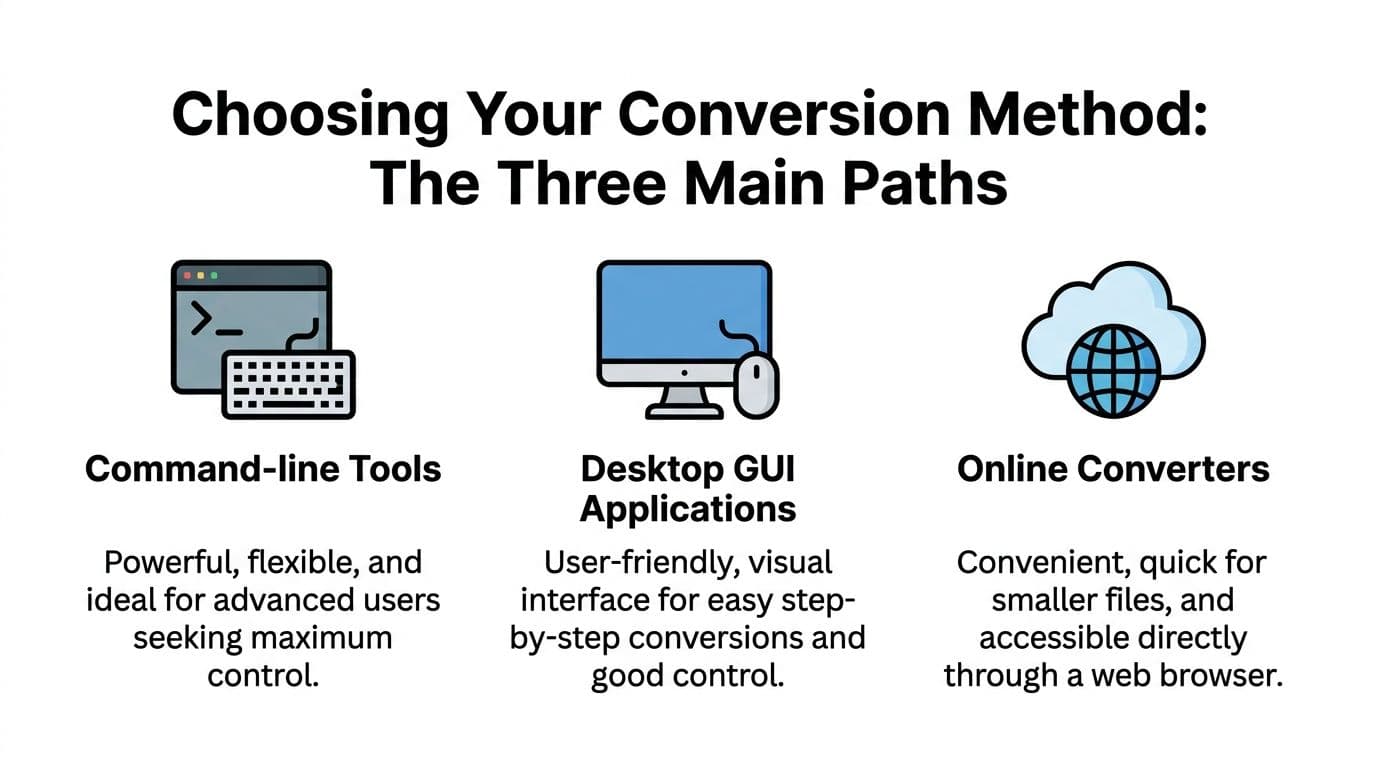
The right method depends less on the file extension and more on what you care about most: privacy, batch handling, control, or convenience. For old family footage, I lean toward offline tools because they give you more control and keep personal clips off somebody else's server.
A quick comparison
| Method | Best for | Strength | Trade-off |
|---|---|---|---|
| FFmpeg | Users who want exact control | Precise codec and export control | Less friendly if you dislike Terminal |
| Desktop GUI apps | Most people | Visual workflow and easier testing | Fewer deep controls than command line |
| Online converters | Small, disposable files | Fast access in a browser | Privacy concerns, file-size limits, weaker batch handling |
Public guidance often pushes online tools first because they feel easy. But for personal archives, that advice misses what matters most. Online converters often have file-size limits, questionable privacy policies, and weak batch processing, while offline desktop tools are often safer for memorial footage and family archives because you keep full control of the files, as discussed in this video guide on converter trade-offs.
If you also work from mobile devices sometimes, this guide to a video converter for Android can help with format handling on the phone side of your workflow.
When each path makes sense
Choose FFmpeg if you want to test direct stream copy, tune codecs by hand, or batch-convert a folder without clicking through menus all afternoon. It's the best option when one bad setting could affect dozens of files.
Choose a desktop GUI app if you want a safer visual workflow. For most families digitizing tapes, this is the sweet spot. You can inspect settings, set MOV deliberately, confirm frame rate and resolution, and preview the result before doing a full run.
Use an online converter only when all three are true:
- The file is small
- The clip isn't private
- You don't need batch control or repeatable settings
Precious footage deserves a method you can repeat, verify, and trust.
That's why the avi to mov format decision is really a workflow decision. The output matters, but the path you take matters too.
How to Convert AVI to MOV with FFmpeg
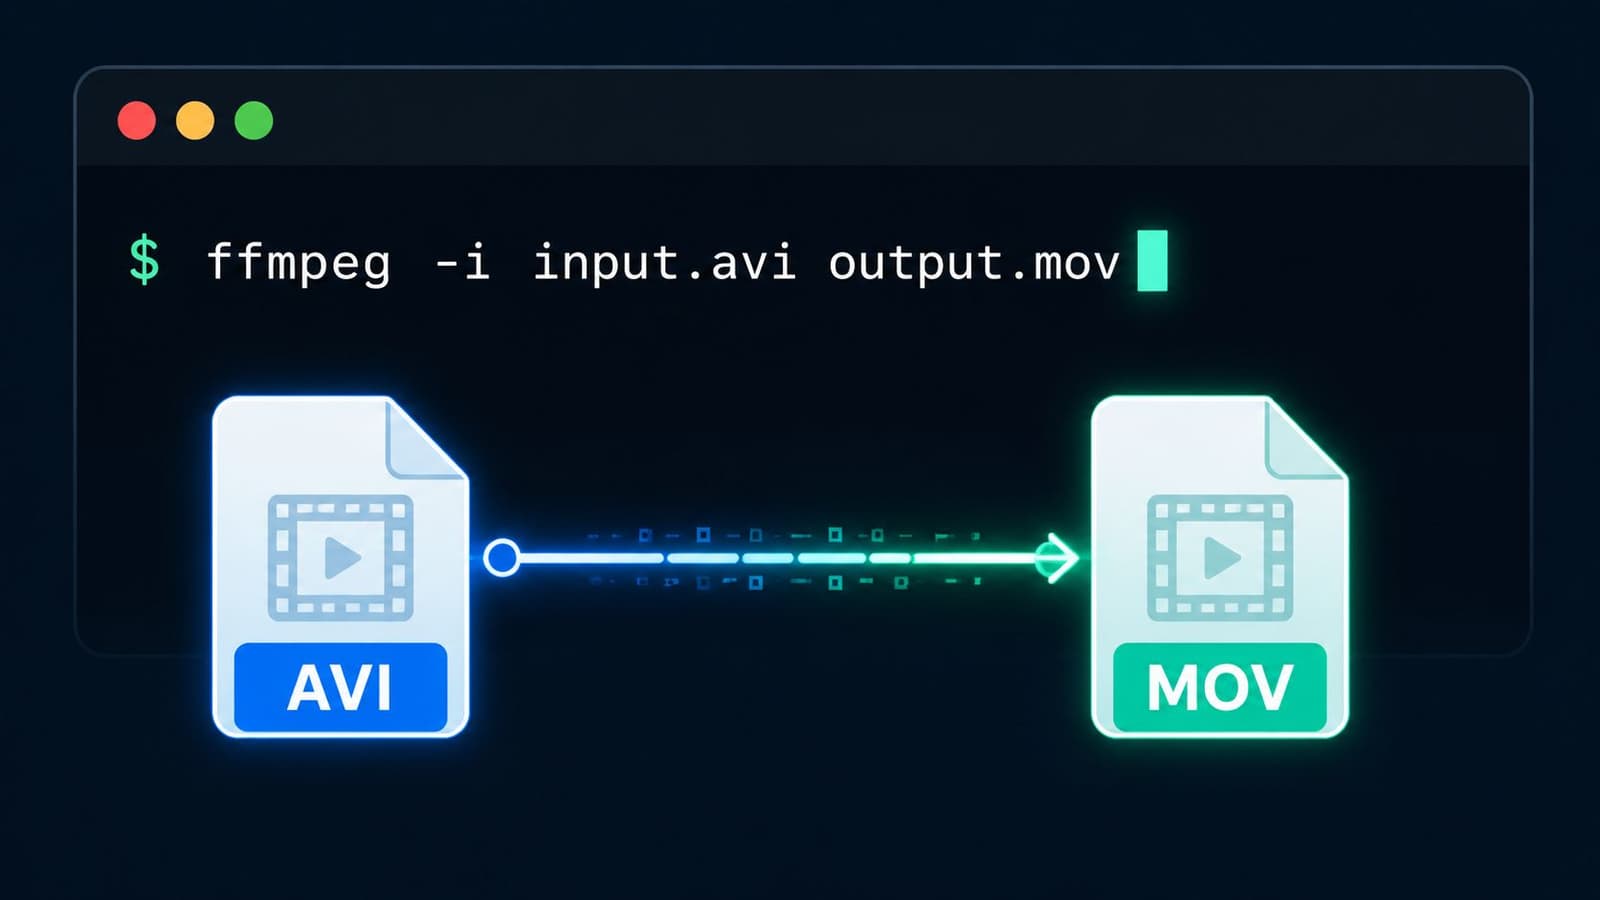
You finally get an old tape transferred, open the AVI, and realize the file plays in one app but stutters, loses audio sync, or refuses to import into your editor. FFmpeg is one of the safest ways to handle that kind of file because it gives you control over the actual streams instead of hiding the decision behind a preset.
Start with one short clip
Test a small AVI first. Use a file that represents the rest of the batch, especially if the tapes were captured with the same device or software.
Watch the full export, not just the first few seconds. Check the start, middle, and end for audio sync, frame pacing, and any odd interlacing or color shifts. Then open the MOV in the app that is important for your workflow, whether that is QuickTime, Final Cut Pro, Premiere Pro, or Resolve.
Commands worth keeping
1. Fast rewrap if the video and audio codecs are already MOV-friendly
ffmpeg -i input.avi -c copy output.mov
This copies the existing streams into a MOV container without re-encoding. It is the best first test when you want to preserve quality and avoid a long encode. If the AVI contains older or less compatible codecs, the file may convert but still fail in editing software.
2. Re-encode to H.264 and AAC for broad compatibility
ffmpeg -i input.avi -c:v libx264 -c:a aac output.mov
This is the practical default for many home-video archives. H.264 inside MOV is easy to play, easy to share, and generally easier to edit than whatever codec was tucked inside the original AVI. AAC also replaces older audio formats that can cause import errors or silent playback.
3. Set frame rate only if you are correcting a real problem
ffmpeg -i input.avi -c:v libx264 -c:a aac -r 30 output.mov
Use -r carefully. It can help when a capture file has unstable timing, but it can also create duplicated or dropped frames if you force the wrong rate. For family footage, matching the source is usually the safer move.
What each choice means in practice
A few flags do most of the work:
-c copykeeps the original streams untouched. Best for preservation tests and fastest turnaround.libx264encodes video to H.264, a reliable choice for playback and editing.aacconverts audio to a widely supported format if the AVI audio is dated, inconsistent, or troublesome.-rchanges output frame rate. Use it to solve a specific issue, not as a default habit.
I would rather spend five extra minutes testing one clip than discover later that a full batch has sync drift or field-order problems. That matters more with irreplaceable footage than with disposable downloads.
Check the MOV in the destination app, not just in a forgiving player.
VLC can play files that editing apps reject. A successful FFmpeg command only means the conversion finished. It does not guarantee the result is right for your archive, your editor, or the family member who needs to open it years from now.
A Step-by-Step Guide Using a Free GUI Converter
A GUI converter makes sense when you want visual controls and a lower chance of typing the wrong command. For old family tapes, that matters. The goal is not to finish fast. The goal is to get a MOV that opens cleanly, stays in sync, and does not subtly damage the only copy you have.
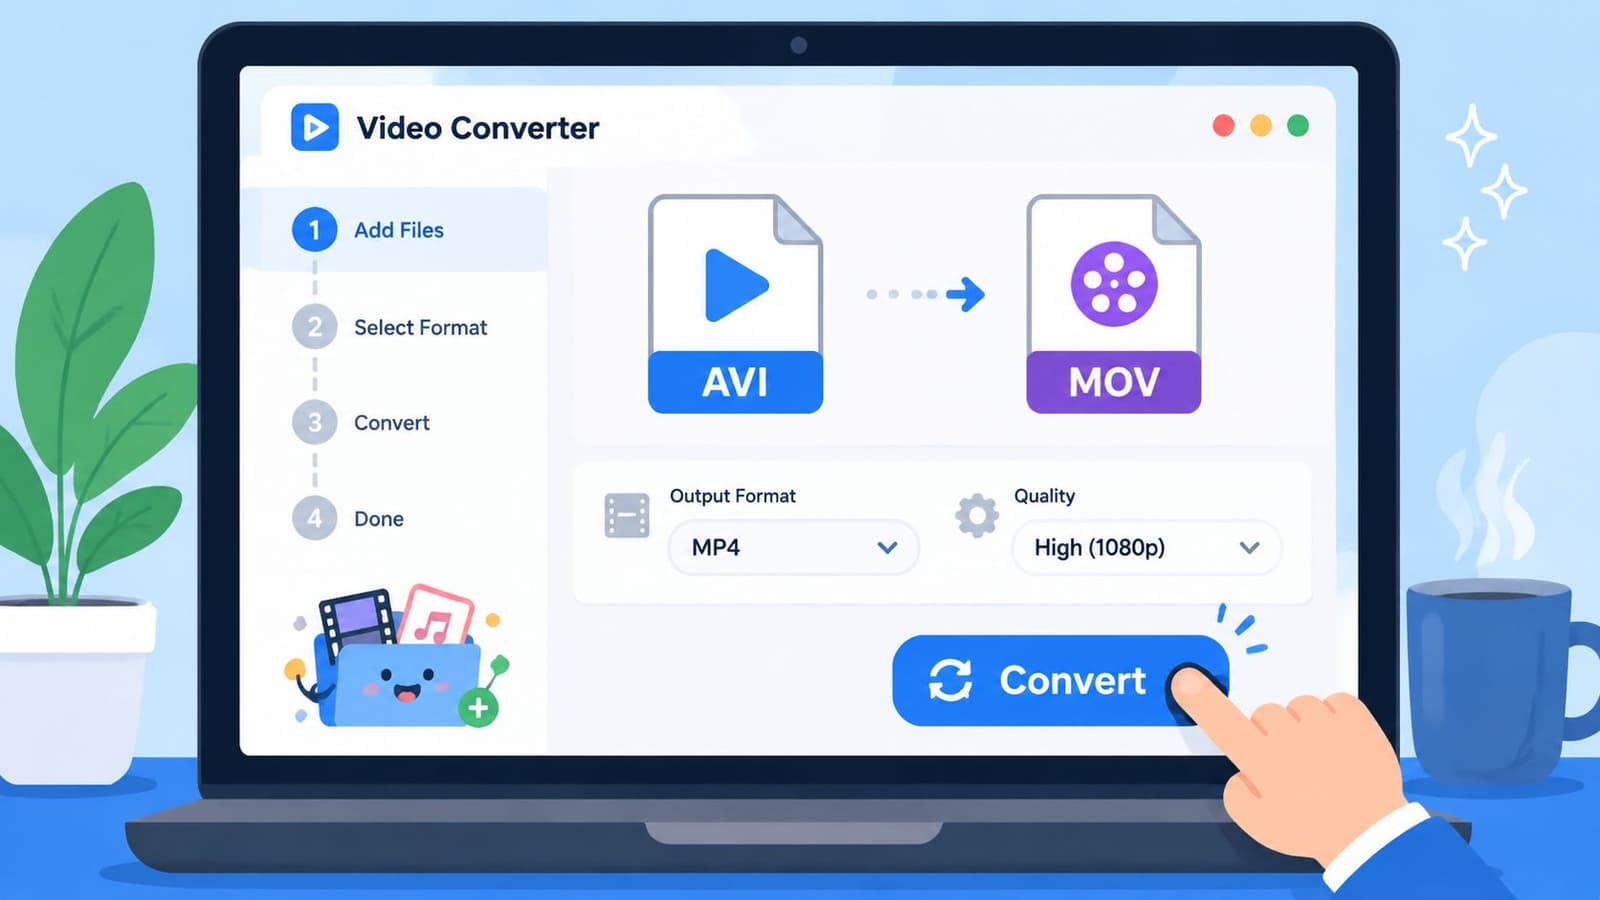
Desktop tools such as HandBrake or VLC are usually a safer choice than generic online converters for archival footage. You keep the files on your own machine, you can inspect the settings before export, and you are less likely to let a hidden preset make decisions for you. With irreplaceable clips, those trade-offs are worth it.
The safest settings for most home videos
Choose MOV as the container, then check what will go inside it. A good GUI app should show the video codec, audio codec, frame rate, and resolution clearly. If it hides those controls, use a different tool.
For most home video conversions, these settings are a reliable starting point:
- Container: MOV
- Video codec: H.264
- Audio codec: AAC, if the original audio causes playback or import problems
- Resolution: Match the source
- Frame rate: Keep the source rate unless you are fixing a known timing issue
One setting causes more unnecessary quality loss than any other. Upscaling. If the AVI came from VHS capture, MiniDV, or an older camera export, raising it to 1080p or 4K does not create detail. It only makes a larger file and can sharpen tape noise in ugly ways.
A simple desktop workflow
Use one short clip as a test first. Pick a section with motion and speech if possible. That gives you a quick read on both picture quality and sync.
-
Import the AVI file
Start with a copy, not your only original file. -
Choose MOV as the output format
Some converters default to MP4 or keep the old container unless you change it manually. -
Open the video settings
Set the codec to H.264 if your goal is broad playback and editor support. -
Check resolution and frame rate
Match the source. Leave frame rate alone unless you already know the AVI has timing problems. -
Review audio settings
If the source audio is PCM, MP3, or another older format that behaves badly in your target app, convert it to AAC. -
Export the test clip
Save it to a new folder so the original capture stays untouched. -
Check the result in the app that matters
If the file is meant for Final Cut, iMovie, Premiere Pro, or QuickTime, open it there. A forgiving media player is not enough.
This video walkthrough gives a useful visual reference for the general process:
What to check before you convert the whole folder
A passed export is only a first checkpoint. Before you run the rest of the archive, verify these three things:
| Check | What you want |
|---|---|
| Playback | No black screen, no missing audio, no stutter |
| Sync | Speech and lip movement stay aligned from start to finish |
| Usability | The MOV opens and scrubs properly in the app you plan to use |
If the test file passes, save the settings as a preset and batch the rest. If file size grows more than you want, this guide on how to compress a MOV file without making it harder to use can help after you confirm the master conversion is clean.
That order matters. Preserve quality first. Shrink files second.
Troubleshooting Common Conversion Errors
Old AVI files are messy. Some came from tape capture devices, some from early cameras, and some were exported with codecs that modern systems barely remember. When a conversion fails, the fix usually comes from identifying whether the problem is audio, timing, or a special video property.
No audio or missing playback
If the converted MOV has picture but no sound, the original AVI may be using an older audio codec that didn't survive the export cleanly. Re-encode the audio during conversion instead of trying to preserve it exactly.
If the file opens in one player but not in your editor, the issue is usually codec compatibility rather than the MOV container itself. In that case, a fresh export to H.264 video with modern audio is usually more reliable than a simple wrapper swap.
If file size becomes a problem after fixing playback, this guide on how to compress a MOV file can help you reduce weight without randomly sacrificing usability.
Sync drift and choppy output
When speech drifts out of sync over time, check frame rate handling first. Older AVI files sometimes need a steady export setting instead of an automatic one. Don't change frame rate casually, but if the footage is drifting, a controlled re-encode can fix it.
Stutter can also come from pointless upscaling or from a codec your editor doesn't like. Keep the output at the source resolution or below. If the source is 1080p, exporting higher usually adds no value and may create heavier files for no benefit.
One clean test file tells you more than ten guessed settings.
Transparency disappeared
This is the big niche issue people often miss. Alpha transparency can be lost during conversion unless you use settings that preserve it, such as RGBA with QuickTime Animation RLE or a ProRes-compatible approach, otherwise transparency may disappear or the file may fail in apps like DaVinci Resolve, as described in Outerspace Software's transparency conversion notes.
If your AVI is a graphics element, lower third, animated overlay, or anything that must stay transparent, do not use a casual default preset. Choose a codec path that explicitly supports transparency.
Frequently Asked Questions About AVI to MOV Conversion
Can I convert AVI to MOV without losing quality
Sometimes, yes. If the codecs inside the AVI are already compatible with MOV, you may be able to rewrap the file without re-encoding. If not, you'll need to transcode. In that case, careful settings can keep quality loss minimal, but “no loss” depends on the source and the method.
Why is my converted MOV larger or smaller than the AVI
Because the codec settings changed. The container alone doesn't determine file size. Compression choices, audio handling, and whether you preserved or re-encoded the streams make the difference.
Is MOV better than MP4 for my needs
For editing, MOV is often convenient. For broad delivery and sharing, MP4 is often simpler. If your goal is preserving old footage for editing on Apple-friendly or creator tools, MOV is a strong choice. If your goal is universal playback, MP4 may be easier.
What should I use to play MOV files after conversion
Use a dependable modern player or your editing software of choice. If you want options, this guide to software to play MOV files is a useful starting point.
If you're turning old photos and archive clips into tribute edits, memorial pieces, or family keepsakes, Photo for Video is worth a look. It helps you transform a single still image into a short living-memory video, which fits naturally alongside restored AVI to MOV footage in slideshows, anniversary edits, and remembrance projects.