Best Way to Preserve Old Photos: The 2026 Ultimate Guide
Discover the best way to preserve old photos in 2026. Learn expert scanning tips, physical storage solutions, and digital organization to protect your memories.
A lot of photo preservation starts the same way. You open a closet, pull down a dented shoebox or a bulging album, and find prints that matter more than almost anything else you own. Wedding portraits. A grandparent in uniform. A child on a tricycle. Notes on the back in handwriting nobody can reproduce now.
What usually follows is a mix of urgency and hesitation. You want to protect them, but you also want to use them. Not just store them better, but scan them, share them, restore them, maybe even turn them into something your family will watch again. That's why the best way to preserve old photos isn't one trick. It's a workflow. First, protect the original. Then create a digital master you can organize, back up, restore, and reuse without putting the physical print at risk.
Table of Contents
- Your Photos Are Fading What You Can Do Today
- The Foundation Physical Care and Safe Storage
- The Bridge Digitizing Photos for the Future
- The System Organizing and Backing Up Your Digital Archive
- The Polish Basic Photo Restoration and When to Call a Pro
- The Story Turning Still Photos Into Living Memories
- Your Preservation Action Plan Starts Now
Your Photos Are Fading What You Can Do Today
Many individuals don't realize they're already in the middle of a preservation emergency. The photos look “mostly fine,” so they stay in the same album, envelope, or storage box for another year. Then someone notices curling, sticky surfaces, fading faces, or yellow stains and wonders when it happened.
It usually happens slowly enough that nobody sees the change in real time. A box stored in a spare room feels safe. An old magnetic album feels organized. A stack of loose prints in a drawer feels temporary. But temporary storage has a habit of becoming permanent.
The best way to preserve old photos starts with one simple decision. Treat the physical print and the digital copy as two separate jobs. The print is the artifact. The scan is the working file. If you only store the print, access stays limited and damage continues whenever somebody handles it. If you only make a quick phone snapshot and ignore the original, you lose detail and leave the source vulnerable.
Practical rule: Don't start by “cleaning everything up.” Start by stabilizing what you have, then digitize from the best possible condition.
That approach lowers the chance of making things worse. It also gives you options. Once a print is safely stored and properly scanned, you can make albums, slideshows, tribute videos, and family history projects without repeatedly touching the original.
If you're overwhelmed, don't start with the whole archive. Start with the photos that would hurt most to lose. One album. One wedding envelope. One set of pictures from a parent or grandparent. Preservation gets done the same way family history gets recovered. A small batch at a time.
The Foundation Physical Care and Safe Storage
A family usually discovers the storage problem during a small moment. Someone pulls out an album to scan a few favorites, and a print sticks to the page. A color snapshot has shifted toward orange. A negative sleeve feels tacky. At that point, preservation stops being abstract.
Physical care matters because the original print is still the source. A good scan can preserve detail for sharing and editing, but it does not slow heat damage, moisture, adhesive failure, or chemical breakdown in the object itself. If you want old photos to have a useful digital future, the first job is to keep the physical version stable enough to scan well once, then handle as little as possible after that.
What damages photos first
Heat, humidity, light, and bad storage materials do most of the damage in home collections. The National Archives recommendations for storing family photographs explain the core goal clearly: keep photographs in a cool, dry, stable environment so you reduce chemical decay, mold risk, and pest activity.
For household storage, stability is often the deciding factor. A closet inside the main living area usually beats an attic, basement, garage, or shed, even if none of those spaces feel extreme day to day. Repeated swings between damp and dry, hot and cool, do real damage over time. Color prints, negatives, and slides tend to suffer first.
The Library of Congress notes earlier in this guide support the same practical rule. Cooler and drier conditions help, and sharp fluctuations are a problem. For a home archive, the useful takeaway is simple. Pick the most stable indoor space you have, then improve the enclosure.
What safe storage actually looks like
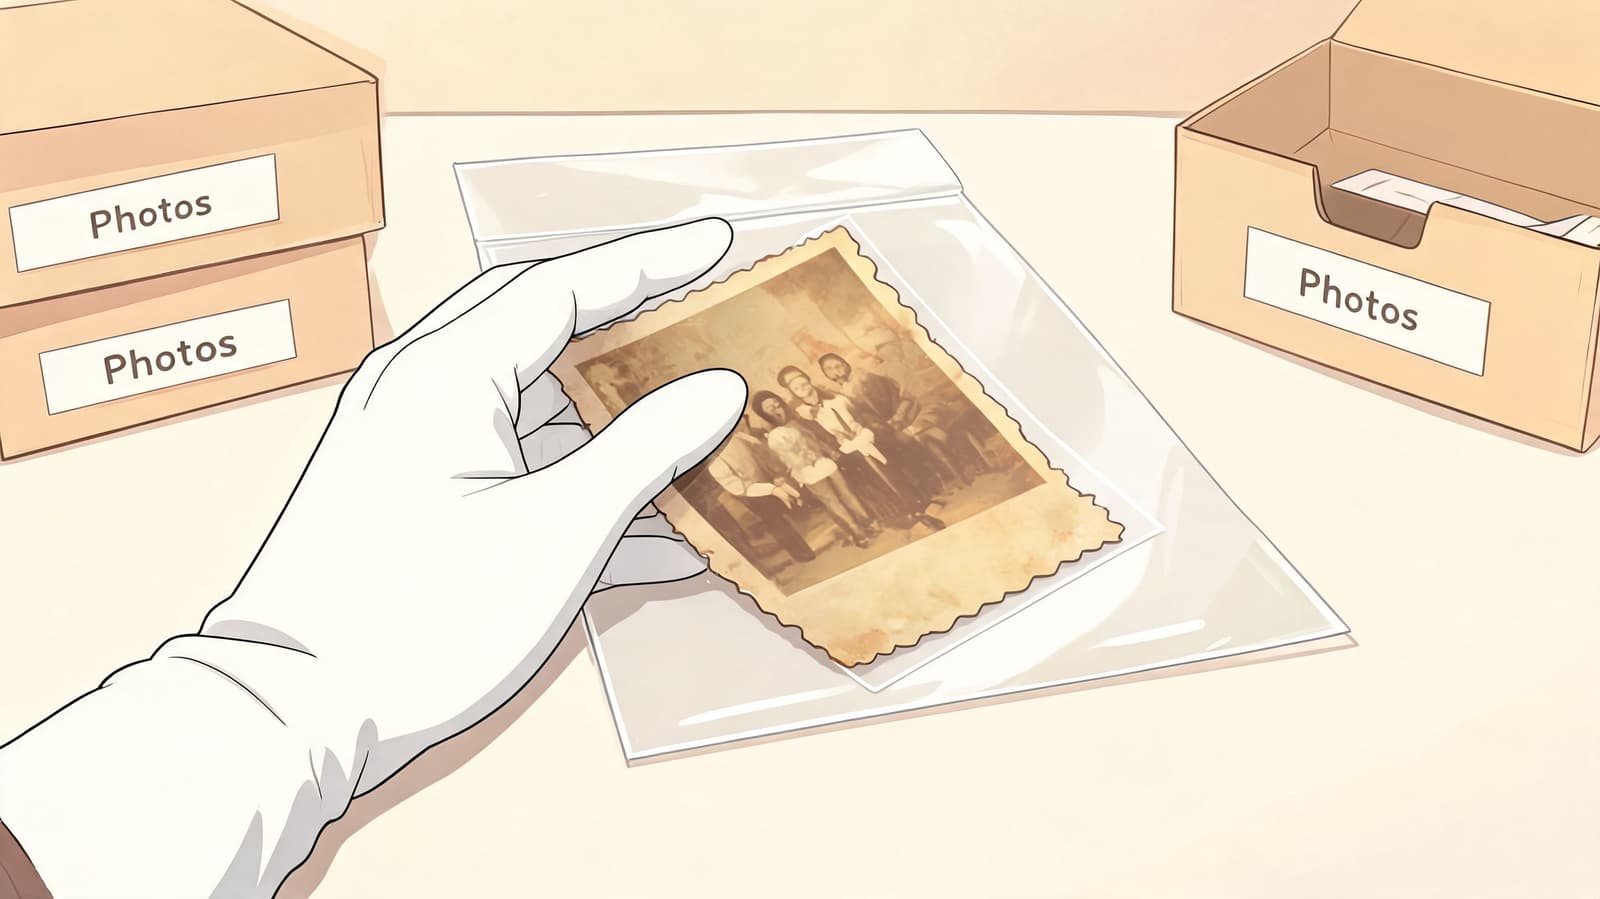
Good storage starts with the materials touching the photo. Look for sleeves, envelopes, and boxes made for photographic storage, especially products that have passed the Photographic Activity Test, or PAT. Safe plastics include uncoated polyester, polypropylene, and polyethylene. PVC, vinyl pages, pressure-sensitive magnetic albums, and ordinary cardboard are common failure points.
Negatives should not live pressed against paper prints. Store them separately in sleeves or envelopes made for film. That reduces scratching, chemical transfer, and the kind of cross-contamination that turns a cleanup project into a restoration bill.
In practice, these are the upgrades that make the biggest difference:
- Use archival sleeves for handling: They protect prints while you sort, label, or prepare batches for scanning.
- Choose acid-free archival boxes: They work well for loose prints, small groups, and partially processed family collections.
- Store negatives and prints apart: Film needs its own enclosure, and it often deserves priority because it may hold more detail than the print.
- Remove office supplies: Rubber bands, paper clips, tape, sticky notes, and self-adhesive album pages all leave damage behind.
- Limit casual browsing: Repeated handling causes bends, fingerprints, abrasion, and broken corners.
Cheap albums are a common trap. They look organized, but many use unstable plastics or adhesive pages that bond to the print surface. If a photo is already sticking, do not force it loose. Set it aside for slower handling or professional help.
A quick home audit
A useful audit takes ten minutes and saves a lot of guesswork.
Start with location. If the photos are in a basement, attic, garage, or outdoor storage unit, move them into conditioned indoor space. Then check what they are touching. Brittle envelopes, discolored boxes, cracked vinyl sleeves, and magnetic album pages should go.
Next, separate by risk. Put curled prints, flaking photos, negatives, slides, and older color materials into better enclosures first. Those are usually the items that lose quality fastest and scan poorly if they sit another year.
I also recommend creating a small access group for family use. Keep a handful of lower-risk duplicates or already digitized prints available for sharing, and leave the rest protected. That single habit cuts a surprising amount of wear.
If the goal is a strong digital archive later, physical prep affects scan quality now. Clean enclosures, flatter prints, and less surface damage make it easier to get better files from the start. If you want a benchmark for file quality before you scan, this guide on how to get a high-resolution photo helps set realistic expectations.
If you do only three things today, do these: move the photos to a stable indoor space, replace harmful storage materials, and stop unnecessary handling. That gives the originals a better chance of lasting, and it gives your future scans a much better starting point.
The Bridge Digitizing Photos for the Future
A preserved print that nobody can safely use is only half-preserved. Digitization gives the photo a second life. It lets you share copies, work on restoration, add captions, and build projects without passing the original around the kitchen table.
Choose the right scanning path
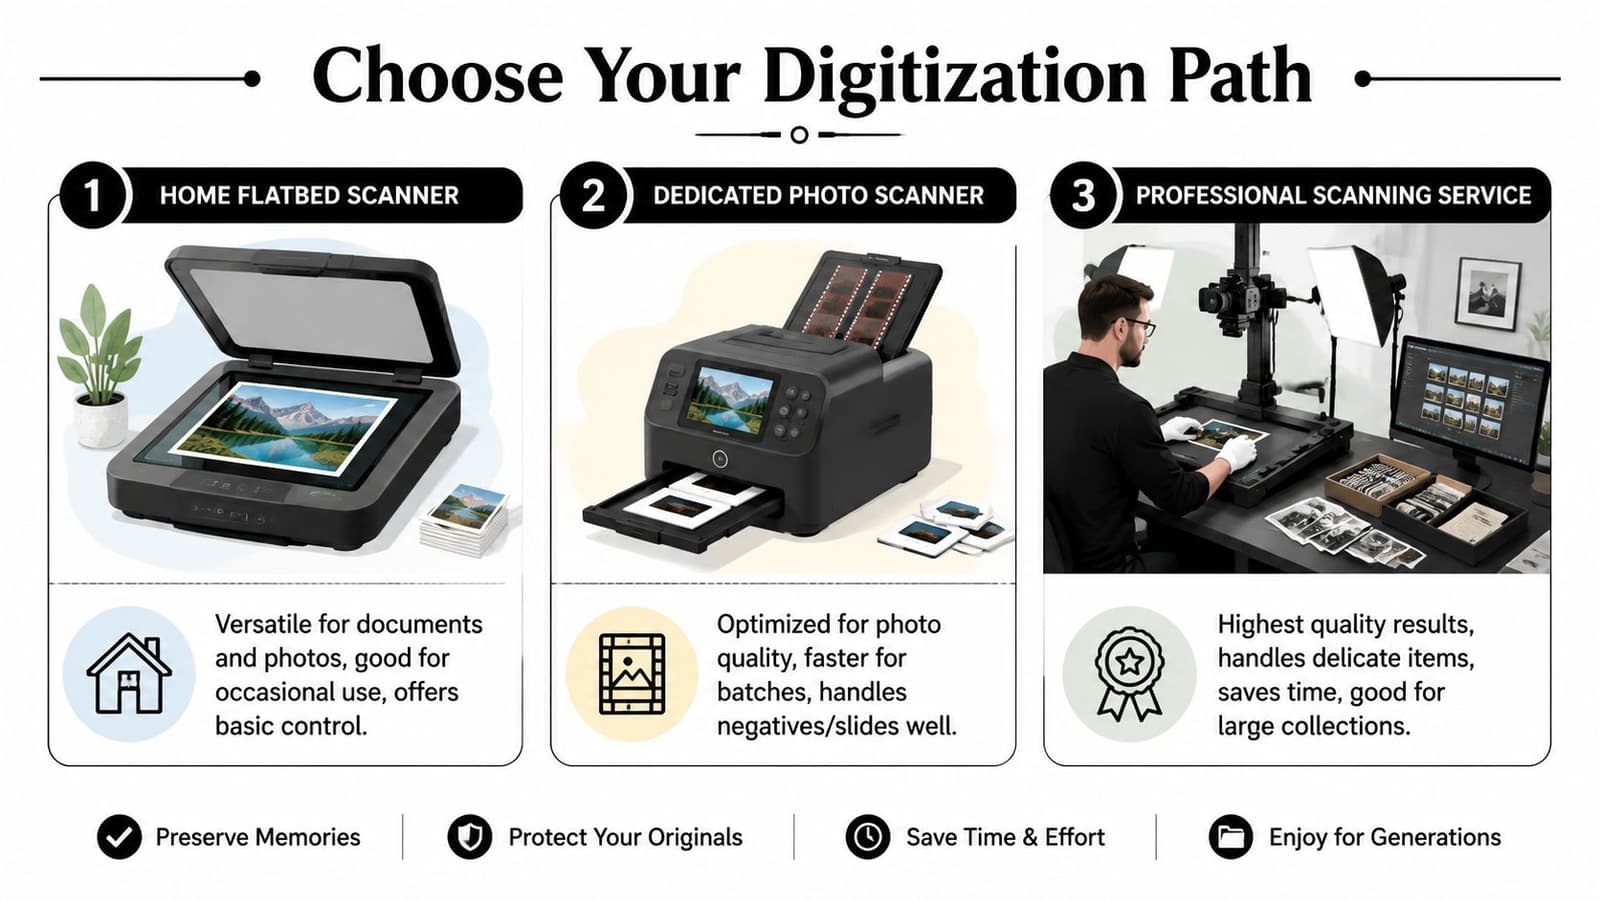
There are three practical routes. None is right for everyone. The best choice depends on how many photos you have, how fragile they are, and how much control you want.
| Method | Best For | Quality | Cost | Effort |
|---|---|---|---|---|
| Home Flatbed Scanner | Small to medium print collections, mixed documents and photos | Good to very good for prints | Lower upfront if you already own one | Moderate |
| Dedicated Photo Scanner | Batches of prints, negatives, and slides | Strong photo-focused output | Moderate to higher equipment cost | Lower per item once set up |
| Professional Scanning Service | Large collections, fragile items, specialized formats | Often the most consistent | Service cost varies by provider | Lowest hands-on effort |
A flatbed scanner is the most forgiving place to start. It works well for standard prints, handwritten notes, certificates, and album pages. It's slower, but it gives you control.
A dedicated photo or film scanner makes more sense if you're dealing with negatives, slides, or a large stack of prints and want a workflow built around photographs.
A professional service is worth considering for oversized prints, delicate albums, damaged items, or any collection that's too large to be realistic at home. It's also the least stressful option when the emotional weight of the project is high and you just need it moving.
If you're trying to improve source quality before scanning, this guide on getting a high-resolution photo is useful for understanding what gives you a cleaner digital starting point.
Why file format matters more than most people think
Many people scan into JPEG because it's familiar and easy to share. That's fine for copies you text to relatives. It's not the ideal preservation master. AARP specifically notes that TIFF is the best format for scanned photos because JPEG compression reduces image quality. A master TIFF file gives you a lossless version for preservation and editing, as explained in AARP's advice on how to digitize photos and choose TIFF over JPEG for master scans.
That leads to a simple working rule:
- Create a master file in TIFF
- Make separate JPEG copies for sharing
- Edit duplicates, not the master
Your master scan is the digital equivalent of the original print. Treat it that way. Keep it intact, untouched, and easy to find.
One more trade-off matters. Scanning too casually saves time today and costs you options later. A weak scan limits restoration, enlargements, and animation. A strong scan keeps those doors open.
The System Organizing and Backing Up Your Digital Archive
The files aren't preserved just because they exist. If they're scattered across phones, desktops, download folders, and random external drives, they're one hardware failure or one forgotten login away from disappearing.
Build a structure you can keep using
The most common mistake is overcomplicating the system. People build a perfect folder tree they can't maintain, then abandon it after one weekend. A better system is boring, consistent, and easy to repeat.
A reliable folder structure might look like this:
- Family branch folders: Smith Family, Johnson Family, Maternal Grandparents
- Event or date folders: 1968-06_Wedding, 1984_Summer Vacation, Undated Portraits
- Format split where useful: Masters, Edited, Share Copies
For filenames, use a pattern that sorts cleanly. Something like:
YYYY-MM-DD_Event-Description_001.tif
If you don't know the full date, use what you do know. A year or estimated decade is better than leaving everything unnamed.
Here's the reason this works. Searchability isn't a luxury. It's preservation. If nobody can find the baptism photo, the reunion portrait, or the scan of the handwritten caption, the archive starts failing long before the files are physically lost.
Use a backup routine you will actually maintain
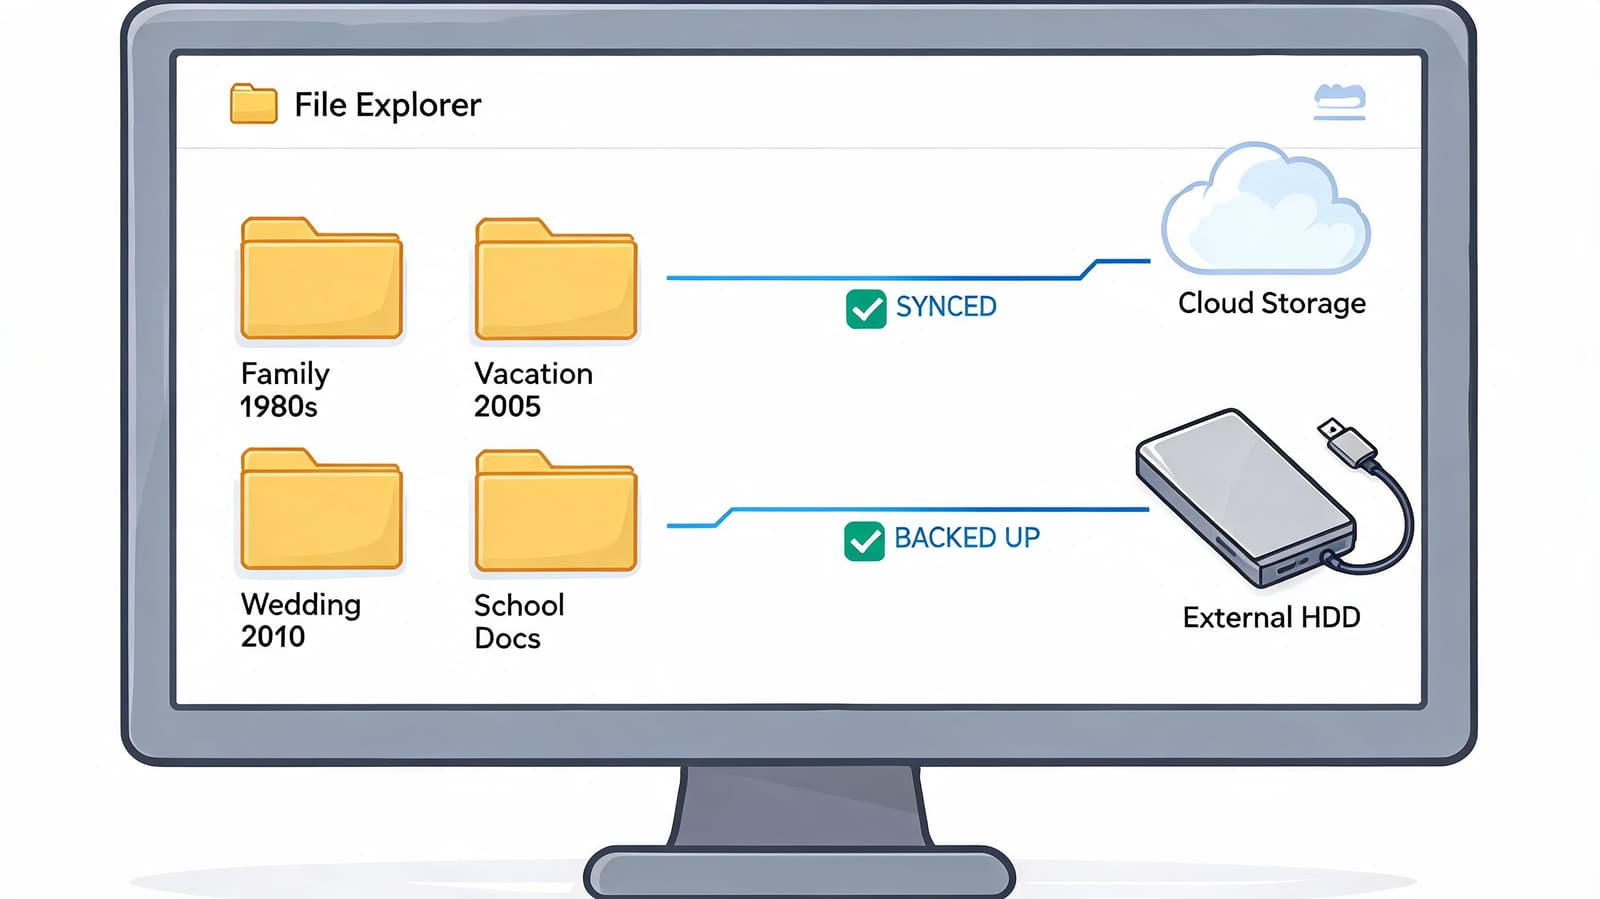
The most dependable approach is the 3-2-1 backup strategy. Keep three copies, on two different types of media, with one copy offsite. For a home archive, that often means your working computer, an external hard drive, and a cloud backup.
One version should be automatic. Manual backup plans sound sensible and then get skipped for months.
A simple setup looks like this:
- Working copy: Stored on your main computer in a clearly named archive folder
- Local backup: Mirrored to an external drive you connect regularly
- Offsite backup: Synced to a cloud service
This is a good point to review a visual walkthrough of the process:
A digital archive fails quietly. Nothing looks wrong until a drive won't mount, a folder syncs badly, or somebody realizes the only copy was on an old laptop.
Don't store the only copy of a family photo archive on a phone. Don't trust a single external drive in a drawer. And don't assume cloud sync alone covers accidental deletion, bad file overwrites, or organizational chaos. The system only works if each copy has a job and you know where it lives.
The Polish Basic Photo Restoration and When to Call a Pro
A good scan gives you room to work. It does not give you permission to overwork the photo.
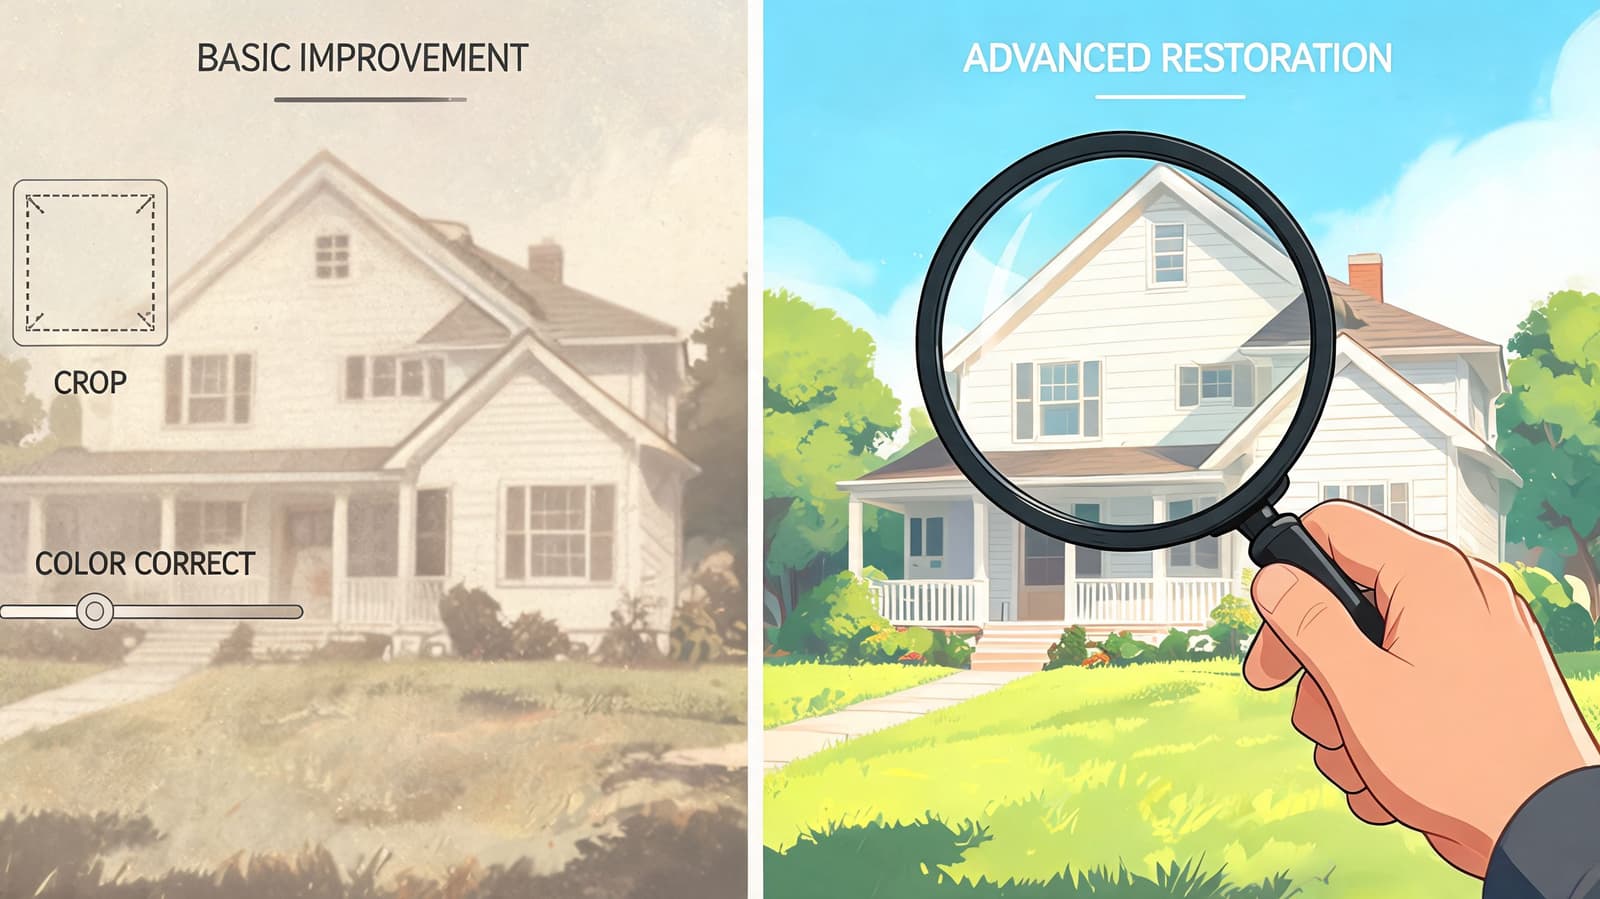
Restoration starts with one question: are you improving readability, or are you rebuilding missing information? The first is usually safe for home users. The second is where mistakes get expensive, especially with one-of-a-kind family prints.
What you can fix yourself
For many old scans, a light touch is enough. A careful crop, better exposure, and small color correction can make a photo easier to share, print, or include in a digital project without changing its character.
Start with a duplicate file, not your master scan. Then make only the edits you can reverse.
- Crop distractions: Remove scanner edges, album corners, or empty border space.
- Correct brightness: Open dark faces gently and hold back bright highlights so clothing and skies do not wash out.
- Reduce color cast: Old color prints often drift, so adjust temperature and tint until skin, paper, and shadows look believable.
- Straighten the frame: A level horizon or square portrait instantly makes a damaged photo feel more legible.
Resist heavy sharpening. It often adds halos, rough skin texture, and crunchy grain that were not in the original print. If the file looks soft because the scan was too small, editing can only do so much. It helps to know the difference between detail you can recover and detail that was never captured in the first place. This guide on how to fix resolution in scanned photos explains when cleanup works and when rescanning is the smarter choice.
One practical rule has saved many family archives from bad edits. If a slider change is obvious at a glance, it is probably too strong.
When a professional should take over
Some damage belongs in a specialist's hands because the problem is no longer simple correction. It is reconstruction, surface repair, or careful interpretation.
Bring in a professional restorer when you have:
- Tears, creases, or missing corners
- Heavy staining, water damage, or mold
- Cracked emulsion or flaking image layers
- Severe scratches, silvering, or prints stuck together
- An important original where one bad edit or handling mistake would matter
Professionals also help when the image has emotional weight that makes objective editing hard. I see this often with memorial portraits and the last decent photo of a parent or grandparent. Families want the person to look their best, but they also want the face to remain true. That balance takes restraint.
If the photo looks cleaner but less believable, stop. Good restoration recovers the image. It should not rewrite the record.
There is also a judgment call that software cannot make for you. Some marks are damage. Some are history. A fingerprint on the border, a studio stamp, or the worn edge of a wallet portrait may belong in the preserved version, even if you remove them from a copy made for a slideshow or animation.
That is the ideal finish. Keep one archival master scan untouched, make a restored access copy for viewing, and create separate versions for creative reuse. Done well, restoration does more than rescue an old print. It prepares the image for a new digital life without stripping away the evidence that made it worth saving.
The Story Turning Still Photos Into Living Memories
A family usually commits to preservation when the photos have a job to do. A box of prints can sit untouched for years. The same photos move quickly once someone wants them ready for a memorial screen, an anniversary slideshow, or a short film for the next reunion.
That shift matters. Preservation is easier to finish when the goal is not only storage, but future use.
Preservation creates better material for digital projects
Good creative work starts before any editing software opens. A print that was handled carefully, stored safely, and scanned well gives you more detail to work with. Skin tones hold together better. Subtle shadows survive. You can crop, correct, and format copies for modern use without pushing the file past its limits.
I see the difference all the time. A clean master scan gives families options. They can make a private archive, a printed book, a slideshow for a service, or a short video built from still images, all from the same source file.
It helps to keep three working versions from the start:
- Master file: the untouched archival scan
- Restored version: a cleaned copy for everyday viewing
- Project version: a separate file sized or cropped for video, slideshow, or sharing
That structure prevents a common mistake. People edit the only good scan they have, save over it, then realize later they need the original for a larger print or a different project.
If you plan to assemble family photos into a video sequence, this guide to making a memory slideshow gives a useful next step.
Motion works best when the photo still feels true
Old photos do not need flashy effects to feel alive. In practice, the strongest results are usually restrained. A slow pan across a wedding portrait, a gentle zoom into a child's face, or a slight sense of depth can hold attention without turning the image into a novelty.
Poor source files fight that process. A compressed image, a quick phone shot of a glossy print, or a crooked scan leaves less room for motion, repair, and clean output. Small defects become obvious once the image is placed on a larger screen or exported into video.
Photo for Video is one tool families use for turning a single still into a short MP4 clip with guided motion from a text prompt. It works best after the preservation work is already done. The original print should be stable, the scan should be high quality, and the master file should stay untouched while project copies are used for creative experiments.
That is the larger point of this whole stage. Saving an old photo is only half the job. The other half is preparing it to be seen, shared, and remembered in the formats people use now.
Your Preservation Action Plan Starts Now
The full archive can wait. The first batch can't. If you've been putting this off because the job feels too big, cut it down until it becomes obvious.
Start with one group of photos
Choose one set that matters and is manageable. Not every loose print you've ever inherited. One album. One envelope. One family branch. One event.
That smaller start gives you a repeatable process and keeps you from making rushed decisions on the entire collection. It also lets you test storage supplies, scanner settings, and file naming before the project gets larger.
Here's a practical shortlist:
- Pick the priority batch: The photos you'd most regret losing
- Remove obvious hazards: Damaged albums, poor plastic sleeves, rubber bands, and acidic boxes
- Stabilize the originals: Put them in safer enclosures in a better location
- Create digital masters: Scan carefully and keep the highest-quality version untouched
- Organize immediately: Name files while the context is fresh
- Back up before editing: Don't wait until the end of the project
- Make access copies: Share duplicates, not masters
- Choose one output: A printed book, private family folder, slideshow, or short video keeps momentum going
Follow a simple working order
The best way to preserve old photos is usually this order:
- Stabilize the physical originals
- Digitize them into high-quality master files
- Organize and back up the digital archive
- Restore copies where needed
- Reuse those copies for family storytelling
That order works because each step protects the next one. Safer prints produce better scans. Better scans restore more cleanly. Better-organized files are easier to back up and easier to turn into meaningful projects.
Start before you feel ready. Most families don't need a perfect archive plan. They need the first protected box, the first finished scan, and the first backup that actually exists.
You don't have to finish the whole family history this month. You just need to stop leaving the most important photos in conditions that keep degrading them. Preservation is cumulative. Every sleeve, scan, filename, and backup gives the collection a better future than it had yesterday.
If you've already started scanning family photos and want to turn one meaningful image into a short keepsake clip, Photo for Video is one practical way to do it. It works with old scans, digitized prints, and phone-captured images, then generates a brief motion video you can use in memorials, anniversaries, birthdays, and family tribute edits.