How to Animate Text in Premiere Pro for Tributes & Reels
Learn how to animate text in Premiere Pro with our step-by-step guide. Master keyframes, presets, and easing for beautiful tribute montages and social reels.
You're probably not opening Premiere Pro today to build a flashy title sequence. More likely, you're finishing a tribute montage for a parent, a wedding anniversary reel, or a short social post built from family photos and a few meaningful clips. In that kind of edit, text has a different job. It needs to guide feeling, carry names and dates clearly, and sit inside the memory instead of stealing attention from it.
That changes how to animate text in Premiere Pro. The best choice usually isn't the most complex one. It's the one that feels calm, readable, and easy to adjust when you're still moving photos around, trimming music, and deciding where a line of text should land.
Table of Contents
- Beyond Flashy Effects Text Animation for Real Memories
- The Foundation Animating with Essential Graphics and Keyframes
- A Smoother Workflow Using the Transform Effect and Easing
- Fast and Professional Using Animation Presets and MOGRTs
- Pro Tips for Tribute Montages and Social Reels
- Choosing the Right Animation Method for Your Project
Beyond Flashy Effects Text Animation for Real Memories
A lot of Premiere Pro text tutorials are built around spectacle. They show split-letter reveals, stacked duplicates, nested sequences, and stylized motion that looks impressive in a demo. That approach has its place, but it starts to break down when your timeline is full of real moments, not promo graphics.
Many tutorials emphasize letter-by-letter reveals or nested sequences, but they don't address when these methods become too time-consuming for practical projects. That advice is less useful for memorial and anniversary videos, where speed, readability, and low-friction editing matter more than elaborate animation, as noted in this workflow discussion on tribute-style title techniques.
For tribute work, restraint usually reads better than effort. A soft fade on a name card, a gentle upward drift on a date, or a short dissolve into a quote often feels more appropriate than animated letters bouncing into place one by one. The audience isn't watching to admire your title rig. They're watching to reconnect with a person, a family, or a moment.
Practical rule: If the viewer notices the animation before they read the words, the motion is doing too much.
That's especially true when you're pairing titles with old photos, scanned prints, or clips that already carry emotional weight. The most useful mindset is to treat text as part of the edit rhythm, not as a separate design performance. If you're also building a slideshow from stills, this guide to making a memory slideshow fits that same philosophy.
Clean, understated animation also gives you a production advantage. Tribute edits change late. Families ask for a date correction, a name spelling fix, a different song, a photo reorder. A simple animation survives those revisions. A complicated kinetic sequence usually doesn't.
The Foundation Animating with Essential Graphics and Keyframes
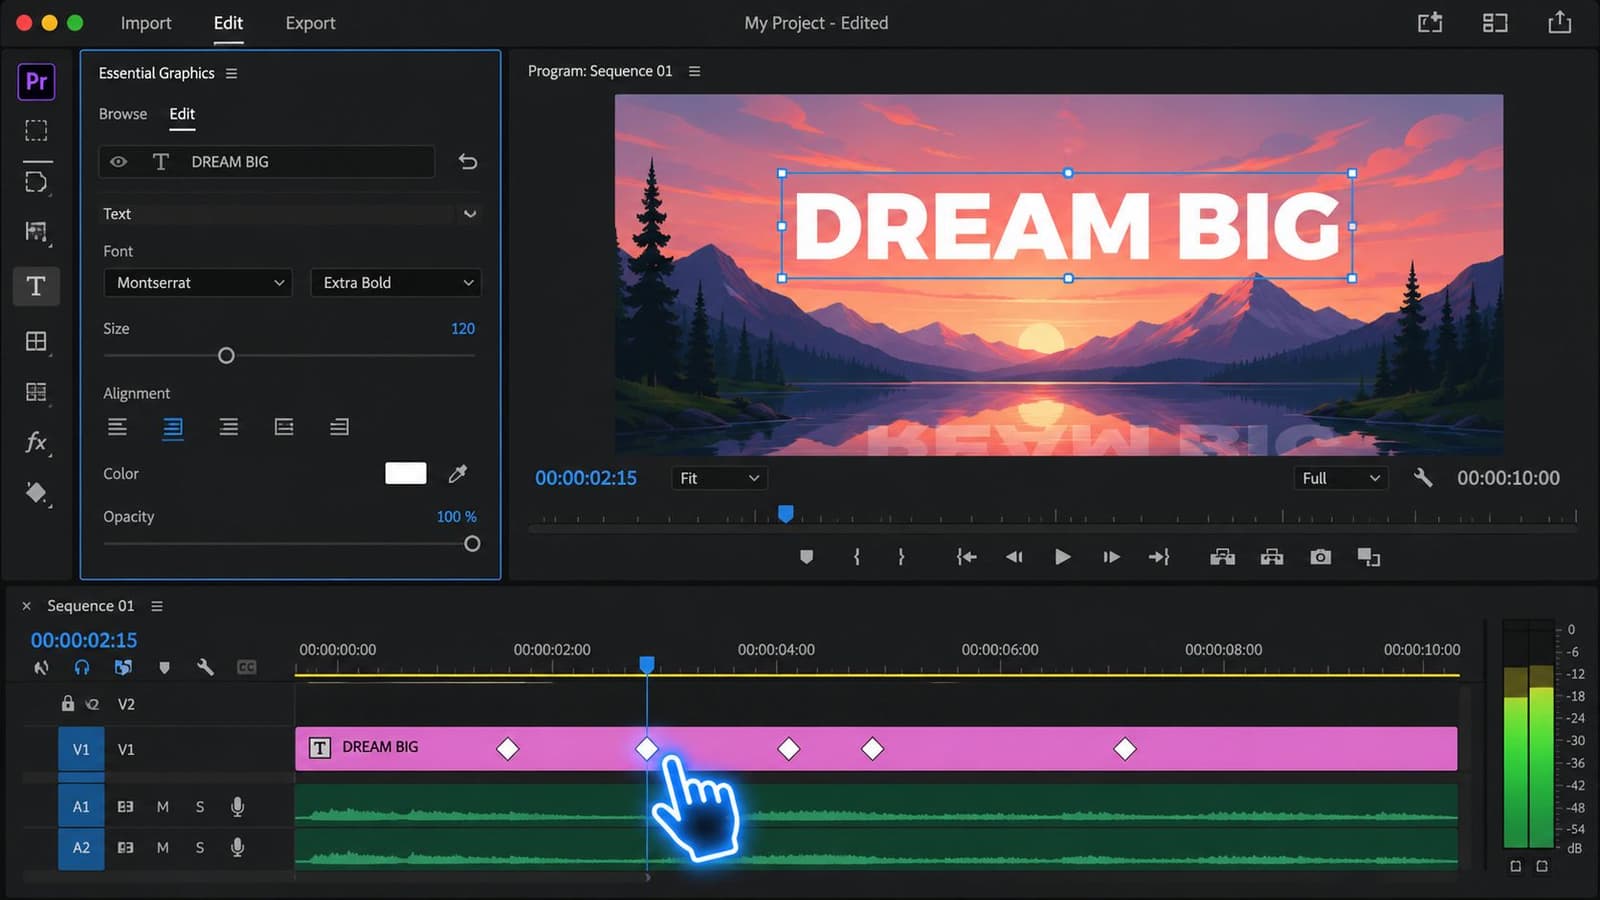
Premiere Pro's text-animation workflow is built around keyframes on properties like Position, Scale, and Rotation. The standard pattern is simple: create a text layer in Essential Graphics, then animate it by changing values over time in Effect Controls, a method described in this Premiere Pro text animation guide.
If you learn that one workflow properly, you can build almost every tasteful text move you need for a family montage or reel. It's also the method that stays flexible when the edit changes.
Build the text layer first
Start with the Type Tool and click directly in the Program Monitor. Enter the name, date, place, or short phrase you want on screen. Then shape the typography before you animate anything. Pick the font, size, alignment, and color first.
That order matters. Editors often rush into keyframes, then realize the title is too wide, too small, or too low in frame. Every design change after animation starts creates extra cleanup. If you want a basic refresher on setup, this walkthrough on how to add text to video is useful before you begin animating.
Once the text looks right, select the graphic layer and open Effect Controls. You'll work with the standard transform-style properties there. Even for subtle animation, this panel is the center of control.
Animate one property at a time
The cleanest beginner workflow is this:
- Choose the property you want to animate, usually Position, Scale, or Opacity.
- Set the first keyframe at the moment the animation should begin.
- Move the playhead forward.
- Change the value to create the ending state.
That's it. Premiere Pro draws the motion between those two points.
For a tribute montage, I'd start with two combinations more often than anything else:
- Opacity plus slight Scale for a gentle entrance on a person's name.
- Position plus Opacity for a small upward or sideways drift on a date or location line.
Keep the move modest. A title that travels a long distance feels promotional. A title that shifts slightly feels intentional.
Text animation works best when the viewer feels the arrival, not the mechanics.
A good rule for emotional edits is one clear move per title. If the text fades, don't also spin it. If it slides, don't also bounce it. Multiple motions compete with the footage and make simple information feel overdesigned.
A simple tribute title that works
Here's a reliable build for a lower-third or centered name card:
- First frame of the title clip: set Opacity low or off, and make Scale slightly smaller than the final size.
- A little later: set Opacity to full and return Scale to normal.
- Optional: add a very small Position adjustment so the title settles upward as it appears.
This creates a soft reveal that feels polished without looking like a preset.
Later in your timeline, use the same structure again for consistency. Repeating one animation style across the whole montage gives the piece a visual voice. Randomizing the title treatment from scene to scene usually weakens that feeling.
If you want to watch the interface and keyframe process in motion, this short walkthrough is a helpful reference before you build your own version:
A Smoother Workflow Using the Transform Effect and Easing
Manual keyframing with default controls works. But when editors want cleaner movement, they often stop animating with the standard Motion controls and switch to the Transform effect instead. For the smoothest results, expert workflows recommend creating text with the Type Tool, then animating with the dedicated Transform effect or a prebuilt MOGRT from Essential Graphics rather than relying only on default Motion keyframes, as explained in this Boris FX guide to animating text in Premiere Pro.
Why Transform often looks better
The practical reason is simple. Transform gives you more control over the motion feel, especially when you want blur to soften movement. In tribute edits, that matters because sharp digital movement can feel disconnected from older photos, softer lenses, and slower pacing.
A small amount of blur helps the title sit inside the shot instead of looking pasted over it. One commonly taught workflow for smoother movement tells editors to raise shutter angle to 360 to simulate blur, described in the earlier Premiere animation reference. You don't need to push every title that far, but the principle is useful. Slight blur often looks kinder than razor-sharp motion.
Use it with restraint. Too much blur can reduce readability, especially on mobile screens.
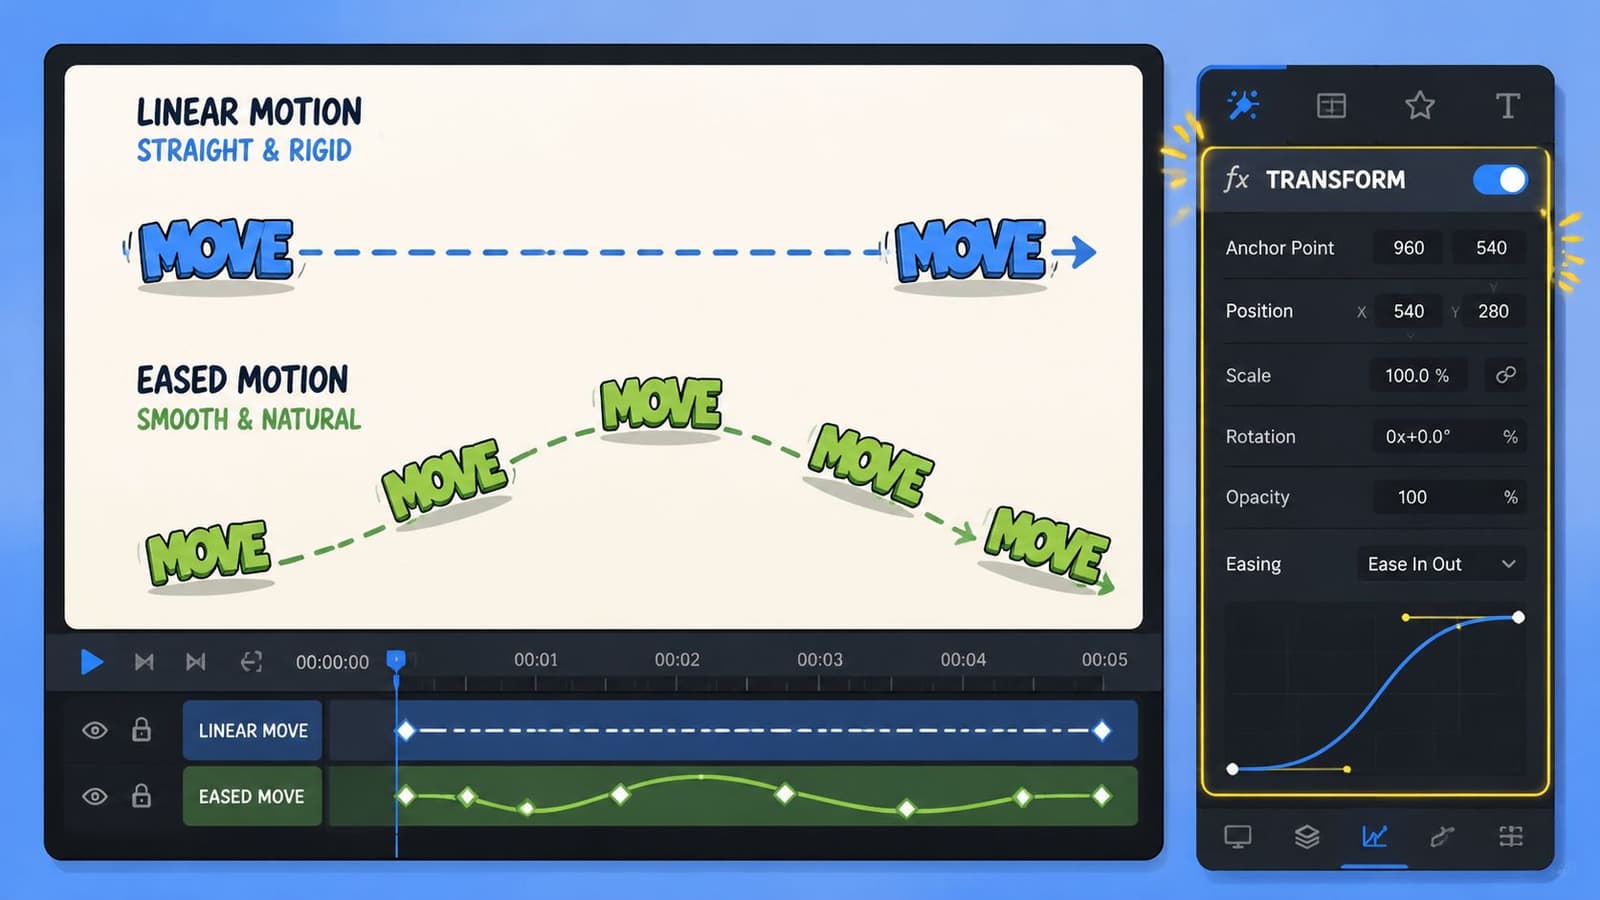
Easing is what makes text feel human
The second upgrade is easing. Linear keyframes start and stop at a constant rate, which is why they often look robotic. Real objects and good motion design don't behave that way. They accelerate and settle.
In Premiere Pro, ease the keyframes so text glides in and comes to rest instead of snapping from state to state. A name card for a memorial reel should feel like it's arriving gently. Easing does more of that emotional work than flashy movement ever will.
Try this sequence:
- Set your opening and ending keyframes in the Transform effect.
- Right-click the keyframes and apply ease where needed.
- Preview against the music or spoken line, not in silence.
- Trim the animation timing until it lands naturally with the cut.
A soft ease-out on the final keyframe usually matters more than a bigger move.
The benefit shows up fast in projects with lots of titles. Once you've built one eased Transform animation that feels right, you can copy and paste it to similar clips and only adjust timing. That keeps the whole piece cohesive.
Fast and Professional Using Animation Presets and MOGRTs
Not every project needs custom keyframes. Sometimes you're finishing a social reel the same day, or a family member needs the tribute before the service, and the smartest move is to use a built-in shortcut that already looks good.
That's where animation presets and MOGRTs earn their keep. They aren't a compromise if you choose them carefully. They're a production tool.
When presets are the smart choice
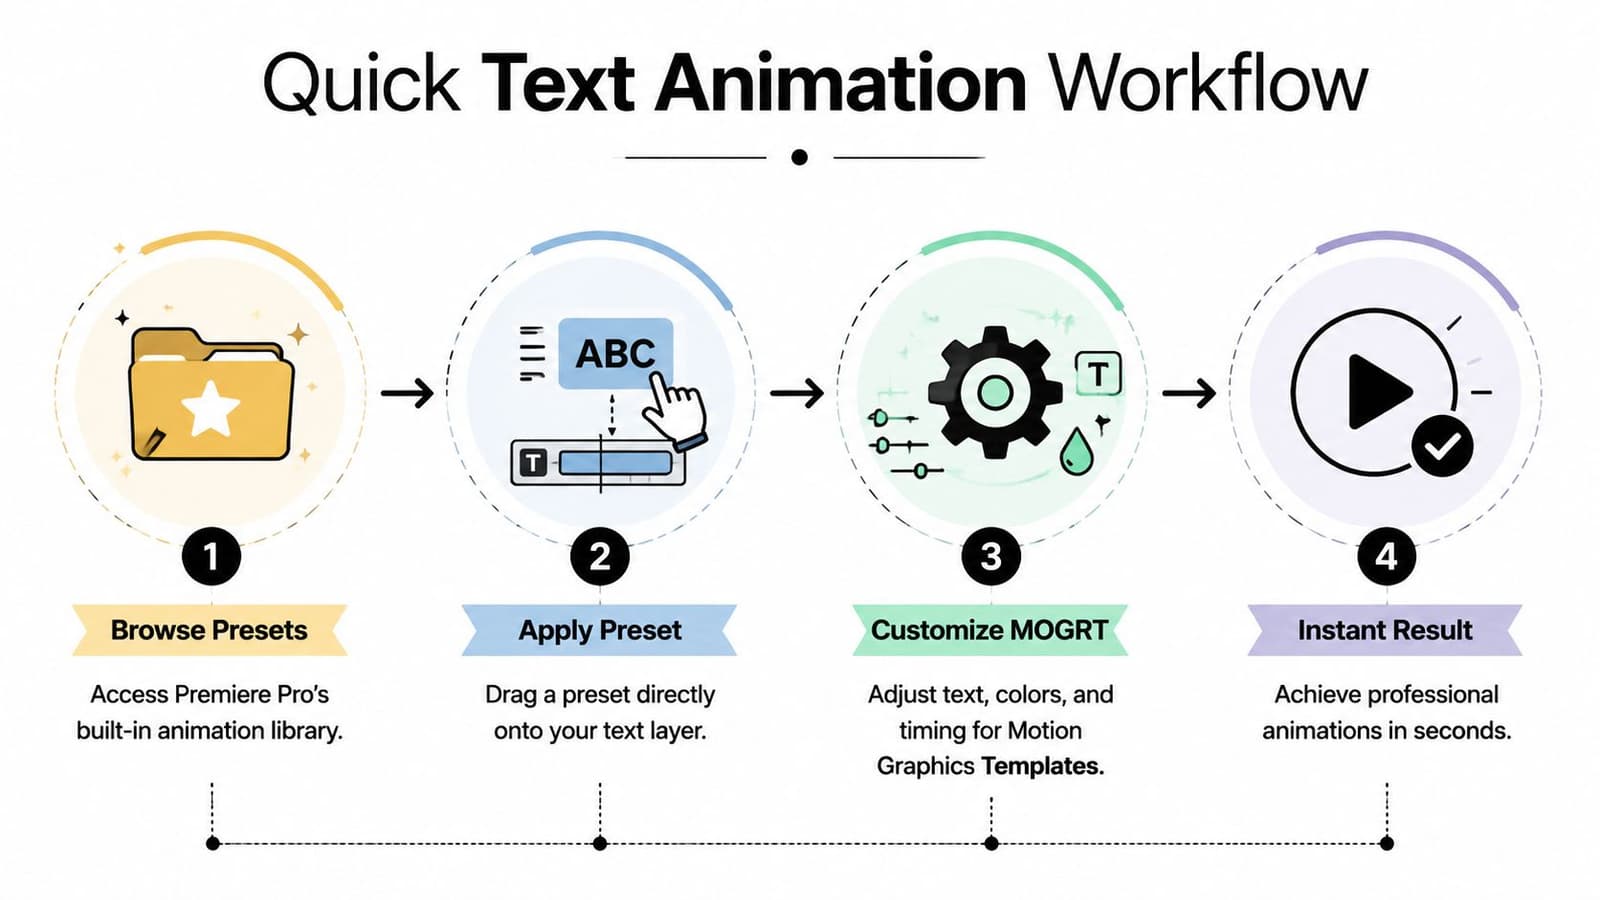
Premiere Pro includes presets you can drag onto a text layer. For quick jobs, that's often enough. A basic fade, slide, or blur-based entrance can save time and still feel polished if the design itself is restrained.
Presets work best when:
- The deadline is tight and you need finished titles quickly.
- The text repeats structurally, like names, dates, or chapter cards.
- You want consistency across several clips without hand-building each animation.
Presets work poorly when the movement is too loud for the footage. If a preset swings, zooms, or overshoots aggressively, skip it. Fast doesn't help if it changes the tone of the piece.
How to use MOGRTs without making the edit feel generic
Motion Graphics Templates, or MOGRTs, live in the Essential Graphics workflow and give you editable title packages. They're useful when you want a cleaner designed result without building the animation from scratch.
A good MOGRT for tribute work has three qualities:
- It's readable immediately. The typography is clear and the layout isn't crowded.
- The animation is short and calm. No gimmicks.
- The editable controls are practical. You can change text, color, and timing without digging through a maze of options.
If a MOGRT looks beautiful in the browser but fights you when you try to shorten it or restyle it, it's the wrong one for this job.
A quick test helps. Drop the MOGRT over an actual emotional moment in your timeline, not a blank test sequence. If it suddenly feels like a promo package instead of a memory film, remove it.
The best template is the one nobody notices because it fits the footage so well.
For social reels, MOGRTs can be especially helpful because they keep output consistent across multiple aspect ratios and repeated deliverables. Just don't let convenience push you into louder motion than the story needs.
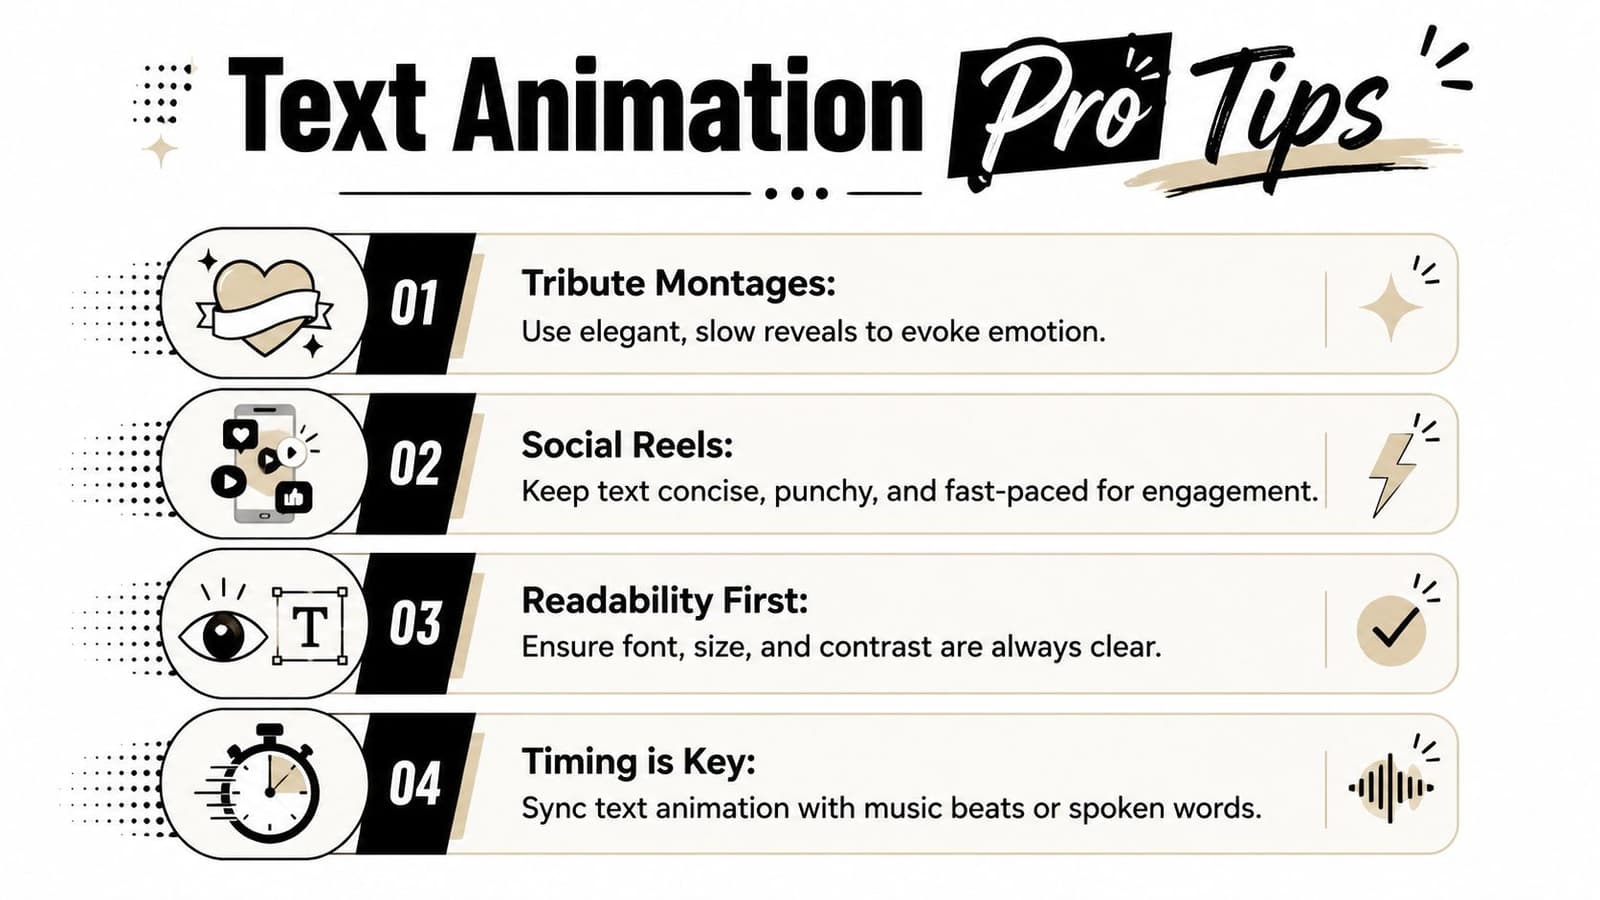
Pro Tips for Tribute Montages and Social Reels
The difference between decent text animation and moving text animation usually isn't the software. It's judgment. In tribute work, judgment means knowing when to slow down, when to simplify, and when to leave space around a line of text.
Adobe's help documentation reflects a frame-based approach to text animation, including mobile workflows. For timing, a common professional practice is to move only a few frames between key poses. Guides recommend advancing five to ten frames at a time for reveals, and at 30 fps, a two-frame offset is about 0.067 seconds, which is enough to create readable motion without feeling sluggish, according to Adobe's text animation guidance for Premiere workflows.
Timing that supports emotion
For reels, short frame offsets can create energy. For tributes, they can still be useful, but the application changes. Instead of rapid, stylized reveals, use those small timing adjustments to soften the entrance and exit of whole words or lines.
Three habits help:
- Let the viewer read before the cut. Don't animate text so late that the next shot arrives before the words settle.
- Match key moments in the soundtrack. A lyric, piano change, or spoken name is often the right landing point.
- Keep repeated titles on a similar rhythm. Consistency feels professional even when the animation is simple.
Design choices that stay out of the way
Animation can't rescue weak text design. Readability comes first, especially on phones. Keep the line short, give it contrast against the footage, and avoid placing text over busy faces or patterned backgrounds.
If you're delivering both widescreen and vertical versions, adjust title position deliberately instead of trusting an automatic crop. This guide on changing the aspect ratio of video is useful when you need to adapt tribute edits for social platforms without ruining title placement.
A few practical editing choices make a big difference:
- Use one entrance style across the project. It ties the montage together.
- Favor fades, soft drifts, and gentle scale changes. They age better than trendy effects.
- Add blur carefully. It can smooth movement, but readability still wins.
- Check the export on a phone. Fine text that looks elegant on a desktop monitor can disappear on mobile.
Choosing the Right Animation Method for Your Project
The right method depends on two things. How much control you need, and how much time you have.
If the title is central to the emotion of the piece, manual keyframing is usually worth it. You get precise control over timing, placement, and feel. If the basic keyframed version looks a little stiff, use the Transform effect and easing to make it more graceful.
If the deadline is tight, or the project has many repeated text cards, presets and MOGRTs are often the better call. They get you to a polished result faster, and that matters when the primary work is selecting photos, shaping story, and getting the timing of the montage right.
Premiere Pro Text Animation Methods at a Glance
| Method | Best For | Difficulty | Use Case Example |
|---|---|---|---|
| Essential Graphics with keyframes | Full control and custom timing | Moderate | A memorial title card with a carefully timed fade and subtle scale change |
| Transform effect with easing | Smoother motion and polished movement | Moderate | A parent's name drifting in softly over a photo montage |
| Animation presets | Fast edits with simple motion | Easy | A same-day social reel with short date and location text |
| MOGRTs | Efficient, designed title packages | Easy to moderate | A family anniversary video that needs consistent lower thirds throughout |
Choose the method that protects the tone of the piece. The audience will remember the feeling of the video long after they've forgotten how the text moved.
If you're building a tribute or family reel from still photos, Photo for Video can help you turn a single image into a short, natural-looking motion clip that fits smoothly into Premiere Pro. It's a practical way to give old family pictures gentle life before you add music, pacing, and tasteful text animation on top.