How to Compress MP4 in 2026: Keep Quality, Share Easily
Learn how to compress MP4 files for easy sharing without losing quality. Explore simple apps, advanced tools, and key settings for your videos.
You've got a short MP4 on your computer. It might be an old photo brought to life, a birthday clip for a parent, or a memorial image with just enough motion to feel human again. It looks right when you play it back locally. Then you try to email it, text it, or upload it, and suddenly the file is too large, the upload takes forever, or the shared version comes back looking softer and flatter than the one you made.
That's where compression stops being a technical afterthought and becomes part of the craft. With animated photo clips, the goal isn't just to make the file smaller. It's to keep the grain in an old scan, the softness in a face, and the gentle movement that makes the clip feel like memory instead of software. Generic advice often treats all video the same. These clips aren't the same, and they shouldn't be compressed that way.
Table of Contents
- Why Compressing Your MP4 Matters More Than Just Size
- Quick MP4 Compression on Your Desktop
- Decoding Compression The Settings That Matter
- Preserving Texture in Animated Photo Clips
- Compressing MP4s with FFmpeg for Total Control
- Common Compression Problems and How to Fix Them
Why Compressing Your MP4 Matters More Than Just Size
A family clip often fails at the very last step. You export it, open the file, and it looks beautiful. The skin tones are soft, the paper texture from the original print still shows, and the motion feels restrained instead of gimmicky. Then the file hits a size limit, or a messaging app mangles it, and the version people see no longer feels the same.
That's why learning how to compress MP4 properly matters. Compression is the handoff between creation and sharing. If you rush it, you can erase the exact details that made the clip worth saving in the first place.
Animated photo clips are especially vulnerable. They don't have the obvious motion of sports footage or the clean edges of modern digital video. They often contain tiny tonal shifts, film grain, scanner texture, and very subtle movement. Those details are easy for a compressor to treat as expendable.
Practical rule: If the clip is emotional, compress for appearance first and convenience second.
A lot of people assume a smaller file is always better. It isn't. A file that's too aggressively reduced may still be technically watchable, but it can lose the analog feel that makes an old family image recognizable as a real object from a real time.
The better mindset is simple:
- Preserve the source first: Keep your original export untouched.
- Make a sharing copy second: Create a separate MP4 for email, messaging, or upload.
- Judge with your eyes: Watch faces, hair, shadows, and background texture before you accept the compressed version.
When people ask how to compress MP4 for sharing, they're usually asking two different questions at once. How do I make this uploadable, and how do I keep it feeling like the memory I started with. The second question matters more.
Quick MP4 Compression on Your Desktop
Your niece sends an AI-animated photo clip of your grandparents. It is only a few seconds long, but the scan texture in the paper, the slight movement in a smile, and the soft shadow around a face are the whole point. You need a smaller MP4 for a family group chat today, and you need it to still feel like the original.
For that job, a desktop app with a trustworthy preset is usually the safest place to start. HandBrake is still the practical free choice because it gives fast results, keeps the important controls visible, and lets you make a sharing copy without touching the original.
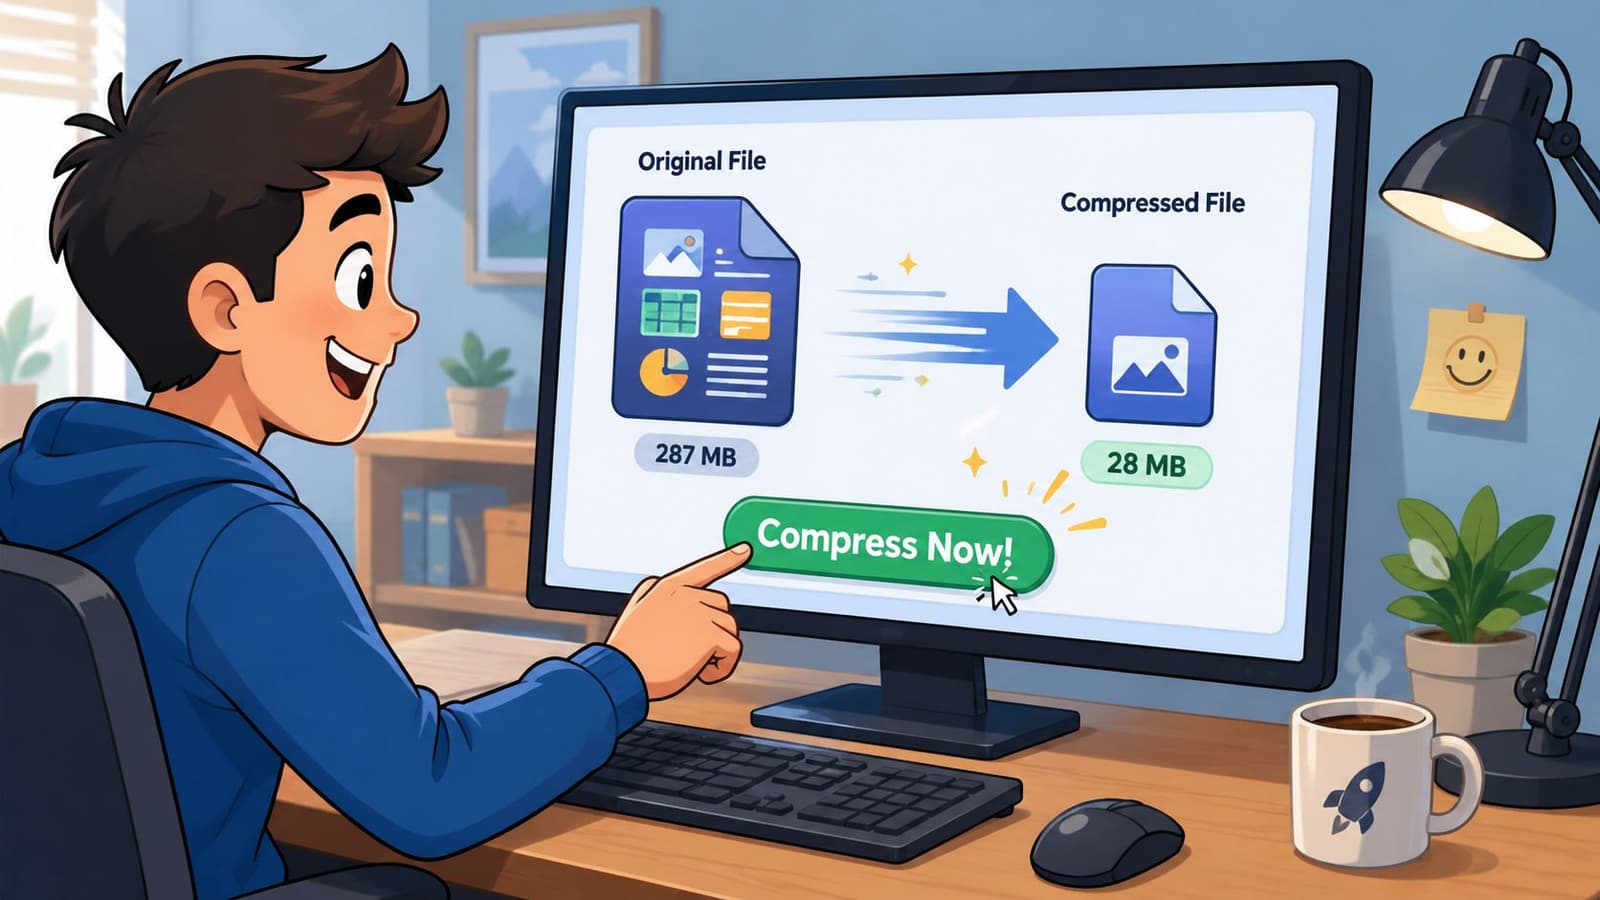
HandBrake for the fastest good result
Open HandBrake and drop in the MP4. Then resist the urge to tweak everything. Short animated photo clips often fall apart when too many settings change at once, especially if the source has film grain, paper texture, or gentle facial motion created by AI.
A simple starting workflow:
- Load the file: Drag your MP4 into HandBrake.
- Choose a preset: Start with Fast 1080p30 if your source is already close to that size.
- Keep the format simple: Leave the file as MP4.
- Use H.264: Keep H.264 selected unless you have a specific reason to change it.
- Leave the dimensions alone first: If the clip already looks clean, test compression before shrinking the frame size.
- Save as a new file: Export a second copy so you can compare it side by side with the original.
- Watch the result full-screen: Check faces, edges of hair, and any grain or print texture before you send it.
That approach works because it limits damage. For a short animated still, the first good win usually comes from saner encoding, not from aggressively shrinking resolution.
One practical habit helps a lot. Compress in passes. Make one moderate export, watch it, then decide if you need a smaller version. If you immediately cut resolution, lower quality, and change frame rate, it becomes hard to tell which choice caused smeared skin, flattened texture, or twitchy motion.
If you expect to upload the clip after sharing it, it helps to know how platforms recompress video. This guide to how YouTube compresses uploaded videos gives a useful reality check before you make the file too small yourself.
Built-in options you may already have
Built-in tools are fine for quick family sharing copies. They are less useful when the clip has subtle analog character you want to protect.
- macOS Photos or export tools: Good for fast resizing with almost no setup.
- Clipchamp on Windows: Friendly and easy for one-off exports.
- VLC: Handy if it is already installed and you just need a straightforward conversion.
These tools save time. They also hide more of the choices that affect image feel, which matters with AI-animated photo clips. If the motion is delicate, or the source includes film grain, faded print texture, or soft tonal transitions, HandBrake usually gives a more predictable result.
Here is the quick desktop trade-off:
| Tool | Best for | What to watch |
|---|---|---|
| HandBrake | Fast compression with visible presets and better control | Easy to hurt quality if you change too many settings at once |
| Clipchamp | Simple exports on Windows | Limited control over fine quality choices |
| macOS export tools | One-off sharing copies | Harder to judge what compression choices are actually being made |
| VLC | Basic conversion with software you may already have | Less clear interface for careful quality tuning |
If the first compressed file looks a little softer, that may be acceptable for text messages or email. If cheeks start to look waxy, grain turns into crawling noise, or the motion around eyes and mouths feels jerky, keep the original and redo the export with gentler settings.
Decoding Compression The Settings That Matter
A short animated photo clip can look fine at first glance and still lose the feeling that made you keep it. The smile still moves. The eyes still blink. But the paper texture in an old print disappears, the grain turns harsh, and the motion starts to feel a little synthetic. These settings decide whether that happens.
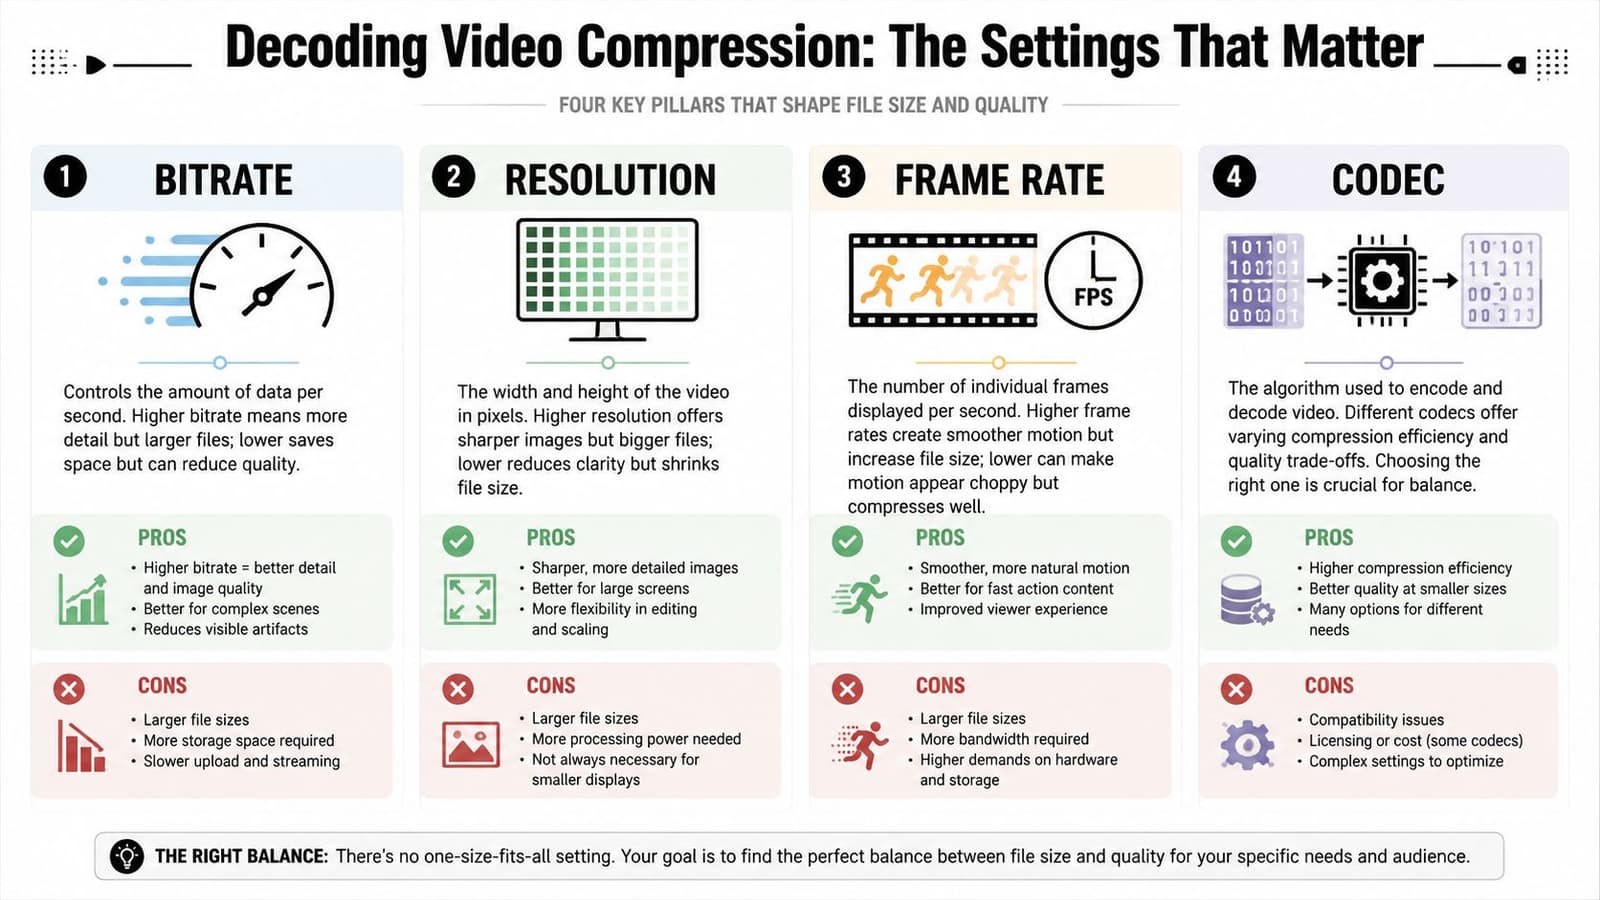
Codec decides compatibility first
The codec is the method used to encode the video. For MP4 sharing, H.264 is still the safe default because phones, messaging apps, browsers, and TVs all handle it well.
That practical compatibility matters more than many guides admit. With AI-animated photo clips, the motion is often subtle and the background is mostly stable, so H.264 usually compresses them efficiently without forcing you into format headaches. If you are also posting online, this guide on how YouTube recompresses uploaded videos helps set expectations, because your file may be compressed again after upload.
H.265 can sometimes produce a smaller file at similar quality, but support is less predictable. For family sharing, “it opens everywhere” is often the better result.
Resolution and frame rate change the clip's character
Resolution controls frame size. Frame rate controls how many frames appear each second. Both affect more than sharpness or smoothness.
Lowering resolution can help fast if a file is too large for email or messaging, but it also trims away the small imperfections that make an animated photo feel real. On these clips, that can mean faded paper fibers, soft edge transitions in a scanned portrait, or the slight unevenness in an old print surface.
Frame rate needs a gentle touch. If the source clip was exported at 24, 25, or 30 fps, keeping that rate is usually the safer choice. Forcing a different frame rate to save space can introduce odd motion cadence, especially around eyelids, mouths, and slow camera drift.
I usually suggest a simple rule. Reduce one visual variable at a time, then watch the whole clip back on the device where it will be shared.
- Keep original resolution if the source has visible texture you want to preserve.
- Lower resolution only when a platform limit leaves no other option.
- Keep the original frame rate unless playback compatibility requires a change.
- Check motion in real time because still-frame previews miss small stutters.
Bitrate and constant quality decide how hard the file is squeezed
This stage determines the video's final quality and file size. Most tools give you two common ways to control it. You either set a target bitrate or use a constant-quality mode.
A target bitrate gives you file-size control. You tell the encoder roughly how much data to spend per second. That is useful when you need a clip under a certain upload limit, but it can hurt the parts of the image that need extra data, such as soft grain, shadow detail, or delicate facial motion.
Mux explains the trade-off well in its overview of video compression and bitrate decisions. Lower bitrates reduce size, but pushing too far creates visible artifacts. On short AI-animated photo clips, those artifacts often show up as smeared skin, broken texture, or shimmer in areas that were calm in the original.
A constant-quality setting is often the better fit for this kind of clip. The encoder can spend more data on the difficult moments and less on the easy ones. That usually protects the emotional feel of the image better than forcing every second into the same data budget.
| Setting | Good for | Risk |
|---|---|---|
| Target bitrate | Hitting a file-size limit for upload or messaging | Fine texture and gentle motion can get starved |
| Constant quality | Keeping the clip looking natural from frame to frame | Final file size is harder to predict |
If you are unsure where to start, keep the codec at H.264, keep the original frame rate, avoid unnecessary downscaling, and choose a moderate constant-quality setting first. Then compare the export against the original side by side. For memory clips, that last check matters more than any preset name.
Preserving Texture in Animated Photo Clips
Generic compression advice often assumes your footage is clean, modern, and forgiving. Animated photo clips aren't. They carry tiny imperfections that people read as authenticity. Remove too much of that texture, and the clip starts to look synthetic.
That's not a niche problem. Adobe's guidance on reducing video size is cited in the verified data, and the same source is tied to a 2025 survey in which 52% of users reported visible loss of analog grain and fine texture after compressing AI-generated videos for sharing in Adobe's reduce video size resource. If you've ever compressed a short memory clip and felt that it suddenly looked plastic, that result fits the pattern.
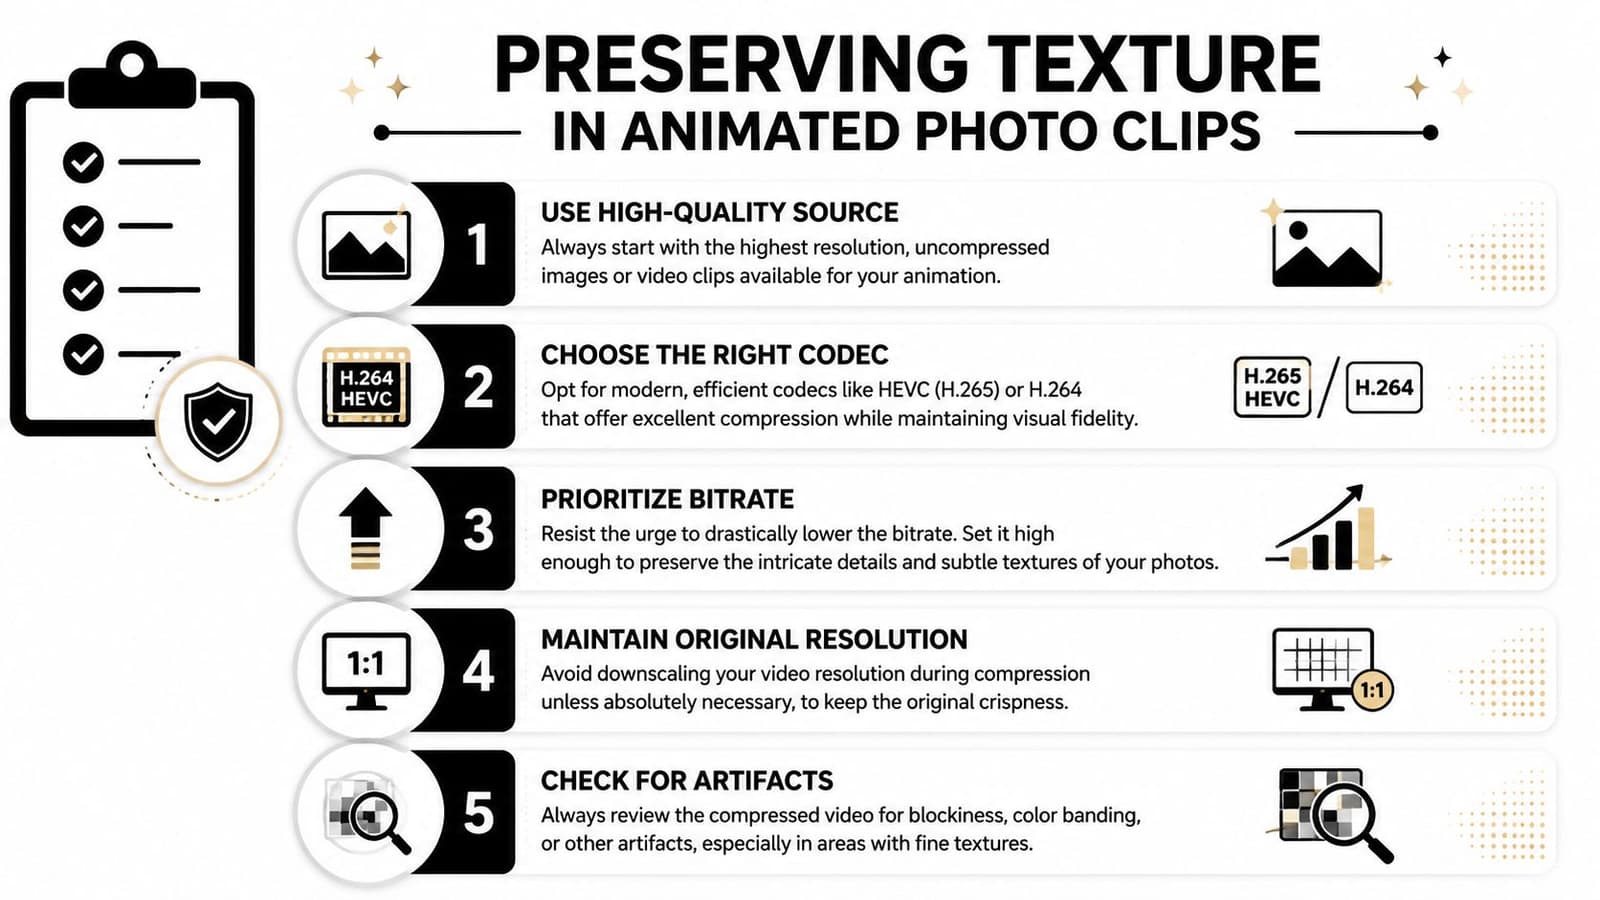
Why standard presets often fail these clips
A normal preset tries to serve many kinds of video at once. That's useful, but it can work against a short AI-animated photo.
These clips often include:
- Soft tonal variation: Old prints and scans don't have hard digital edges.
- Fine analog grain: Noise reduction and aggressive compression often wipe this out first.
- Gentle motion: Tiny movements can trigger smearing if the encoder gets too stingy.
- Emotional close-ups: Faces reveal artifacts faster than general scenery does.
If you've sharpened or restored a source image before animation, preserving those improvements matters too. This guide on how to sharpen an image is useful because over-compression can undo careful image prep.
Leave grain alone unless it has become distracting. In memory clips, a little texture usually looks better than a perfectly smooth face.
A quality-first recipe that usually works
For this kind of video, I'd rather keep a slightly larger file than flatten the image. That doesn't mean avoiding compression. It means compressing with restraint.
A practical recipe in HandBrake or a similar desktop encoder:
- Start from the best source available: Don't recompress an already heavily compressed export if you can avoid it.
- Keep H.264 for sharing copies: It's the safest compromise between quality and compatibility.
- Maintain original resolution when possible: Downscaling often removes the exact texture you wanted to preserve.
- Use a slower encoder preset if time allows: Slower presets usually spend bits more intelligently.
- Preview difficult areas: Watch shadows, hair, skin, and backgrounds with paper texture.
For short AI-animated photo clips, a constant-quality workflow is usually more forgiving than chasing the smallest possible file. The right output often isn't the smallest one. It's the one that still feels like a photograph that happens to be moving.
A simple review checklist helps before you send anything:
| Check area | What you want | Warning sign |
|---|---|---|
| Faces | Natural softness | Waxy skin or smeared features |
| Background texture | Fine grain still visible | Flat or blotchy surfaces |
| Motion | Gentle and stable | Flicker or muddy edges |
| Dark areas | Smooth transitions | Banding or blockiness |
The easiest mistake is compressing until the file becomes impressive on paper and disappointing on screen. For tribute edits, memorial reels, and anniversary keepsakes, quality-first wins.
Compressing MP4s with FFmpeg for Total Control
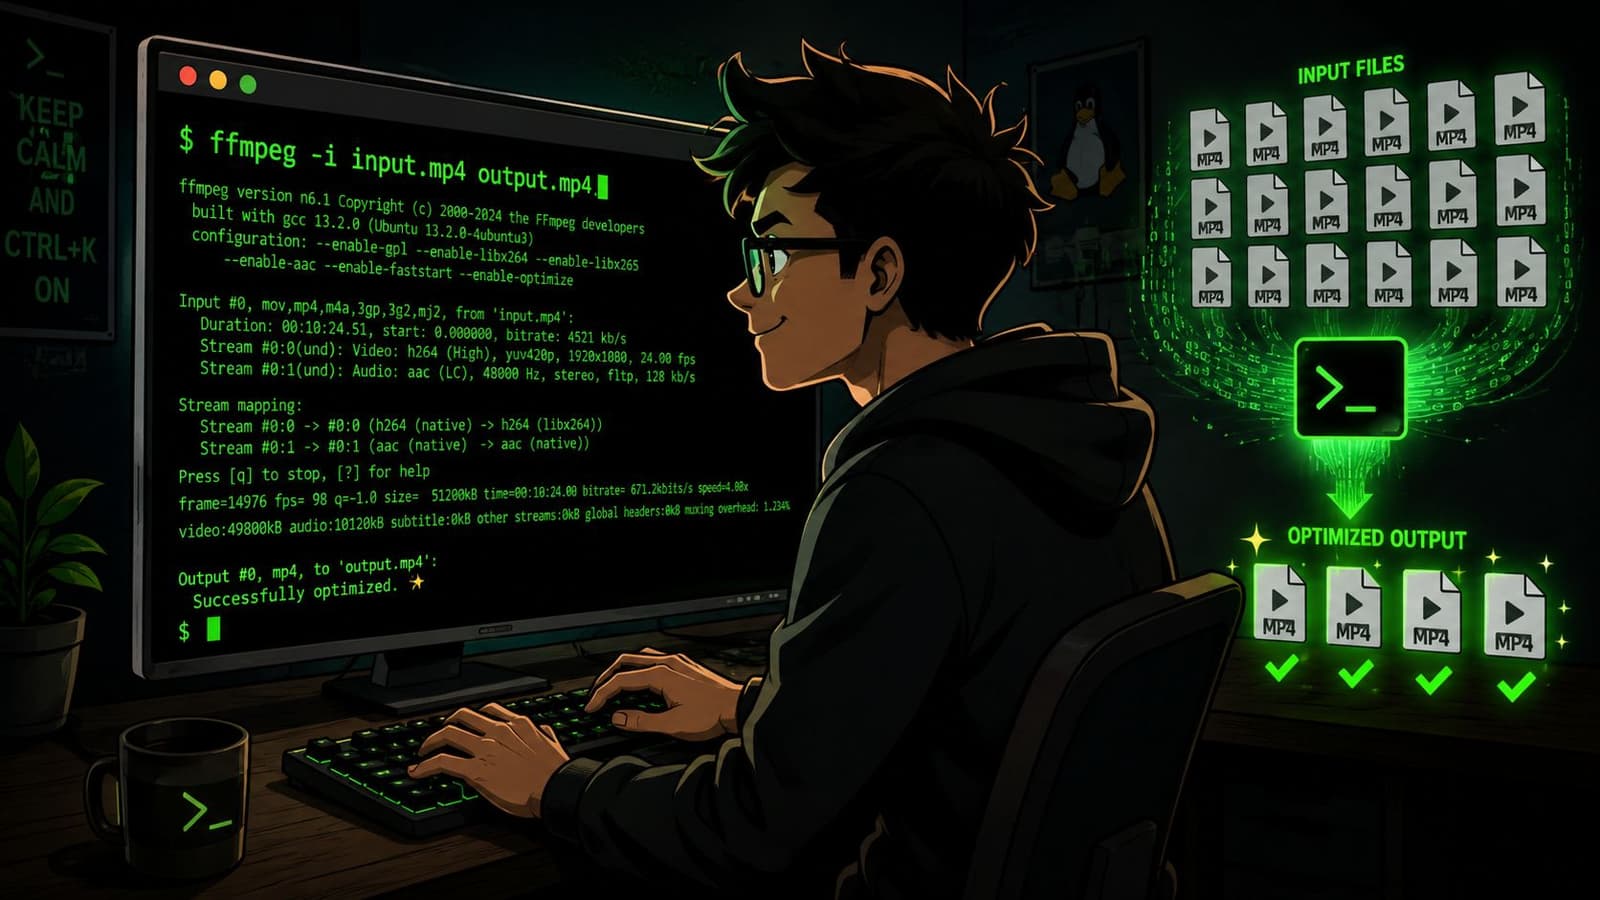
A short animated photo clip can look perfect in preview, then lose its charm after a rough export. The face still moves, the camera push still happens, but the paper grain, soft shadows, and tiny analog imperfections that made it feel real start to smear. FFmpeg is useful here because it lets you make careful, repeatable choices instead of relying on a vague quality slider.
A simple command worth learning
Start with this:
ffmpeg -i input.mp4 -c:v libx264 -preset medium -crf 23 -c:a aac output.mp4
Each part has a clear job:
-i input.mp4sets the source file.-c:v libx264uses the H.264 encoder, which is still the safest choice for sharing.-preset mediumbalances encoding time and file efficiency.-crf 23sets quality. Lower numbers keep more detail and create larger files.-c:a aackeeps audio widely compatible.output.mp4names the new file.
For AI-animated photo clips, CRF matters more than people expect. A setting that looks fine on ordinary phone footage can wipe out light film grain, watercolor-like backgrounds, or the faint texture in old prints. If the clip carries emotional weight, start gentler and compare versions side by side.
If you make repeating memory clips, background visuals, or keepsake loops, this guide on how to make a video loop for short animated photo videos fits well with an FFmpeg workflow.
Two copy-paste examples for real situations
For a higher-quality shareable copy:
ffmpeg -i input.mp4 -c:v libx264 -preset slow -crf 18 -c:a aac output_high_quality.mp4
Use this when the clip has delicate motion in the eyes, drifting hair, candlelight, or visible paper texture in the background. The slower preset takes longer, but it usually protects subtle detail better.
After you've got the basics down, seeing the process helps: BLOG_YOUTUBE_EMBED:r4jbhBjc-kE
For a smaller web copy:
ffmpeg -i input.mp4 -c:v libx264 -preset medium -crf 23 -c:a aac output_web.mp4
This is a reasonable starting point for email, messaging, or uploads where file size matters. If the clip starts to look plasticky, move to CRF 20 or 21 before you change anything else.
One habit saves a lot of frustration. Keep each export as a separate file. Names like clip-crf18-slow.mp4 and clip-crf23-medium.mp4 make it easy to compare what you gained and what you gave up.
FFmpeg is a strong choice for batches, repeatable settings, and careful testing. It asks for more patience than a desktop app, but that extra control helps when the goal is not just a smaller MP4. The goal is a smaller MP4 that still feels like the original memory.
Common Compression Problems and How to Fix Them
If your compressed file is still too large, don't panic and slash every setting at once. Start with one controlled change. Lower the quality slightly or reduce resolution only if the source has more detail than the destination really needs. Keep your original export untouched so you can backtrack.
If the video looks blurry or blocky, you probably pushed compression too hard for the content. Animated photo clips break down fast in faces, shadows, and textured backgrounds. Re-export from the highest-quality source you have, and make a gentler adjustment instead of stacking multiple compromises.
Platform uploads create a separate problem. Verified data tied to a Reddit discussion notes that over 68% of creators re-upload compressed videos to social platforms, only to have quality degraded further by automatic re-encoding, and that platform behavior can cut bitrate by 30 to 40% in that referenced Reddit thread. That's why a file that looked fine on your computer can look worse after upload.
A few fixes work better than expected:
- Upload a cleaner master: Don't feed a platform an already damaged file if you can avoid it.
- Avoid double compression: Export once for sharing. Don't repeatedly open and re-save the same MP4.
- Check the platform result, not just your local file: Social apps often change what viewers see.
- Use a slightly higher-quality upload than you think you need: Platforms re-encode anyway, so giving them more to work with often helps.
One practical rule solves many headaches. Compress for your delivery method, not for the smallest number in the Finder or File Explorer window. The best file is the one that survives the whole trip from your computer to your family's screen.
If you're starting with a still image and want a gentle, tasteful motion clip before you even think about compression, Photo for Video makes that part simple. It turns a single treasured photo into a short living-memory MP4 designed for tributes, anniversaries, birthdays, and keepsakes, so you can begin with a strong source and then export a sharing copy that still feels like the original moment.