How to Make a Picture Movie: A Step-by-Step Guide (2026)
Learn how to make a picture movie from your photos. Our guide covers animating old pictures, adding music, and creating a polished tribute video.
You’re probably starting with one photo, not a folder of polished assets. It might be a faded print from a shoebox, a phone snapshot of a framed portrait, or a scan with dust, creases, and a date stamped in one corner. What you want isn’t another generic slideshow. You want that one moment to breathe again without turning it into something artificial.
That’s the difference between a basic photo montage and a picture movie. A slideshow moves past memories. A picture movie lingers inside one. It uses motion carefully, so the viewer feels closer to the person, the place, or the moment already captured in the image.
The idea itself goes back to the earliest moving pictures. On December 28, 1895, the Lumière brothers publicly projected short films made from sequences of photographs, simulating motion at 16 frames per second, a milestone widely recognized as the birth of cinema, as noted in this historical overview from Carnegie Mellon. The tools have changed. The emotional logic hasn’t.
Table of Contents
- Beyond Slideshows Turning Photos Into Living Memories
- Preparing Your Photos for Motion
- Animating a Single Photo with AI
- Assembling Your Picture Movie Montage
- Adding Polish with Music and Captions
- Exporting and Sharing Your Finished Creation
Beyond Slideshows Turning Photos Into Living Memories
When searching for how to make a picture movie, a common problem arises. The internet serves up slideshow tutorials. They’re built around drag-and-drop timelines, quick transitions, music beds, and stacks of vacation photos. That workflow is fine when you’re recapping an event. It falls short when one image carries the whole emotional weight.
A single-photo picture movie asks for restraint. If the original photo shows a grandmother laughing in a kitchen, or a father standing beside a first car, the job isn’t to impress anyone with effects. The job is to preserve what’s already there and add just enough motion to make the memory feel present.
That gap is real. Existing tutorials still lean toward multi-photo slideshows, while single-photo animations have been reported to outperform slideshows by 62% in emotional engagement for tribute content, and searches for “photo animation AI” rose 45% according to the source summarized in this referenced video discussion. That lines up with what tribute editors see in practice. One well-chosen image, handled carefully, often lands harder than twenty average ones.
Practical rule: If the viewer should feel something before they notice the editing, you’re on the right track.
The best picture movies usually start with an imperfect image. A crease across the corner. Slight blur. Washed-out skin tones from an old print. Those flaws aren’t always problems. Sometimes they’re part of the memory. The mistake is letting motion exaggerate them until the photo looks unstable or synthetic.
Here’s what works better than slideshow thinking:
- Choose one emotional center: Pick the image that carries the story on its own.
- Use subtle movement: Gentle pans, slow push-ins, and minimal facial motion usually feel more respectful than dramatic camera sweeps.
- Protect the original texture: Grain, paper softness, and slight age marks often belong in the final result.
- Let the frame breathe: A short clip can do more than a long one if the movement is believable.
A good picture movie doesn’t try to replace the photograph. It lets the photograph stay itself, then opens a small door inside it.
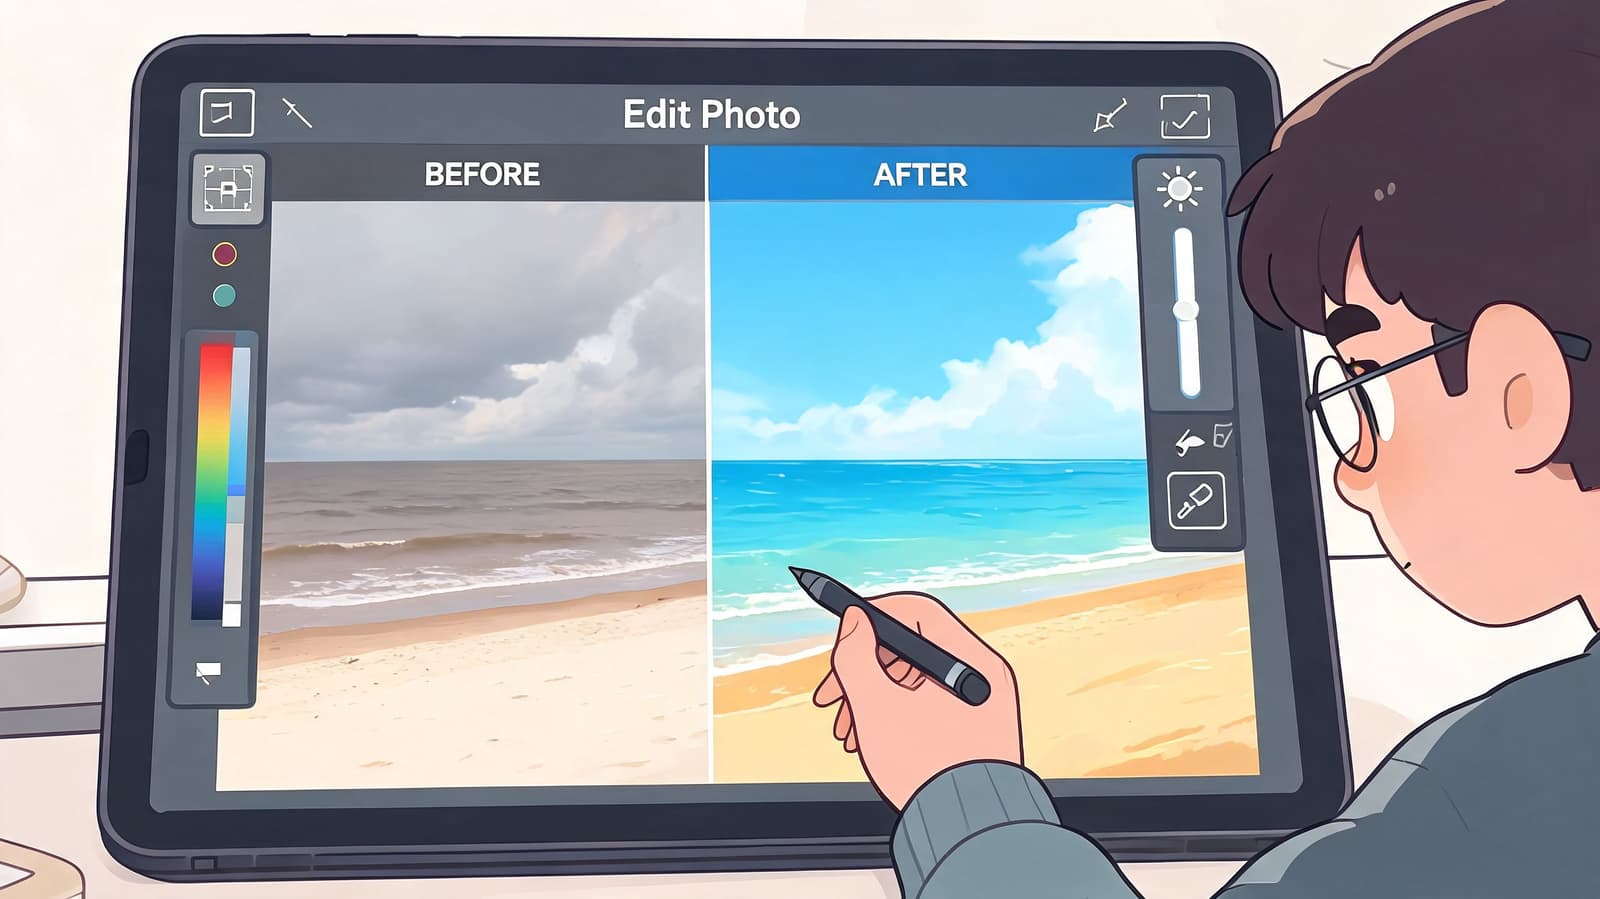
Preparing Your Photos for Motion
Bad prep ruins good animation. If the source image is dirty, crooked, low-detail, or badly lit, motion will make every flaw more obvious. That’s why this stage matters more than most tutorials admit.
Current tutorials often ignore old or poor-quality family images, even though they represent 70% of user uploads in some apps. Queries around animating blurry or damaged old photos have risen 38%, and 55% of amateur memorial videos fail due to quality loss during motion, according to the source summarized in this tutorial reference.
Start with the best digital copy you can get
If you have the original print, scan it if possible. A flatbed scanner usually gives you more even lighting and less glare than a phone. If you only have a phone, photograph the print in soft, indirect light and keep the camera square to the image so faces don’t distort.
Before you animate anything, check four things:
-
Straightness
Crooked horizons and tilted portraits become more distracting once the frame starts moving. -
Edge cleanup
Remove table edges, album corners, or background clutter from a phone capture. -
Exposure
Brighten only enough to recover faces. Over-brightening tends to flatten old prints. -
Resolution If the file looks soft before motion, fix that first. A simple guide to improving photo resolution before animation can help you avoid muddy exports later.
Clean the image before you animate it
Dust and scratches that seem minor in a still can shimmer once motion is added. I usually do a light cleanup, not a full restoration pass. The goal is to remove distractions, not erase the age of the photo.
Use tools you already know. Apple Photos, Google Photos, Snapseed, Photoshop, Lightroom, and even basic healing tools can be enough. Focus on these fixes first:
- Dust spots and specks: Heal isolated marks in skin, sky, and flat backgrounds.
- Tears near facial features: Repair anything that could confuse motion generation around eyes, mouths, or hands.
- Faded color casts: Neutralize severe yellowing or magenta shifts, but keep some warmth if it belongs to the print.
- Noise and grain: Reduce digital noise from bad scans, but don’t scrub away natural film texture.
Old photos don’t need to look new. They need to look stable.
A quick test helps. Zoom in on the face and hands, then ask yourself whether the image would survive a slow push-in. If those details already look fragile, fix them now. Motion won’t hide the problem. It will spotlight it.
A final practical note. Save a cleaned copy as a separate file instead of overwriting the original scan. If the animation feels too sterile later, you can return to the untouched version and restore a little of the print’s character.
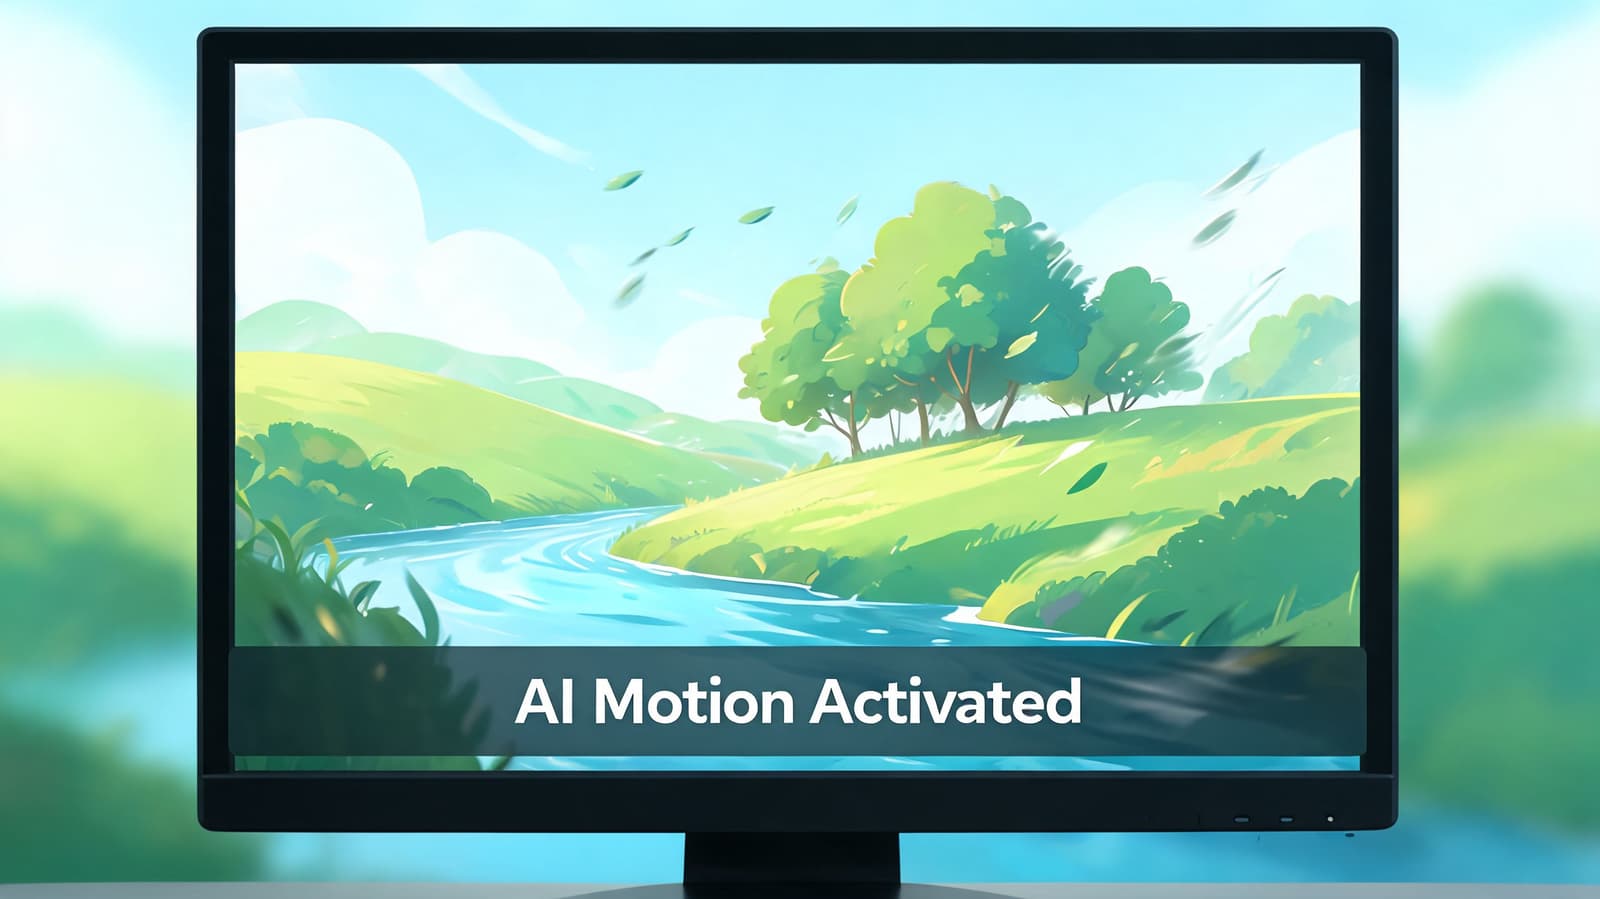
Animating a Single Photo with AI
Once the image is prepared, the next step is controlled motion. Many people go too far at this stage, asking for dramatic movement, cinematic flourishes, or facial actions that weren’t supported by the original image. The result often feels uncanny.
The better approach is to direct the image the way a careful editor would direct a camera move.
Think like a director before you click generate
Professional pre-production matters even in a tiny clip. Detailed shot planning for a 5-second animated piece, including camera moves and motion descriptions such as a pan kept under 10° for a gentle reveal, correlates with a 70-80% success rate and reportedly reduces retakes or regenerations by 40%, according to LA Film School’s production-stage guidance.
That sounds formal, but the actual habit is simple. Write down what the image should do before you generate anything.
For one still photo, I like this mini shot list:
- Subject focus: Who or what should the eye land on first
- Camera move: Slow push-in, small pan, or slight parallax feel
- Emotional tone: Tender, reflective, celebratory, calm
- Protected details: Hands, eyes, jewelry, paper texture, background objects
If you want to try a dedicated tool for this kind of workflow, animate a single photo into a short video with a motion prompt that stays small and specific.
Write prompts that describe movement, not magic
Prompt writing gets better when you stop treating it like image generation and start treating it like direction. Good prompts describe motion in plain language.
Examples that usually work better:
- “Gentle zoom in toward the face, natural movement, warm memorial tone”
- “Slow pan left across the photo, subtle depth, preserve original texture”
- “Soft breathing motion and slight camera drift, calm anniversary feeling”
Prompts that often fail:
- “Make this look cinematic and epic”
- “Bring everyone fully to life”
- “Add dramatic movement and realism”
Those vague prompts invite the model to invent too much.
Here’s a quick visual walkthrough before you generate your own clip:
One more trade-off matters. Faces can handle only so much motion before they drift. Clothing folds, hairlines, and fingers are also easy to break. If the first result looks slightly over-animated, don’t ask for “better realism.” Pull the motion back. Shorter, quieter movement usually looks more human.
The most convincing clip is often the one where the viewer says, “I can feel it,” not “How did you do that?”
Generate a few versions with tiny differences. One with a push-in. One with a slight pan. One with almost no subject motion at all. Then compare them side by side. The strongest version is usually the one that respects the original photograph most.
Assembling Your Picture Movie Montage
If you’re using one animated photo, your montage may be extremely short. If you’ve created several variations from the same image, or paired one hero photo with a few supporting stills, editing becomes the difference between a moving tribute and a sequence that feels assembled by software.
This stage is less about features and more about judgment.

Build a simple emotional arc
Open your clips in CapCut, iMovie, Adobe Premiere Pro, or DaVinci Resolve. Use whichever editor you can work with comfortably. Tribute work suffers when the editor spends more energy on the software than on the story.
For a short picture movie, I usually think in three beats:
| Beat | What it does | What often works |
|---|---|---|
| Arrival | Introduces the memory | Start on the cleanest, most legible frame |
| Deepening | Lets the viewer stay with it | Use the most natural motion here |
| Release | Gives the piece a graceful ending | Fade out, hold on a face, or end on text |
If you have multiple versions of the same photo, don’t stack them all at full length. A slight crop variation followed by a gentle push-in can feel layered. Three similar clips with identical timing often feel repetitive.
Edit for rhythm, not for features
Post-production pacing matters heavily in short-form work. Fine-tuning the rhythm of cuts and transitions contributes to 85% viewer retention in short-form content, according to ELVTR’s overview of the filmmaking process. In practical terms, viewers stay with a short tribute when the timing feels intentional.
That means trimming with your eyes, not with default clip lengths.
Try this approach:
- Start longer than you think you need: Let each clip breathe on the first pass.
- Trim the dead air: If a movement finishes emotionally before the clip ends, cut there.
- Use simple transitions: A soft cross-dissolve usually does more than flashy wipes or digital page turns.
- Watch for repeated motion direction: Too many left-to-right pans in a row can feel mechanical.
If a transition calls attention to itself, it’s probably doing too much.
One useful test is silent playback. Mute the timeline and watch the full piece. If the sequence still feels coherent, your visual rhythm is working. If it drags or feels jumpy without music, fix the edit before adding sound.
Another good habit is to leave a brief still hold at the beginning or end of a motion clip. That tiny pause can make the memory feel grounded instead of constantly in motion. For family tributes, calm pacing usually beats clever pacing.
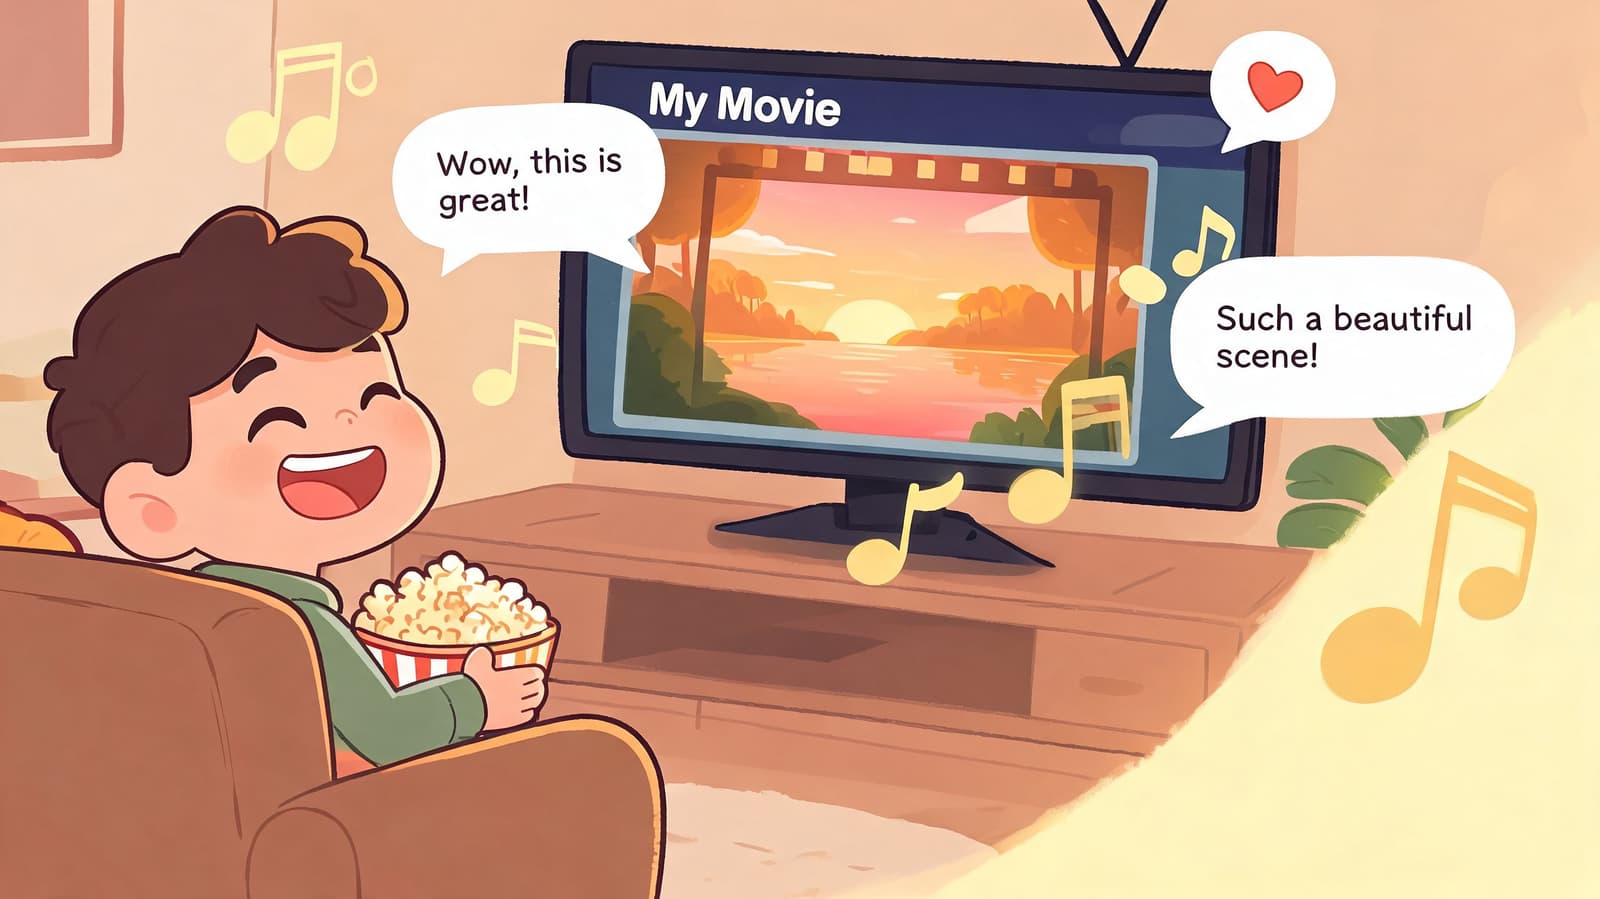
Adding Polish with Music and Captions
A lot of picture movies get too heavy at the finish line. The photo is tender, the motion is subtle, then the edit gets buried under swelling music and too much text. I see this often with family tributes. Someone is trying to honor the memory, but every extra layer pulls attention away from the one thing that matters most: the face, the texture of the original print, the feeling inside that single frame.
As noted earlier, early motion pictures proved that movement alone can carry emotion. That still holds up in tribute work. If a cherished photo has been animated with care, the final polish should support that life, not crowd it.
Choose music that gives the image space
For a single-photo memory piece, I usually start with quiet music without vocals. Piano, light strings, soft guitar, or low ambient beds tend to work because they leave room for the viewer’s own memories. Songs with lyrics can work, but they often pin the scene to one interpretation. That is a real trade-off. A familiar song may feel personal to the family, yet the words can compete with the expression in the photo.
A good track usually has three things:
- An emotional match: gentle, reflective, warm, or hopeful
- A shape you can edit: a clean intro, a natural swell, and an ending that does not cut off awkwardly
- A light arrangement: enough presence to support the moment, not so much that it announces itself first
Keep the volume lower than feels natural on first pass. Then watch the piece again. If the music tells you how to feel before the image has a chance to do its work, bring it down another notch.
Silence helps too. A short quiet opening before the music starts can make an old photo feel more immediate, especially if the scan still carries grain, faded edges, or little signs of age. Those details are part of the memory. Let them breathe.
Add captions only where they clarify something meaningful
The strongest captions usually answer one question the image cannot answer on its own. Who is in the photo. Where it was taken. What year it was. Sometimes one short line of context is enough to turn a beautiful image into a specific memory.
Keep captions restrained:
- Limit each screen to one idea: a name, a date, a place, or one brief sentence
- Place text away from eyes, hands, and other emotional focal points
- Use a simple font with good contrast
- Leave some moments without any text at all
I treat captions like a gentle guide, not a running commentary. If the viewer is reading more than looking, there is too much on screen.
One practical test helps. Turn captions off and watch the full piece. If the emotion drops sharply, the text is carrying too much weight. Trim it back until the photo still leads.
If you plan to post the final movie online, it also helps to preview how your file will hold up after upload. This quick guide to YouTube video compression and file handling is useful if you want your text and subtle photo texture to stay clean instead of getting softened by platform compression.
Exporting and Sharing Your Finished Creation
A beautiful edit can still fall apart at export. Wrong settings can soften faces, crush subtle color, or create a file that looks fine on your laptop and rough on someone else’s phone. Keep this part simple.
For most family tribute work, MP4 is the easiest format to share and the least likely to cause playback trouble. If your editor offers H.264 as the export codec inside an MP4 file, that’s usually a safe default. Save one master copy for yourself first, then make smaller versions for social platforms or messaging apps if needed.
Use this as a practical starting point:
Picture Movie Export Settings
| Use Case | Resolution | Format | Recommended Bitrate |
|---|---|---|---|
| Memorial service projection | 1080p | MP4 | 10-20Mbps |
| Instagram or TikTok sharing | 1080p vertical or square to match your edit | MP4 | 10-20Mbps |
| Family archive master copy | 1080p | MP4 | 10-20Mbps |
If you need a cleaner social upload, this guide to YouTube video compression and file handling is a useful reference for avoiding avoidable quality loss.
A few final checks before you send anything out:
- Watch the exported file on a phone and a larger screen: Small issues often appear only after export.
- Listen with headphones once: Audio glitches are easier to catch there.
- Check the first and last second carefully: Exported fades and holds sometimes behave differently than they do in the timeline.
- Rename the file clearly: Use a name someone can recognize later, especially for family archives.
The last step is emotional, not technical. Don’t just ask whether the file looks sharp. Ask whether it feels true to the photo you started with. If it does, you’ve done the essential work.
If you want a faster way to turn one cherished image into a short, natural-looking tribute clip, Photo for Video is built for exactly that. It helps you animate a single still photo into a living memory for birthdays, memorials, anniversaries, and keepsakes, while preserving the original texture and automatically deleting uploads after 7 days for privacy.