How to Trim an MP4 Video Fast & Without Losing Quality
Learn how to trim an MP4 video on Mac, Windows, mobile, and online. Our guide shows you free, easy methods that preserve video quality for perfect clips.
You’ve got an MP4 that’s almost right. The clip starts too early, hangs too long at the end, or includes a shaky second you don’t want to keep. Maybe it’s a family video, a phone recording, or a short animated keepsake you want to drop into a longer montage. The job sounds tiny, but the result matters.
The problem is that trimming looks simpler than it is. Plenty of tools will shorten a video. Fewer will do it fast, keep the picture clean, and fit neatly into a bigger edit later. If you’re trying to figure out how to trim an mp4 video without creating blur, extra compression, or workflow headaches, the tool you choose matters more than most quick tutorials admit.
Table of Contents
- Why Most Video Trimming Advice Is Incomplete
- How to Trim an MP4 on Windows and Mac for Free
- When to Use an Online MP4 Trimmer and What to Watch For
- Lossless Trimming for Perfect Quality and Speed
- How to Trim a Video on Your iPhone or Android Device
- Integrating Trimmed Clips into Your Photo for Video Projects
Why Most Video Trimming Advice Is Incomplete
Most trimming advice treats every export as equal. It isn’t. You can cut the same MP4 in two different tools and end up with two very different results, especially if one tool re-encodes the file and the other keeps the original video stream intact.
That gap matters most when the clip has sentimental value or subtle motion. A short family video, a scanned old photo turned into motion, or a gentle tribute clip can lose some of its original texture if the app saves a freshly compressed copy. That’s why basic “drag the handles and click save” advice often feels fine at first, then disappointing once you watch the result full-screen.
A lot of existing tutorials stop at the start-and-end cut. They don’t address quality preservation or metadata retention, even though 40% of video edit queries involve quality complaints according to the verified data tied to this quality-loss discussion. That’s the missing piece users often encounter after the trim is already done.
Practical rule: If the clip matters, don’t judge a trim by how easy it was. Judge it by what the saved file looks like.
There’s also a second issue. Many guides show how to shorten one file, but not how to prepare several short clips for a montage. That leaves people doing repetitive manual work, saving over files they wanted to keep, or creating a mismatched set of exports that won’t cut together cleanly later.
If your current video already looks softer than the original, it’s worth checking whether the issue came from the trim itself or from the source file before editing. A useful companion read is this guide on how to fix video resolution before editing.
What actually makes a trim “good”
A good trim usually does four things well:
- Cuts only what you don’t want
- Keeps the original quality when possible
- Finishes quickly
- Leaves you with a file that still fits your next step
That last point gets ignored a lot. A clip trimmed for texting a friend has different requirements from a clip heading into a memorial montage or social reel. The fastest method is often fine. The best method depends on what happens after the trim.
How to Trim an MP4 on Windows and Mac for Free
If you just need the cleanest fast answer, start with the software already on your computer. Built-in or bundled tools are usually the quickest route for simple front-and-back cuts.
Windows options that are actually fast
On Windows, the easiest route is usually Clipchamp. Microsoft’s support workflow is straightforward: place the clip on the timeline, highlight it, then drag the side handles inward to keep only the part you want. Microsoft also notes that Clipchamp supports trimming multiple items together with Shift on Windows or Command on Mac, and its drag-to-trim workflow reduces editing time by 80% compared with keyboard-only tools in Microsoft benchmarks, as described in this Clipchamp trimming guide.
Use it like this:
- Open Clipchamp and create a new project.
- Import your MP4.
- Drag it onto the timeline.
- Click the clip so it’s highlighted.
- Drag the left handle to remove the beginning, or the right handle to remove the end.
- Preview the cut before exporting.
- Save the trimmed file as a new export.
If you’re trimming several clips that should stay aligned, select them together and trim them in one move. That’s much better than cutting each clip separately and trying to line them back up later.
Keep the original file untouched. Export a new trimmed version, especially if the video is personal or hard to replace.
Windows users may also use the Photos app for quick cuts, but Clipchamp gives you better timeline control and makes follow-up editing easier if the trim turns into a larger project.
Mac users can keep it simple
On a Mac, QuickTime Player is often enough. It opens MP4 files fast, and for start/end trimming it’s one of the least cluttered tools available.
The process is simple:
- Open the MP4 in QuickTime Player.
- Choose Edit > Trim.
- Drag the yellow handles to set the part you want to keep.
- Play the selection to check the timing.
- Save or export the result as a new file.
QuickTime is a good fit when you need a clean cut and don’t want to open a full editor. It’s especially handy for trimming the extra second at the start of a phone clip or removing dead air from the end before sending the file on.
Which free desktop option should you pick
Here’s the practical split:
| Need | Best choice |
|---|---|
| Fast single trim on Mac | QuickTime Player |
| Fast single trim on Windows | Clipchamp |
| Trim several clips together | Clipchamp |
| Plan to build a longer edit after trimming | Clipchamp |
| Just need a quick front/end cut with almost no setup | QuickTime Player |
Desktop tools win when the file is already on your machine and you want more control than a web app gives you. They also avoid the upload step, which can be the slowest part of the whole job.
When to Use an Online MP4 Trimmer and What to Watch For
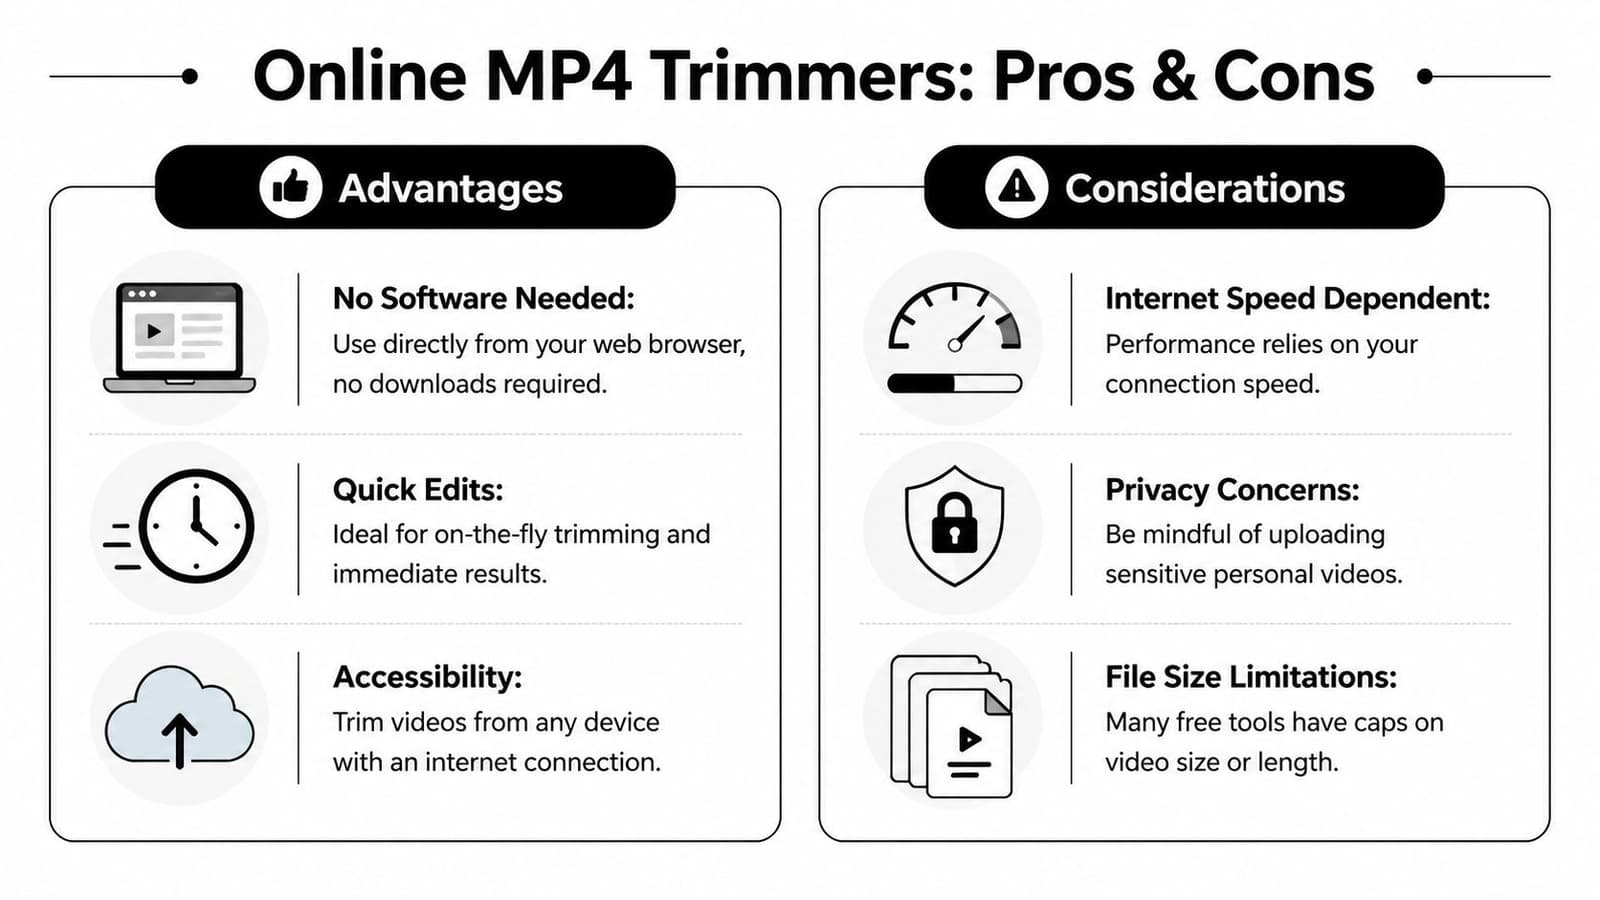
Online trimmers are useful when you’re borrowing a computer, avoiding software installs, or trying to make one quick change from a browser. They remove a lot of friction. Open a tab, upload the file, trim it, download the result.
When browser trimming makes sense
A strong example is Adobe Express. Its free MP4 trimmer supports clips up to 1 hour long and file sizes up to 1GB, and it lets you trim by dragging handles or entering exact timecodes without installing software, according to Adobe’s online MP4 trimming tool page. Adobe also says the trim can process in seconds, which is exactly what you want for simple edits.
Online trimming is a good choice when:
- You can’t install apps on the device you’re using
- The trim is simple, usually just removing the opening or ending
- You need exact timecode entry instead of eyeballing the handles
- You’re working from different machines and want the same browser-based workflow
For many people, that’s enough. If the clip is short, the internet connection is decent, and the file isn’t sensitive, a browser trimmer can be the fastest path from “too long” to “done.”
Where online tools can trip you up
The trade-offs show up fast with larger or more important videos.
- Upload time matters: A browser tool can feel instant on a small file and painfully slow on a large one.
- Privacy matters more: Personal family videos are different from throwaway test clips. You should know where the file is going and how long the service keeps it.
- Export behavior isn’t always obvious: Some tools are convenient first and quality-focused second.
For personal keepsakes, convenience is only half the decision. The other half is whether you trust the upload and the export.
Online trimmers are best for fast access, not always for final-master quality. If I’m trimming a clip that will become part of a longer montage, I usually treat browser tools as a quick utility, not the last stop in the workflow.
Lossless Trimming for Perfect Quality and Speed
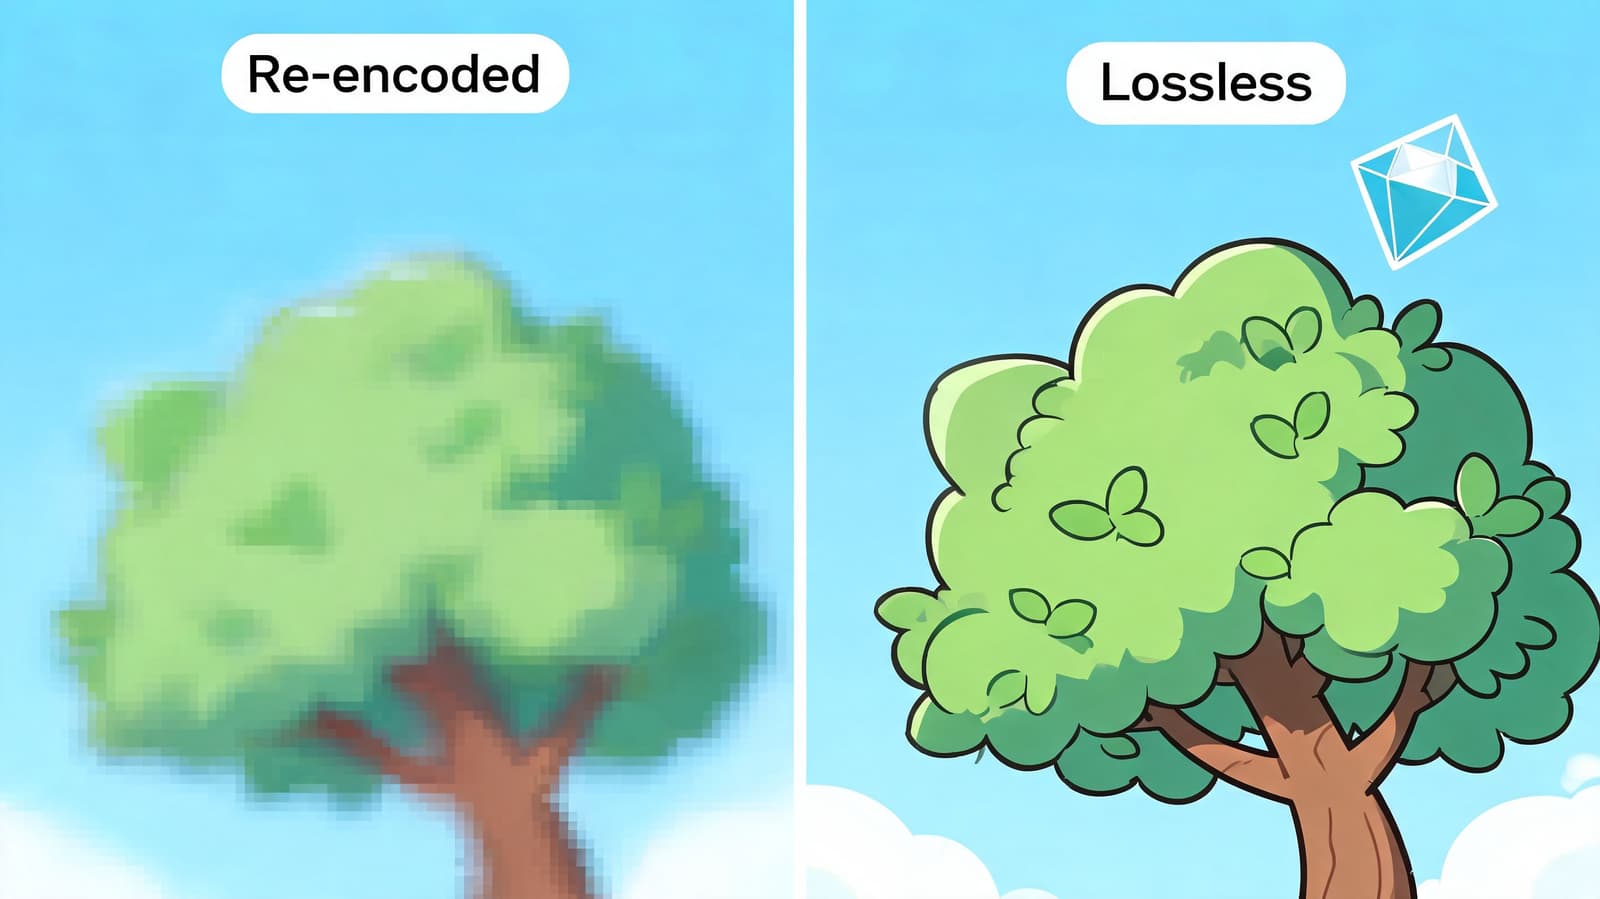
If you care about preserving the original image, lossless trimming is the method that separates casual editing from clean editing. Instead of decoding and re-encoding the whole clip, a lossless trim keeps the existing video stream and cuts around it.
What lossless trimming actually means
A normal export often creates a new compressed version of your file. That can be perfectly acceptable for everyday use, but it’s not ideal when the video already has delicate texture, subtle movement, or details you want to preserve.
Lossless trimming avoids that by copying the part of the file you want instead of rebuilding it. For standard H.264 MP4s, that’s often both faster and cleaner than using a visual editor.
This matters even more if the clip is heading into another project. If you trim, then re-edit, then export again, each extra compression step gives the file another chance to soften. If file size becomes an issue later, it helps to understand trimming separately from compression. This guide on how to reduce MOV file size without wrecking quality covers that side of the workflow.
The FFmpeg command worth keeping
FFmpeg is the practical tool here. The verified command is:
ffmpeg -i input.mp4 -ss 00:00:01 -to 00:00:05 -c copy output.mp4
According to the verified data connected to this FFmpeg trimming reference, -c copy performs a stream copy, which means zero quality loss and sub-second processing, with a success rate exceeding 99% for standard MP4s.
Here’s what each part does:
-i input.mp4loads the source file-ss 00:00:01sets the starting point-to 00:00:05sets the ending point-c copytells FFmpeg not to re-encode
If you only remember one command for how to trim an mp4 video without losing quality, make it that one.
Best use case: You have a file that already looks right, and you only want it shorter.
A simple workflow looks like this:
- Install FFmpeg.
- Put your MP4 in an easy-to-find folder.
- Open Terminal or Command Prompt.
- Paste the command and adjust the start and end times.
- Run it.
- Check the new file before deleting anything.
For repeated work, FFmpeg also scales better than visual editors because you can run the same logic across many clips with only small filename changes.
Here’s a quick visual walkthrough if you want to see the idea in action before using the command line:
When this method needs extra care
Lossless trimming isn’t magic. It works best on standard MP4s and can be less exact when a file has variable frame rate behavior or awkward keyframe placement. In those cases, the trim may land close to the target rather than perfectly on it.
That’s still not a reason to avoid it. It just means you should verify the output and switch to a timeline editor when exact visual timing matters more than stream-copy speed.
Use FFmpeg when these conditions apply:
- You want maximum quality retention
- You’re trimming lots of files
- The clips are already in MP4 and don’t need creative edits
- You want speed without the overhead of opening a full editor
Use a timeline editor instead when you need visual judgment, frame-by-frame review, or transition timing based on music and emotion rather than timestamps alone.
How to Trim a Video on Your iPhone or Android Device
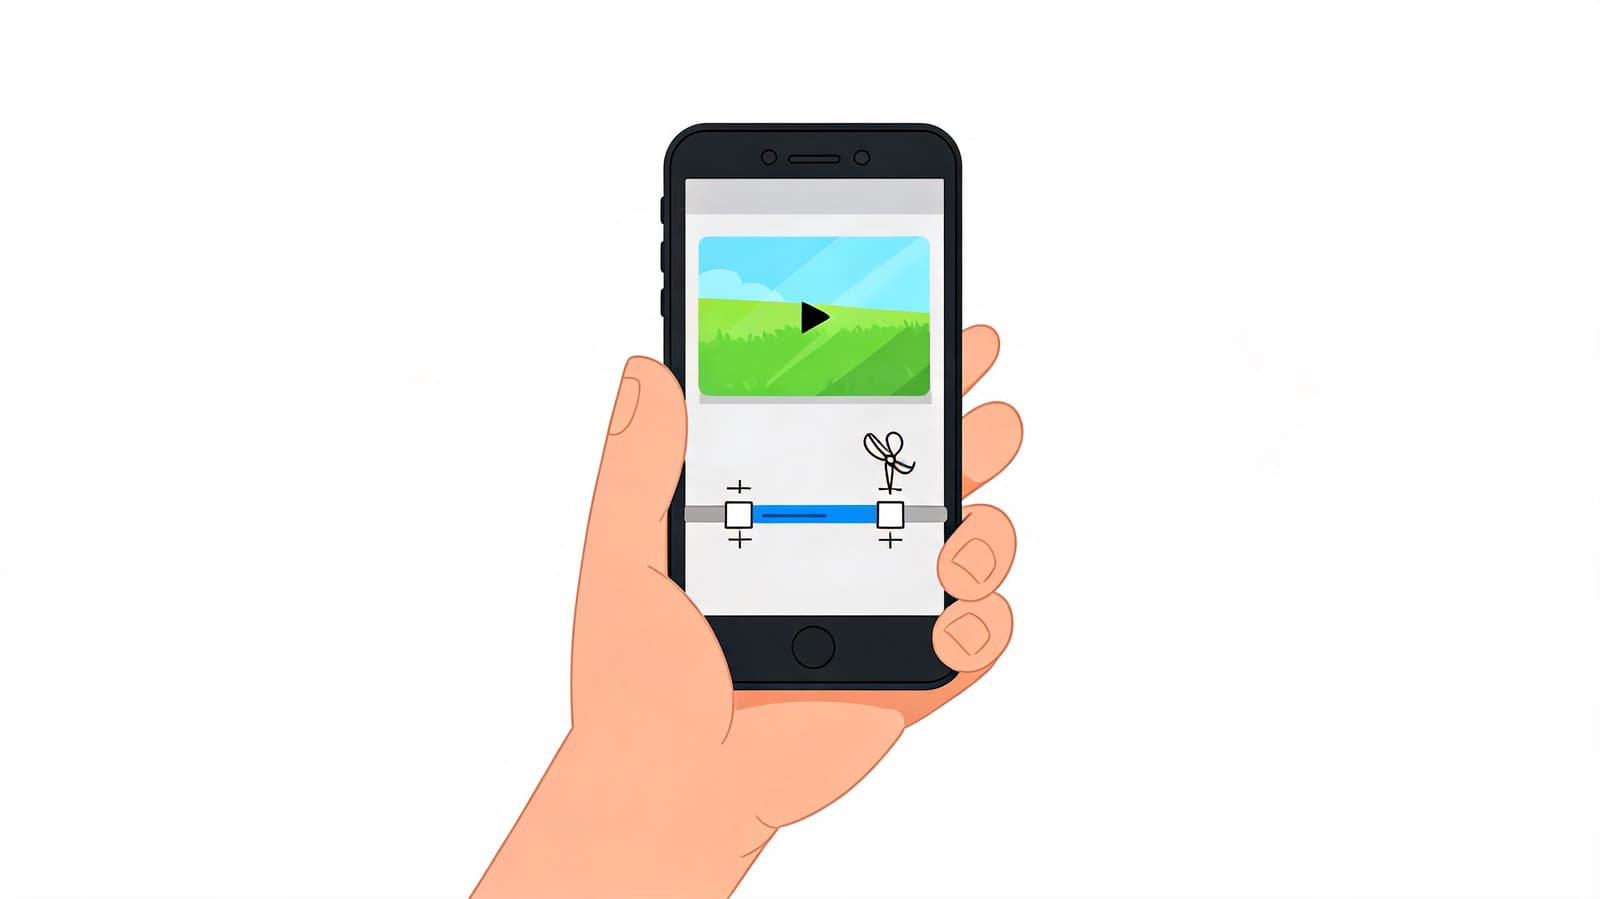
When the clip is already on your phone, the fastest move is usually to trim it right there and avoid sending it to another device. Native photo apps are built for this job, and for basic cuts they’re usually all you need.
On iPhone
Open the video in the Photos app and tap Edit. You’ll see a timeline at the bottom with handles on both ends. Drag those handles inward to keep the section you want, preview it, then save.
If you’re trimming a clip for messaging, social posting, or quick family sharing, this is usually enough. The biggest advantage is speed. No upload, no transfer, no desktop app.
A few practical habits help:
- Duplicate important clips first if you’re nervous about saving over the original
- Preview the first second and the last second before tapping save
- Trim less than you think at first, then do a second pass if needed
On Android
Most Android phones offer similar controls through Google Photos or the phone maker’s gallery app. Open the video, tap Edit, then adjust the start and end handles on the timeline.
The layout changes a bit between brands, but the logic is nearly identical. Pick the section to keep, preview it, then save a new version if that option appears.
For phone edits, the fastest workflow is usually the best one. If you only need a shorter clip, don’t move the file to a computer unless quality control or batch work actually requires it.
Mobile trimming works best for these jobs
| Situation | Phone trimming is a good fit |
|---|---|
| Shortening a video before texting it | Yes |
| Removing a rough opening from a clip | Yes |
| Preparing a quick story or reel post | Yes |
| Batch trimming many clips for a montage | No |
| Preserving a master-quality file for a larger edit | Sometimes, but desktop tools are safer |
Mobile editing is excellent for speed. It’s less ideal when you’re building a set of clips that all need consistent handling.
Integrating Trimmed Clips into Your Photo for Video Projects
Short generated clips need a different mindset from ordinary home videos. A tiny trim can change the pacing a lot because the source clip is already compact. Removing just a sliver from the front can make a motion start feel cleaner. Cutting the tail can make the transition into the next shot feel more intentional.
That’s one reason the broader editing web is still thin here. A verified gap in current guidance is batch trimming and fluid integration of short AI-generated clips, especially when people are chaining several clips together for a tribute montage, as noted in this discussion of the batch-workflow gap. Basic guides tend to show one clip, one cut, one export. Real montage work is messier than that.
Where tiny trims improve a montage
A short clip often benefits from trimming when:
- The motion ramps up too slowly at the beginning
- The final moment hangs too long before the next shot
- Several clips feel uneven when played back to back
- A music cue lands just before or after the visual beat
Trimming ceases to be mere housekeeping and begins to be pacing. Even when every source clip is good on its own, the sequence may still feel off until the starts and ends are shaped to work together.
A practical workflow for short generated clips
For a montage built from several short MP4s, this order tends to work best:
- Keep a master folder with untouched originals.
- Create a second folder for trimmed versions so you never confuse them.
- Use a lossless method first for clean in/out adjustments when the clip itself already looks right.
- Rename files clearly so the sequence order is obvious.
- Bring the trimmed clips into your editor only after the lengths are roughly settled.
- Add text and titles late, once pacing is locked. If you need that step, this guide on adding text to video cleanly is a useful follow-up.
One more practical note. Don’t trim every clip to the same duration just because uniformity feels tidy. Some clips need a little more breathing room. Others become stronger when they leave early. What matters is rhythm, not identical lengths.
The cleanest montage usually comes from small decisions made before the final timeline gets crowded.
If you’re handling a batch, the lossless route is often the smartest first pass. If you’re shaping emotion against music, move into a timeline editor for the final polish. That combination tends to give the best balance of speed, quality, and control.
If you’re creating short animated keepsakes from a single photo and need clips that are already montage-friendly, Photo for Video is built for that workflow. It turns one still image into a polished short MP4 with gentle motion, ready for tribute edits, anniversaries, memorials, and family reels.