Loopable Video Backgrounds: A Step-by-Step Guide 2026
Learn how to create seamless loopable video backgrounds from photos and video clips. Our guide covers invisible cuts, animation, and export settings for web.
You probably have the raw material already. A short phone clip from a beach walk. A scanned portrait of grandparents. A wedding photo that feels too important to leave static on screen. What you need isn't flashy motion. You need movement that feels respectful, continuous, and quiet enough to support the moment instead of hijacking it.
That's the core challenge with loopable video backgrounds. Most tutorials stop at stock footage and generic website headers. They don't help much when you're working with personal media, especially old photos that carry texture, age, and memory. A good loop should feel like a living atmosphere. A bad one looks like a trick.
Table of Contents
- The Art of the Perfect Loop
- Creating Loops from Your Video Clips
- Bringing Still Photos to Life
- Editing Techniques for Invisible Cuts
- Exporting for Web and Social Media
- Common Issues and Quick Fixes
The Art of the Perfect Loop
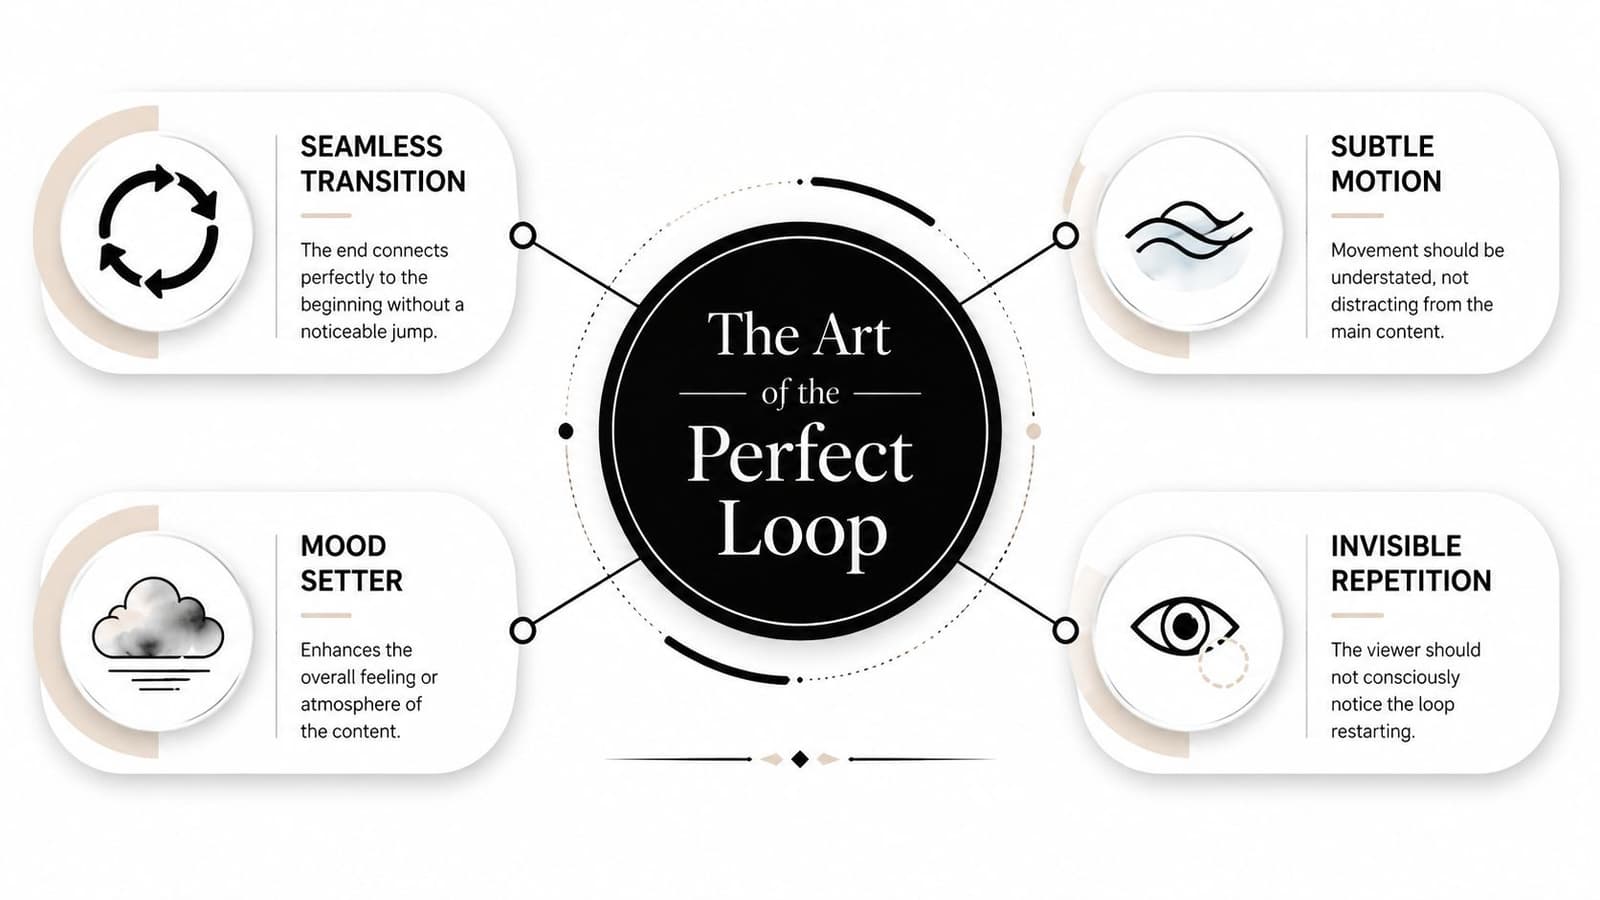
A loop works best when nobody notices it looping. That sounds simple, but it changes how you choose footage, how you animate stills, and how you judge the final result. The loop isn't the star. It's the atmosphere behind the star.
For brands, that atmosphere matters because video helps people understand what they're seeing. HubSpot's design blog notes that understanding of brand products increases by 74% when using video content compared to static media, and it points to 10 to 15-second loop videos as a practical range that feels complete without dragging down load speed too heavily in many use cases (HubSpot on stock video loop backgrounds).
What the eye notices first
The human eye forgives soft repetition. It catches hard resets immediately.
Three things usually reveal an amateur loop:
- Directional action: A car exits frame, then suddenly reappears at the start.
- Unique events: A bird flaps once, a person turns, a light flickers.
- Lighting changes: Clouds pass over the sun or exposure shifts mid-clip.
By contrast, the strongest loopable video backgrounds rely on motion that doesn't announce itself. Water ripples. Curtains breathe. Dust floats. Tree shadows drift. These motions don't create a clear “before” and “after,” so the seam is easier to hide.
Practical rule: If the viewer can describe a single event in the clip, the loop point will usually be harder to conceal.
What makes footage naturally loopable
Short clips often outperform longer ones because they ask less of the material. If the source is visually simple, repetition reads as intentional texture. If the source is narratively busy, repetition feels like a glitch.
A pre-flight checklist helps:
- Look for cyclical movement. Water, smoke, clouds, fabric, reflections, and ambient crowd blur are all useful.
- Avoid decisive actions. Hand gestures, footsteps, facial expressions, and camera whip pans rarely loop gracefully.
- Keep framing stable. Locked shots are easier than handheld clips with drift.
- Protect the mood. For memorials, anniversaries, and family edits, subtle motion respects the image. Aggressive movement makes the background feel performative.
A perfect loop doesn't impress people by moving a lot. It succeeds by giving them nothing to fight against visually.
That matters even more when you're working from personal media. The point isn't motion for motion's sake. The point is to let a still memory breathe.
Creating Loops from Your Video Clips
Some footage arrives almost ready to loop. Most doesn't. The job is to take real-world motion and turn it into something circular without making it feel processed.
Choose footage that can survive repetition
Start with a clip that has one dominant motion. A waterfall works. Ocean foam usually works. Steam from a mug can work if the camera is stable. A clip of three people laughing at dinner usually won't.
The technical foundation is simple. Pond5's guide explains that a seamless loop starts by matching the in-point and out-point of the source clip as closely as possible, and that playback is most reliable when the final implementation uses attributes such as autoplay, muted, and loop, with loop handling the instantaneous restart (Pond5 on creating looping video backgrounds).
Build the loop in the timeline
The classic method still works because it solves a real problem. You aren't trying to make the source clip magically start and end on the same frame. You're creating a transition zone that hides the reset.
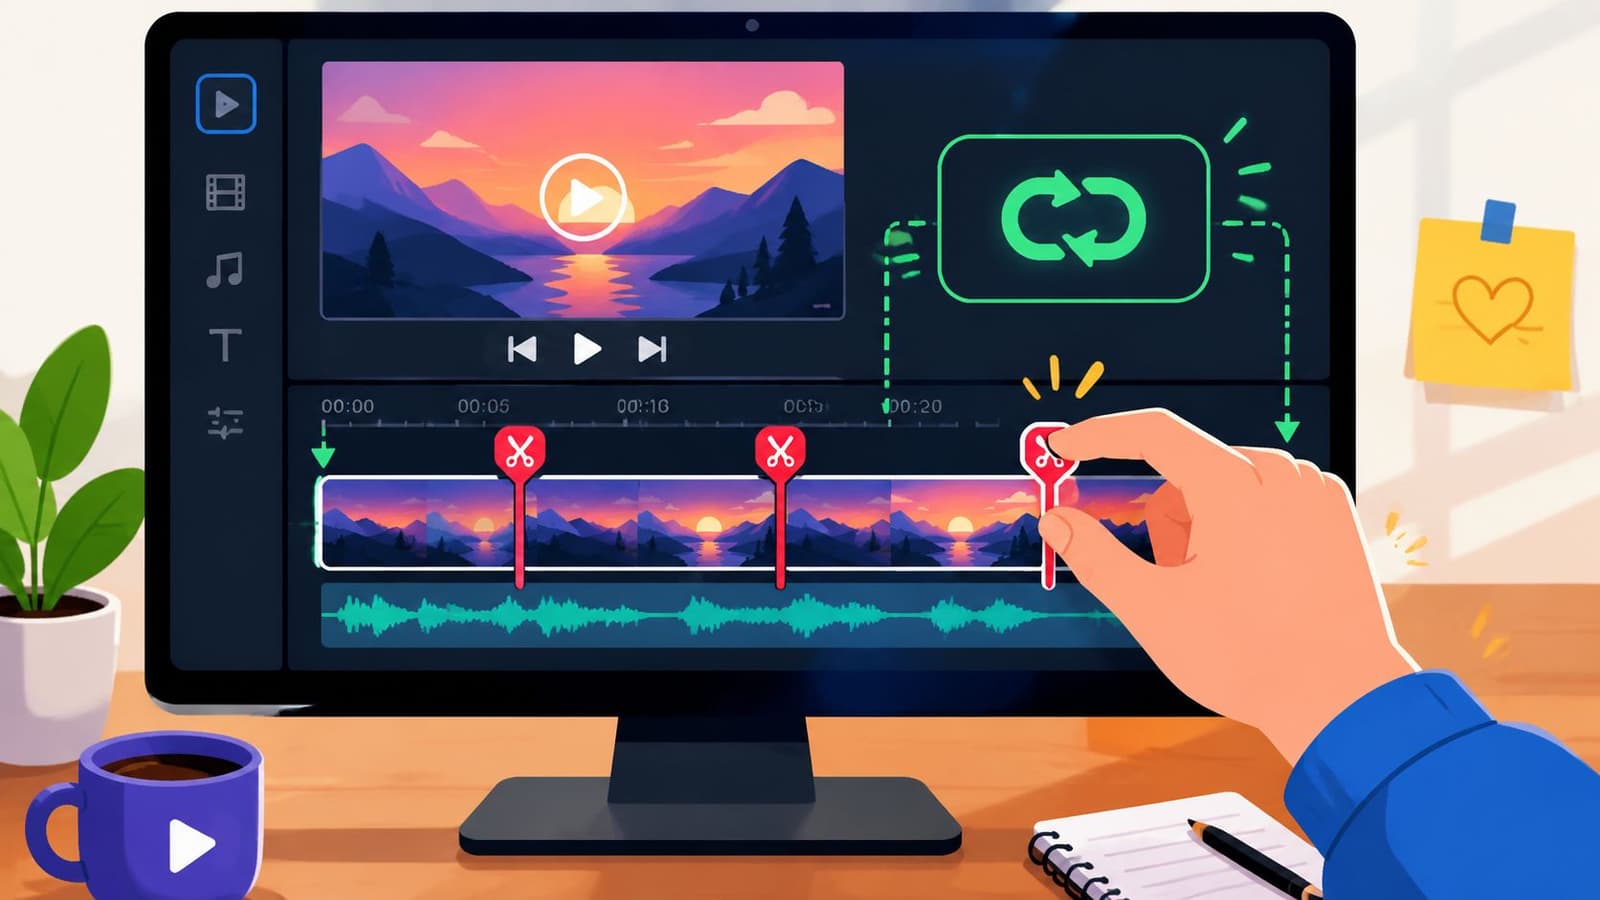
Use this sequence in Premiere Pro, Final Cut Pro, DaVinci Resolve, or any editor with layered tracks:
-
Trim a clean section
Pull out the most stable part of the clip. Ignore the beginning and end if the camera is settling. -
Duplicate it
Place the second copy directly after the first on the timeline. -
Split both clips
Cut the first copy around its halfway point. Cut the second copy at the same relative point. -
Reorder the halves
Move the second half of the original clip to the front. Put the first half at the end. You're shifting the seam into the middle where you can disguise it. -
Add a cross-dissolve
Overlap the center cut and apply a dissolve long enough to blend motion, but not so long that the image turns mushy. -
Loop-play the result
Watch it several times with the playhead nowhere near the seam. If you stare at the cut, you'll miss how it feels in real use.
If you want a visual walkthrough of a related workflow, this guide on making an app video loop is a useful companion.
Don't put the dissolve where the motion peaks. Put it where the image is visually calm.
After the first pass, export a short preview and watch it on your phone. A loop that feels smooth in an editing timeline can still reveal itself once compression flattens shadow detail or accentuates motion blur.
A simple video demo helps when you want to compare your timeline choices against another editor's process:
Check the loop outside the editor
Editors are forgiving because you know where the cut is. Viewers aren't. They only feel whether the background is stable or not.
Test for three failure points:
- Edge activity: Something enters or exits frame right at the seam.
- Cadence drift: The movement speeds up or slows down unexpectedly.
- Exposure mismatch: The dissolve darkens or brightens during overlap.
If any of those show up, don't reach for effects first. Recut the source. Better loopable video backgrounds come from better loop points, not heavier patching.
Bringing Still Photos to Life
The most emotional loops often start from still images, not video. A faded anniversary portrait. A childhood snapshot with crease marks. A memorial photo scanned from a print album. These aren't just assets. They're evidence of a life, and that changes how you animate them.

Why photo-based loops fail so often
A lot of editors make the same mistake. They treat an old photo like a modern clean digital file and push too much motion into it. That usually creates sliding edges, warped features, and a polished look that strips out the original character.
That problem is bigger than most tutorials admit. One cited analysis says that data from 2218 user-generated tribute edits showed 68% of viewers struggled with “jitter” or “texture loss” when looping personal photos. It also says that searches for “loopable memorial video backgrounds” rose 41% in the last year, while only 3% of top tutorials addressed photo-specific animation techniques (Tuts+ on looping video background gaps and memorial-photo use).
Those numbers line up with what editors see in practice. Old paper texture, film grain, scan dust, and lens softness are part of the memory. If your animation method smooths them away, the result may move, but it won't feel alive. It will feel synthetic.
A better way to animate memory
The strongest approach is restrained motion with a clear emotional center. In an old family portrait, that might mean a slow camera drift inward, a slight parallax shift between foreground and background, or a gentle environmental suggestion like moving light, soft air, or background depth. The face should stay credible. The print texture should stay visible.
When generating motion from stills, write prompts or instructions that emphasize preservation:
- Keep the movement small. Ask for subtle camera drift, not dramatic travel.
- Preserve analog texture. Call out film grain, paper texture, and scanned detail.
- Avoid face distortion. Keep expressions steady and natural.
- Choose one motion idea. Slow push-in, soft parallax, or ambient movement. Not all three at once.
A prompt like this usually lands better than something cinematic and overbuilt: “Gentle slow push-in on an old scanned wedding photo, preserve paper texture and grain, natural stillness in the faces, soft ambient motion only.”
If you're exploring tools and workflow ideas for this style, this article on an AI photo to video generator is worth reviewing.
The goal with a personal photo isn't to make it look newly shot. The goal is to let the original image stay itself while gaining a pulse.
For tribute edits, I also recommend leaving small imperfections intact. Don't over-restore unless damage distracts from the subject. Creases, soft focus, and grain often carry more emotional truth than a sterile cleanup pass.
Editing Techniques for Invisible Cuts
Even a strong source clip can fail at the seam. Finishing decisions are paramount. Small timing changes, blend choices, and motion alignment determine whether the loop disappears or keeps tapping the viewer on the shoulder.
Use dissolves with intent
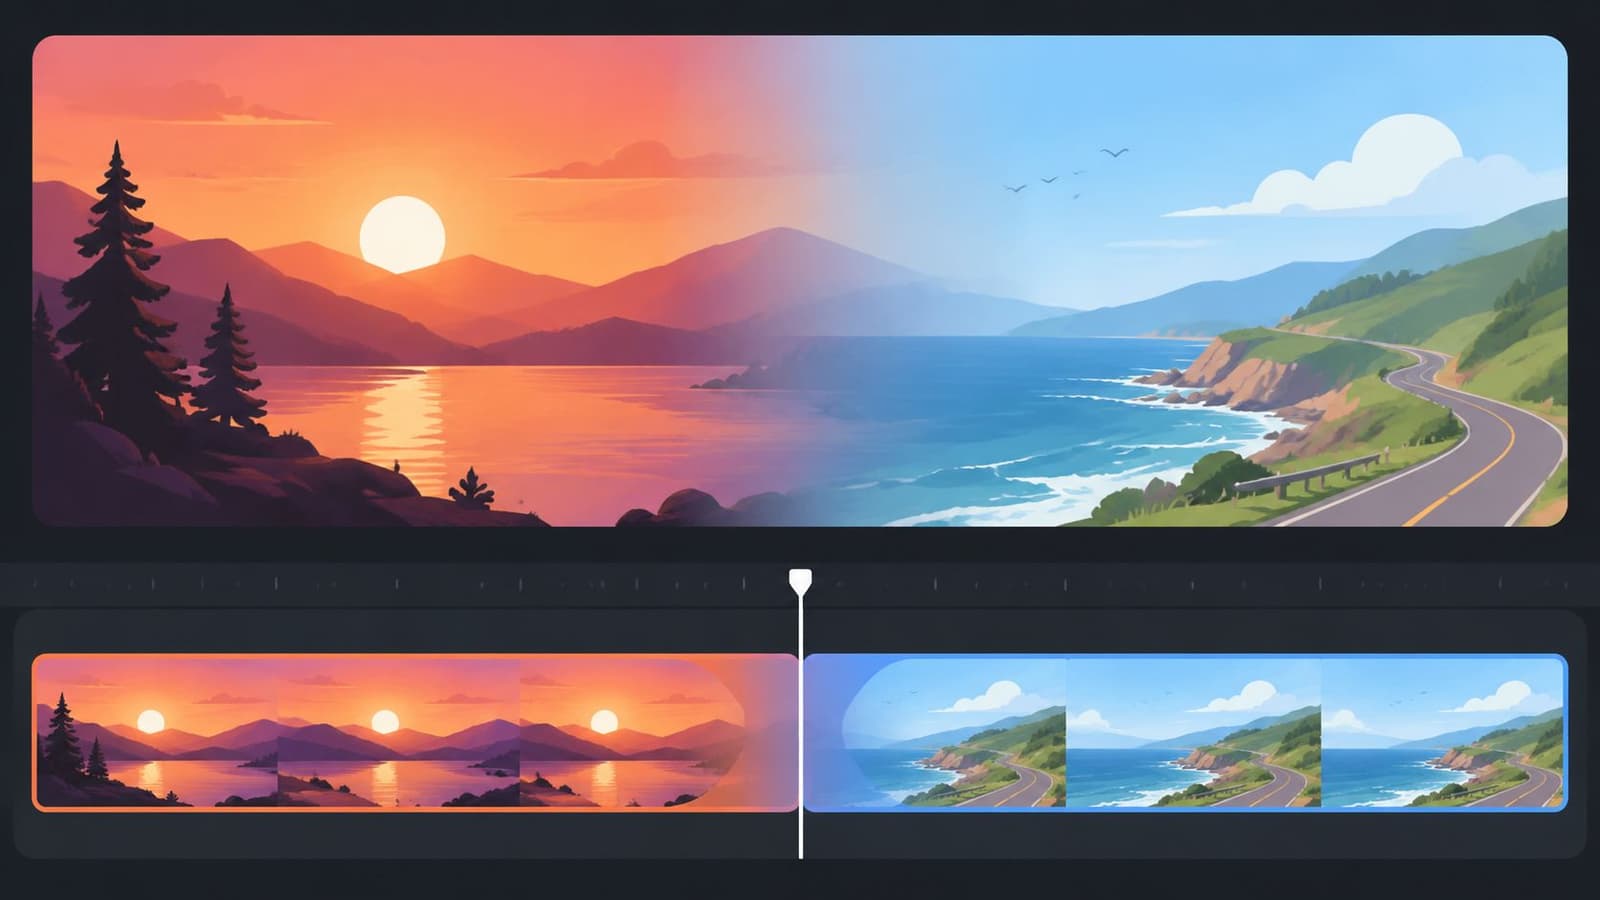
A cross-dissolve is not a universal fix. It works best when the overlapping frames share similar luminance, similar direction of motion, and no strong object crossing the center.
In practice:
- Use shorter dissolves for texture clips like water, fog, grain, or abstract light.
- Use longer dissolves when motion is broad and soft, such as clouds or defocused city lights.
- Avoid dissolves on faces unless the motion is almost imperceptible. Facial overlap usually creates ghosting.
Opacity keyframes can give you more control than a stock dissolve preset. Fade the top layer in and out manually while watching only one trouble area, such as a shoulder edge, a horizon line, or a reflection.
Editing note: If the dissolve fixes one part of the frame but breaks another, mask the blend and treat those areas separately.
When to remap time instead of forcing a fade
Some clips don't need more blur. They need better timing. If the end of the clip carries slightly faster motion than the beginning, a dissolve won't solve the rhythm mismatch. Time remapping will.
Use speed adjustments lightly:
- Slow the final portion a touch if the exit motion feels rushed.
- Ease the first few frames if the clip starts with a visual jolt.
- Compare the body mechanics of moving subjects, especially hair, fabric, water direction, or drifting particles.
This matters a lot with photo-animated clips. If the camera move accelerates into the loop point and resets to a slower start, the seam will remain visible even if the frames blend well. Smooth velocity is often more important than perfect pixel matching.
A few finishing habits save time:
- Mute your expectations and watch fresh. Walk away, then replay.
- Flip the image temporarily. Mirroring can make timing issues easier to spot.
- Watch at reduced size. If the seam disappears small, that's a good sign for background use behind text or design elements.
The best loopable video backgrounds survive casual viewing. They don't require the audience to be generous.
Exporting for Web and Social Media
A clean loop can still fail after export. Compression, autoplay restrictions, aspect ratio changes, and poor poster handling can undo careful editing in one upload.
The web export trade-off
For direct website use, small files matter because the background is decorative, not the main event. One practical benchmark is that a 4 to 5-second loop clip typically weighs between 4 and 6 megabytes, which keeps it manageable for web performance when encoded reasonably. The same guidance also stresses that HTML5 background videos need muted, loop, and a poster image for iOS so the user doesn't see an empty box before playback begins (Chip Cullen on looping video backgrounds and pitfalls).
That gives you a useful baseline. If your export looks beautiful but lands far heavier than that for a very short decorative loop, revisit bitrate, scale, or crop decisions.
Recommended export settings by platform
| Platform | Resolution | Bitrate (VBR) | Format | Key Notes |
|---|---|---|---|---|
| Website hero background | 1920x1080 or cropped to layout | Moderate, tuned by visual complexity | MP4 | Prioritize fast loading, silent playback, and a strong poster frame |
| Secondary website section | 1280x720 to 1920x1080 | Lower than hero when detail allows | MP4 | Use lighter exports because the motion supports, not leads |
| Instagram Reel background layer | 1080x1920 | Moderate to preserve gradients and subtle texture | MP4 | Check that the loop still feels natural after platform recompression |
| Memorial slideshow background | Match sequence resolution | Moderate | MP4 | Keep grain and photo texture from breaking apart in dark tones |
| Digital display or event screen | Match delivery screen | Moderate to high if local playback allows | MP4 | Export a longer repeated file if the playback system handles loops poorly |
If you need to reshape one master export for different placements, this guide on changing the aspect ratio of video is handy.
Playback details that matter after export
A loopable background on the web needs implementation discipline, not just a nice file.
Use these rules:
- Mute it by default. Decorative backgrounds shouldn't surprise anyone with sound.
- Hide controls. If it's background atmosphere, playback controls work against the design.
- Use a poster frame. Match it to the first frame or near-first frame so loading feels continuous.
- Set playsinline when needed. Mobile browsers may otherwise handle the clip in ways that break the background effect.
For social media, the trade-off shifts. File weight matters less than platform behavior. Export cleanly, upload a test, then watch for crushed blacks, banding in skies, and any micro-stutter introduced by the app.
Common Issues and Quick Fixes
A visible seam doesn't always mean the loop is bad. It often means one small part of the chain is off. The trick is to diagnose the right failure, not keep stacking effects.
When the loop point is obvious
If you see a jump, check the motion path before the blend. Editors often blame the dissolve when the actual issue is mismatched framing or speed.
Try these fixes:
- Re-trim the source: Move the in-point or out-point a little until body position, wave shape, or light pattern aligns better.
- Shorten the transition: Long dissolves can create a dreamy smear that draws attention to itself.
- Mask the trouble area: Blend only the sky, water, or background layer if one object is causing the seam.
- Reduce motion on photo animations: Old images often look better with less travel and more stillness.
When autoplay, motion, or color breaks
Mobile autoplay failures usually come from implementation choices, not export quality. Missing mute behavior, poor inline handling, or poster issues are common causes.
Accessibility matters too. Mux notes that for 100% compatibility with accessibility standards, loopable backgrounds should switch to a static image when the OS Reduce Motion setting is enabled, and it says 15% of unoptimized implementations fail this requirement (Mux on background video performance and accessibility).
A few more quick repairs:
- White flash before playback: Set the container background color close to the dominant tone of the video.
- Flicker after upload: Re-export with cleaner gradients and watch shadow detail for compression stress.
- Background feels too busy behind text: Darken it, soften it, or slow it down. The loop should support readability.
- Photo texture looks plastic: Pull back on sharpening, denoise less aggressively, and preserve the scan's natural surface.
The best troubleshooting habit is simple. Watch the piece as a viewer would. Don't stare at the seam. Read the headline, look at the portrait, feel the mood. If the background disappears into the experience, it's doing its job.
If you want to turn a treasured photo into a short, natural-looking living memory for a tribute, anniversary, birthday, or keepsake, Photo for Video is built for exactly that. It transforms a single still image into a polished MP4 with gentle motion while preserving the original texture and emotional tone, which makes it especially useful when you don't have usable footage and don't want a personal image to feel over-animated.