How to Make a Video Montage: A Step-by-Step Guide 2026
Learn how to make a video montage that tells a story. Our guide covers planning, music, pacing, and animating old photos for a beautiful tribute.
You're probably sitting with a folder, a cloud album, or an actual box of prints, trying to make something that feels worthy of the moment. Maybe it's for a birthday dinner, an anniversary slideshow, or a memorial where the video has to carry more emotion than words can.
That's the hard part people don't talk about. It's not difficult to drop photos on a timeline. It's difficult to make a video montage that feels alive without making old memories look slick, artificial, or overedited. That challenge gets sharper when your source material is a stack of faded scans, phone snapshots of printed pictures, and a few scattered clips from different years.
Most tutorials still assume you're cutting modern footage. But many tribute montages start with older family photos, and that gap is real. One cited source notes that 68% of Gen Z and Millennials create memorial or birthday tributes using old family photos, while only 12% of video editing guides address photo animation for montages in this niche as referenced here. If you want extra inspiration for that style of project, this guide to photo montage creation is also useful.
A good tribute montage doesn't just show faces. It restores presence. It gives the viewer enough movement, pacing, and emotional shape to feel like they're moving through a life, not through a photo dump.
Table of Contents
- From a Box of Memories to a Compelling Story
- Blueprint Your Montage Before You Edit
- Bring Still Photos to Life with Gentle Motion
- Choose Your Music and Edit to the Rhythm
- Assemble and Refine Your Visual Story
- Add Polish and Export Your Final Montage
From a Box of Memories to a Compelling Story
A strong tribute usually starts the same way. Someone says, “We have plenty of photos,” and then you open the folder and realize the material is emotionally rich but visually inconsistent. One image is torn at the corner. Another is a low-resolution scan. A third is beautiful, but it has harsh flash and a distracting background.
That's normal. In fact, it's part of why these montages matter.
The photos are imperfect, and that's part of the point
When you're working with legacy stills, the goal isn't to sand off every trace of age. The grain, soft focus, faded paper tones, and crooked scan edges often carry some of the emotional truth. If you overclean them, you can lose the feeling that these were held, stored, and passed down.
A tribute montage works best when it respects the source. Old photos shouldn't be forced to behave like glossy modern footage.
The strongest edits usually choose a lane early. A birthday montage might lean warm, playful, and rhythmic. An anniversary piece often benefits from a gentler pace and clear chronology. A memorial montage needs even more restraint. It can absolutely be beautiful, but it shouldn't feel busy.
Story first, software second
People often think the emotional impact comes from transitions, text effects, or fancy templates. It usually doesn't. What moves people is sequence. The childhood image appears just before the wedding photo. The laughing candid lands right after a more formal portrait. A quiet image holds a beat longer before the song rises.
That's storytelling, not decoration.
Here's what tends to work in real tribute edits:
- A clear point of view. Decide whether this video feels celebratory, reflective, or balanced between both.
- A recognizable arc. Start softly, gather momentum, peak on the most meaningful images, then let the ending breathe.
- Visual honesty. Don't bury every flaw. Clean up distractions, but keep the character of the originals.
- Selective repetition. If one photo carries the whole family's attention, let it be a hero frame. Not every image deserves equal screen time.
When people try to make a video montage without those choices, the result often feels long even when it isn't. Viewers can sense when the timeline was assembled instead of edited.
Blueprint Your Montage Before You Edit
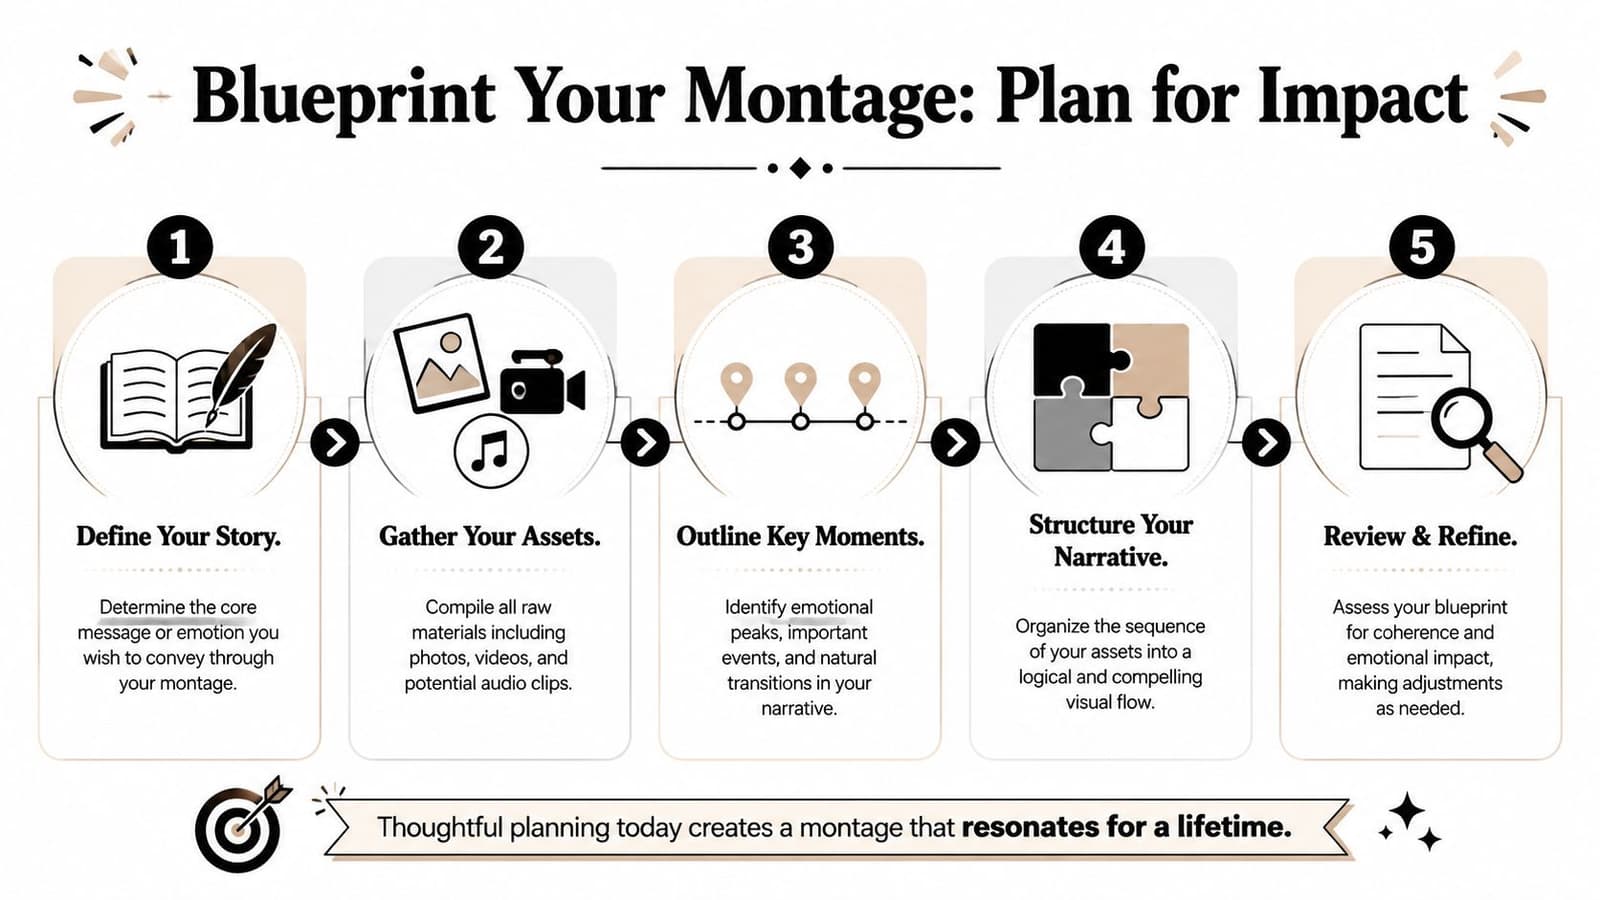
The biggest improvement anyone can make happens before they touch the timeline. Rigorous pre-edit organization directly correlates with a 90% higher success rate in final narrative coherence compared to unstructured workflows, with the core practice being to catalog clips by theme or chronology and remove redundancies before making cuts as described in this montage planning guidance.
That tracks with real editing experience. A tribute montage falls apart when every image is treated as equally important.
Start with one emotional promise
Before sorting files, write one sentence. Not a description of the event. A sentence about the feeling.
Examples:
- Birthday tribute: joyful, grateful, full of personality
- Anniversary montage: enduring love, shared life, warmth
- Memorial piece: remembrance, tenderness, presence
That sentence becomes your filter. If a photo doesn't support it, it probably doesn't belong.
Then separate your material into broad groups. Don't overcomplicate this.
| Group | What goes in it | What to remove |
|---|---|---|
| Early life | childhood, school, early family images | duplicates, near-duplicates |
| Turning points | graduations, weddings, milestones | weak versions of stronger moments |
| Everyday life | candid smiles, holidays, ordinary scenes | repetitive poses |
| Closing images | recent portraits, family group shots, quiet moments | anything that feels tonally off |
Build a simple paper edit
A montage doesn't need a screenplay, but it does need shape. One structure I keep coming back to is:
- Calm start
- Build-up
- Best moments
- Cool-down
That shape works because it gives viewers orientation, release, and emotional closure.
Practical rule: If you're debating between two similar photos, keep the one that reveals more personality, not the one that is technically cleaner.
A clean planning pass looks like this:
- Name folders clearly. Use labels like “Childhood,” “Friends,” “Travel,” “Wedding,” or “Later Years.”
- Mark hero images. These are the photos you already know deserve a full beat.
- Create a maybe folder. Don't force decisions too early. Park uncertain images there and move on.
- Eliminate repeats early. If ten photos show the same birthday cake, one or two are enough.
- Note missing bridges. If the jump from one period to another feels abrupt, look for a simple connective image rather than adding a flashy transition later.
A timeline built from this kind of prep feels calmer from the start. You stop editing reactively. You start making choices on purpose.
Bring Still Photos to Life with Gentle Motion
A photo montage becomes more immersive when still images carry motion. Not cartoon motion. Not obvious gimmicks. Small movement is enough. A slow push, a slight drift, a soft sense of breathing room inside the frame can change how a memory lands.
That's one reason AI-assisted workflows have spread so quickly. In 2026, AI-powered tools reduced median video production costs by 40%, from $4,200 to $2,500 per finished minute, making polished montage work more accessible without expensive software or deep technical experience according to these 2026 video production figures.
Why static images need restrained movement
A fully static frame can work, especially for a very important portrait. But when every image is frozen, the montage often starts to feel like slides instead of cinema. The answer isn't dramatic animation. The answer is motion that feels motivated by the image itself.
For example:
- A wedding portrait can support a slow push inward.
- A family picnic image often works with a gentle lateral move across faces.
- A solo portrait may benefit from a subtle depth effect, but only if it doesn't distort the original features.
- A memorial image usually wants the least movement of all.
Here's the interface many creators use when they want to animate old photos into short usable clips:
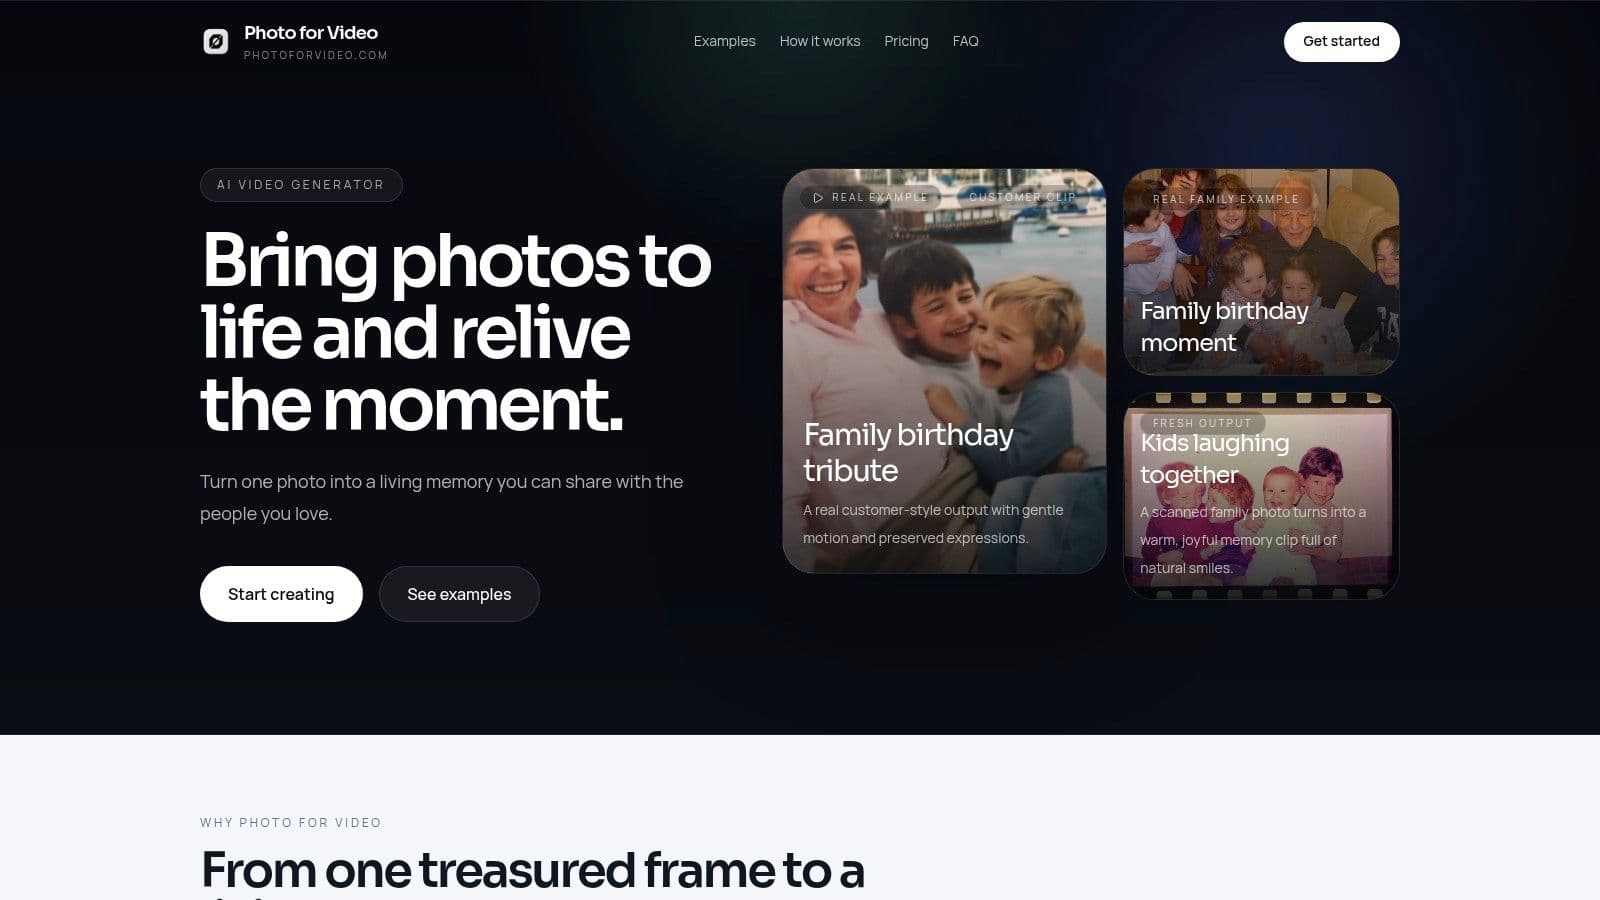
If you want to test that workflow directly, you can animate a photo and bring the resulting MP4 into Premiere Pro, Final Cut Pro, CapCut, or DaVinci Resolve like any other clip.
What kind of motion works best
The safest approach is to describe movement as if you were giving direction to a respectful camera operator.
Good prompts or motion ideas tend to be:
- Slow push toward the subject
- Gentle pan across the family group
- Subtle lift with calm tone
- Natural movement that preserves analog texture
Less successful results usually come from asking for too much. Fast movement, exaggerated facial animation, or overly dramatic camera swings can break the emotional spell immediately.
If the viewer notices the effect before they feel the memory, the motion is too strong.
A few editing notes help keep these living-photo clips believable:
- Start from the best scan you have. Even a modest cleanup before animation helps.
- Leave some texture in place. Grain and paper softness often belong there.
- Use animated clips selectively. Not every photo needs to move. Contrast matters.
- Mix moving and still frames. That rhythm keeps the montage grounded.
Done well, animated stills don't replace the original photograph. They extend it just enough to let the audience stay inside the moment a little longer.
Choose Your Music and Edit to the Rhythm
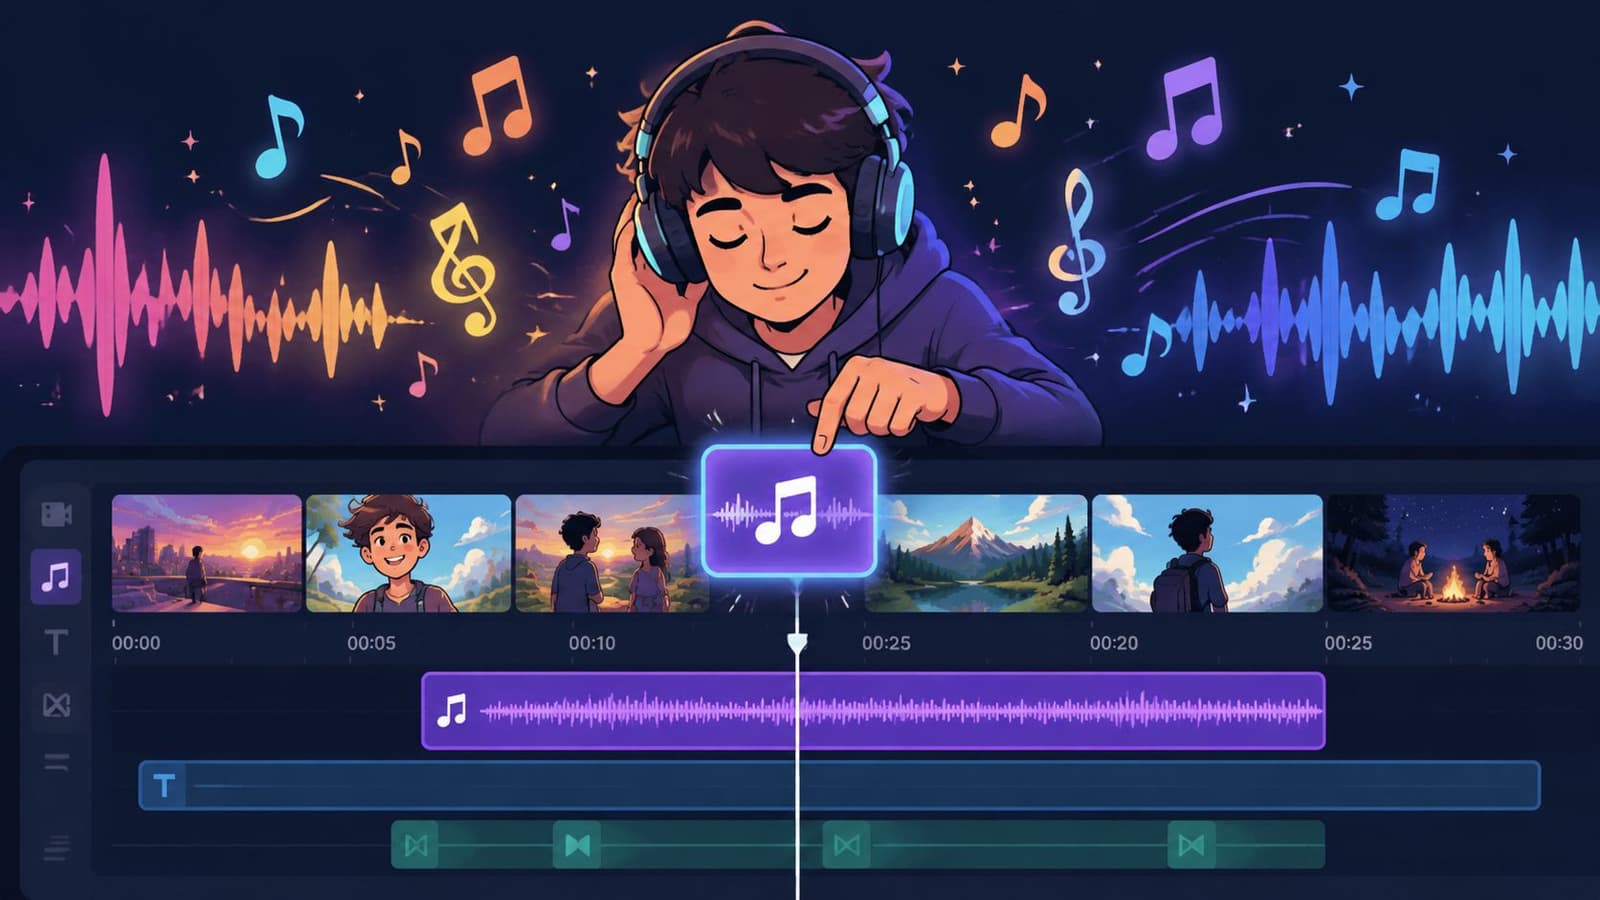
If the images are the body of the montage, music is the pulse. It determines whether the same sequence feels playful, reverent, nostalgic, or heavy-handed.
People often choose the song last. For tribute work, that's usually backward. You don't need your final fine cut yet, but you do need a track early enough that pacing decisions are anchored to something real.
Pick the song before fine cutting
Start with mood, not lyrics. Lyrics can help, but they can also overexplain. In many tribute videos, a track without vocals or a lightly lyrical song gives the imagery more room.
A practical way to choose:
- For birthdays. Look for warmth, lift, and steady momentum.
- For anniversaries. Choose something intimate and measured.
- For memorials. Favor gentleness and emotional space over melodrama.
Avoid tracks that demand attention for themselves. The montage shouldn't feel like a music video unless that is indeed the intended style.
Cut with the music, not against it
You don't need to cut on every beat. In fact, that often feels mechanical. What matters more is recognizing the structure of the song.
Listen for:
| Music moment | Editing response |
|---|---|
| Intro | open with simpler images and longer holds |
| First lift | begin shortening shot duration slightly |
| Emotional peak | place the strongest photos or clips here |
| Bridge or quiet section | let one image breathe |
| Ending | reduce visual density and close cleanly |
When I'm shaping a tribute, I usually mark three things on the timeline first: the opening phrase, the emotional peak, and the final note. Once those are set, the middle becomes easier to solve.
Don't use music as wallpaper. Let it tell you where the montage should inhale and where it should move.
If you have spoken audio from an old clip, use it sparingly. A short laugh, a greeting, or a few words can be powerful. Too much raw clip audio inside a music-led montage can make the piece feel cluttered unless you intentionally design around it.
One more trade-off matters here. A sentimental song can support weak editing for a little while, but not for the whole runtime. If the montage drags, no soundtrack will save it. Rhythm has to come from both the music and the image choices.
Assemble and Refine Your Visual Story
The montage either starts to feel invisible or starts calling attention to every edit. Good assembly is hard to notice. That's the point.
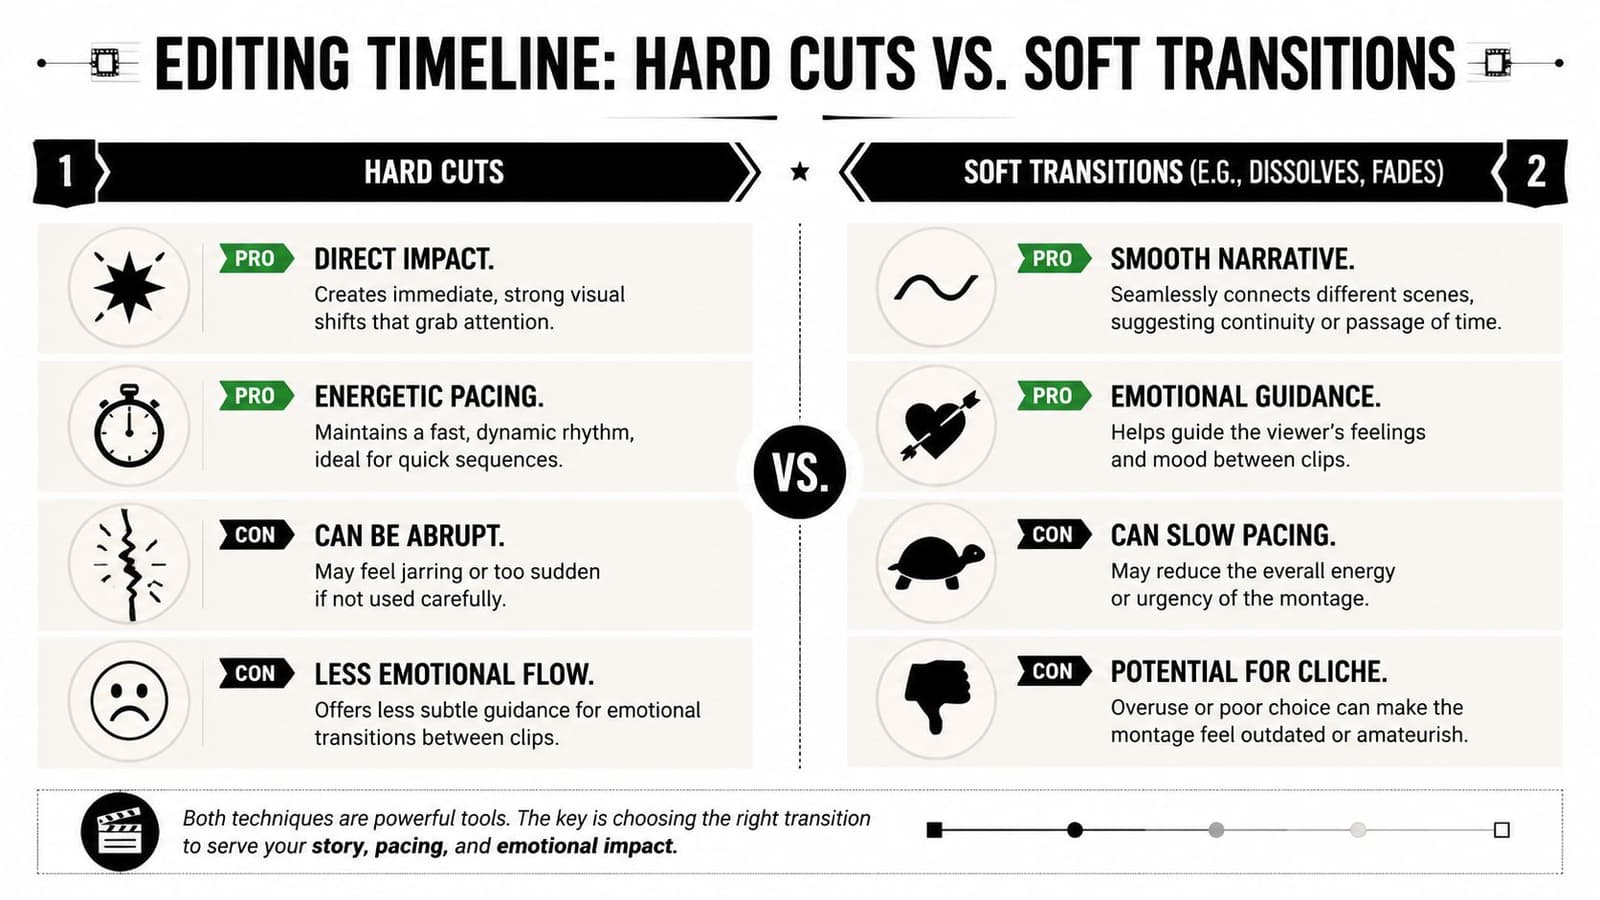
One useful principle from montage craft is that hard cuts often do more of the work than people expect. In the same editing guidance cited earlier, hard cuts are described as serving the viewer most of the time because they stay “invisible,” while overused dissolves can distract and act as a substitute for timing. That matters even more in tribute edits, where emotional force should come from image order and duration, not transition effects.
Use cuts that disappear
A clean hard cut keeps the audience focused on the memory. A dissolve can be lovely, but only when it has a reason. If every change dissolves, the montage starts to feel soft around the edges in the wrong way.
Use dissolves when:
- Time is clearly passing
- You're moving into a more reflective section
- Two images share similar composition and blend naturally
Use hard cuts when:
- You want energy
- You're revealing a new expression or moment
- The music gives you a clean edit point
A practical sequence often mixes both, but leans more heavily on cuts than beginners expect.
Apply film continuity to still photos
One of the smartest ideas you can borrow from filmmaking is continuity, even when your source is only photographs. A common creator question is how to avoid awkward jumps between old photos, and applying the 180° and 30° rules to the implied camera position in animated stills is a key way to preserve spatial continuity as discussed in this creator reference.
Here's the simple version:
- 180° rule. If two photos show people facing a certain direction, don't bounce the viewer back and forth across that invisible line unless you mean to.
- 30° rule. If the next image is too similar to the previous one, the cut can feel like a mistake. Change angle, crop, framing, or scale enough to make the transition intentional.
For photo montages, that means thinking in terms of an implied camera. If one animated still pushes in from the left side of a couple, and the next image crops almost the same framing from nearly the same position, the cut can feel awkward. But if the next image changes scale or shifts to a clearly different composition, it reads cleanly.
Trim harder than feels comfortable
Many first cuts are too long. A montage becomes more emotional when it has confidence. That usually means trimming sooner.
A useful review pass is to ask of every image:
- Does this add new information or feeling?
- Is it staying on screen longer than its impact lasts?
- Would the montage lose anything if I removed it?
If the answer to the third question is no, cut it.
Some images deserve time. Most don't. The strongest timelines balance short visual phrases with a handful of longer rests so the audience never feels either rushed or stalled.
Add Polish and Export Your Final Montage
The last pass is where separate ingredients start to feel like one piece. This isn't about flashy finishing. It's about consistency.
Match the look across mixed materials
Tribute montages often combine scans, phone captures of printed photos, modern smartphone video, screenshots, and maybe a few old camcorder clips. Left untouched, they can feel visually disconnected.
Fix that with light, global adjustments:
- Normalize exposure first. Bring very dark and very bright images closer together.
- Reduce color clashes. If one section leans too blue or too yellow, correct it.
- Use one consistent finishing look. A subtle grade is enough. Don't force every image into the same artificial palette.
- Keep skin tones believable. Even in older photos, faces should still feel human.
Check sound before you export
Audio mistakes ruin otherwise strong montages. Watch the entire piece once with your eyes closed for part of the run. You'll catch abrupt level changes immediately.
Use a short checklist:
- Music level. Strong enough to carry the piece, low enough to avoid fatigue.
- Clip audio. Only featured when it adds emotional value.
- Fade in and fade out. Avoid harsh starts and stops.
- Silence check. Make sure gaps are intentional, not accidental.
The final pass should feel less like adding effects and more like removing distractions.
Export for the way people will actually watch it
Before exporting, decide the destination. A montage for a memorial service screen, a family group chat, and an Instagram Reel may all need different framing choices.
A simple export workflow works well:
| Destination | What to prioritize |
|---|---|
| Event screen or TV | highest practical resolution, clean audio |
| Family sharing | manageable file size and broad compatibility |
| Social post | platform-friendly aspect ratio and readable framing |
If you're unsure about settings, this guide to video quality settings gives a straightforward breakdown.
Then do one final review on more than one device. A montage can look balanced on a desktop monitor and feel too dark on a phone. It can sound smooth in headphones and muddy on small speakers. A last cross-device check catches those problems before the moment you need the video.
If you want an easier way to turn old scans, prints, or phone-captured family photos into gentle moving clips for a tribute edit, Photo for Video is built for exactly that use case. It helps you transform a single still image into a short living-memory clip that preserves the original texture and fits naturally into birthday, memorial, anniversary, and keepsake montages.