Optimize Video Quality Settings: Export Memories Like a Pro
Perfect your video quality settings for stunning exports. Our guide covers resolution, bitrate, and presets to beautifully preserve your memories.

You've finished animating a treasured photo. Maybe it's your father laughing in a backyard chair, your grandparents on their wedding day, or a birthday snapshot that suddenly feels alive again. The motion looks beautiful in the preview window, and then the export screen appears.
Now you're staring at terms like resolution, frame rate, bitrate, codec, and AAC. If that feels like a hard left turn from the emotional reason you made the video in the first place, you're not alone. These settings can look technical, but they're really about one simple question: will this memory still feel like itself after you save and share it?
A soft smile can turn blocky. A gentle camera move can stutter. Music can sound thin or out of sync. Good video quality settings protect the little things your family notices, even if they'd never call them “technical settings.”
Table of Contents
- Why Video Settings Matter for Your Memories
- The Core Trio Resolution Frame Rate and Bitrate
- The Tech Behind the Curtain Codec Container and Color
- The Great Trade-Off Balancing Stunning Quality and Shareable Size
- Recommended Export Settings for Your Photo for Video Clips
- Your Final Check Bringing It All Together
Why Video Settings Matter for Your Memories
A family tribute often comes together at the end of a long process. You found the photo, scanned it, cropped it, fixed the dust, picked the music, and maybe cried a little while doing it. Export settings are the last decision before that memory leaves your hands and lands on a phone, a laptop, a TV, or a memorial screen.
That final step matters more than people expect. A lovely clip can look sharp on your computer but fall apart when uploaded if the settings don't match how it will be viewed. The image might soften, movement might look choppy, or dark areas might turn muddy.
Small technical choices protect emotional details
When people watch a family video, they aren't grading it like editors. They're reading faces, expressions, posture, and atmosphere. They notice whether a smile feels warm, whether old film grain still looks natural, whether the whole thing feels calm and polished or rough and distracting.
A tribute video works best when the technology disappears and the memory comes forward.
Video standards have also changed quickly. UNA's digital video standards note that 60 fps has become a standard for smoother playback in rapid-motion content, and that aspect ratios now commonly include 16:9, 1:1, and 9:16 for different platforms. That's one reason export menus feel confusing now. You're not just choosing quality. You're choosing where and how the memory will live.
The export screen is really asking two questions
Before you touch a setting, pause and ask:
- Where will people watch it: A phone reel, a family group chat, a TV slideshow, or part of a larger edited tribute?
- What matters most: Easy sharing, editing flexibility, or keeping the best-looking master for later?
Those answers guide almost every export choice.
If the video is for a vertical social post, the best settings may be different from a clip you plan to archive for years. If it's going into a larger memorial montage, you want settings that hold up during another round of editing. The right choice isn't “highest everything.” It's the setting that preserves the feeling of the moment without creating unnecessary problems.
The Core Trio Resolution Frame Rate and Bitrate
Three settings shape most of what you see after export: resolution, frame rate, and bitrate. If you understand these, the rest of the menu stops feeling mysterious.
Near the start, it helps to see the big picture.
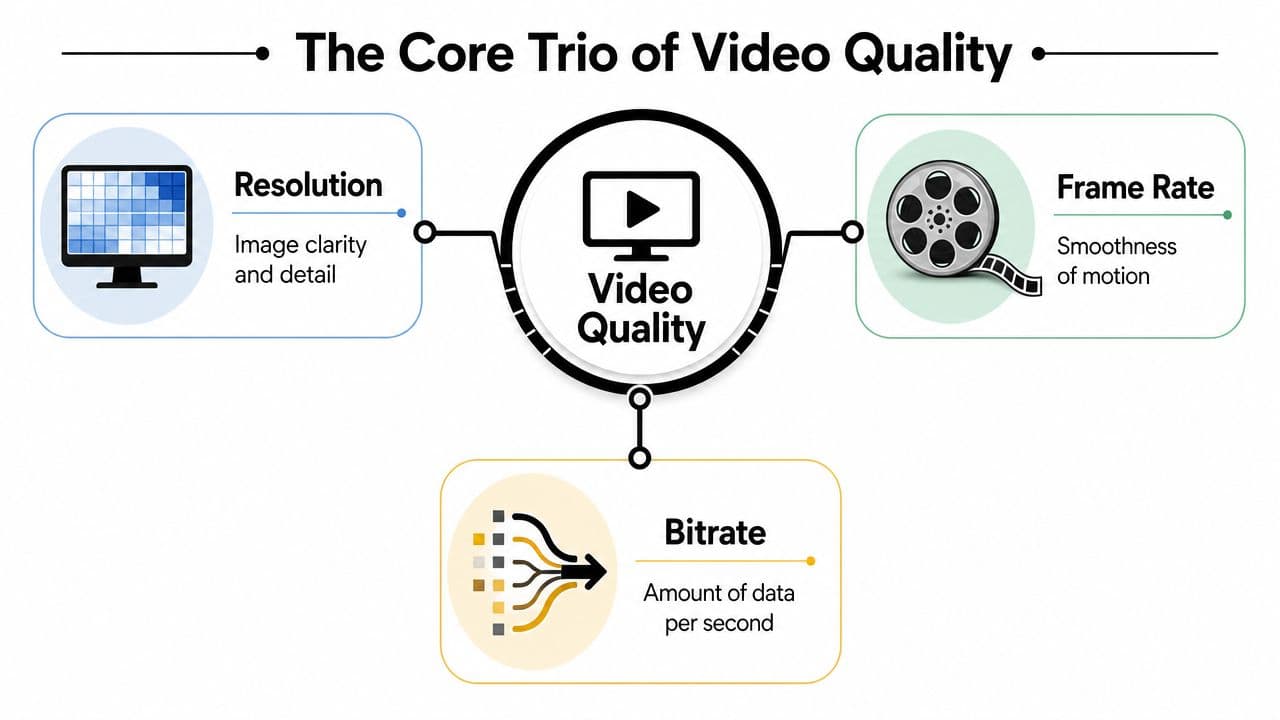
Resolution is your canvas size
Resolution is the size of your digital picture, much like a canvas for a painting. A larger canvas can hold more detail.
A common high-definition export is 1920 × 1080, often called 1080p. Premium delivery may use 3840 × 2160, or 4K. If you're trying to understand why a video looks soft after export, the issue might be that the canvas is too small for the screen where it's being shown.
If you're troubleshooting blurry output, this guide on how to fix resolution problems in exported video is a useful practical companion.
Frame rate is your flipbook speed
Frame rate is how many still images play each second. The easiest analogy is a flipbook. More pages turned each second create smoother movement.
For memory clips made from still photos, you usually don't need extreme motion settings. Gentle pans, slow zooms, and subtle face movement often look beautiful at standard frame rates. But when movement is faster, smoother playback can matter more. YouTube's encoding guidance recommends 8 Mbps for 1080p at standard frame rates of 24 to 30 fps, and 12 Mbps for 1080p at 48 to 60 fps.
That difference tells you something important. Smoother motion needs more data to stay clean.
Here's a quick visual explanation if you prefer to watch rather than read.
Bitrate is the flow of detail
Bitrate is the amount of data used for each second of video. The simplest analogy is water flow through a pipe. More flow means more detail can pass through. Too little flow, and the image starts losing texture.
Many family videos encounter issues when people pick a high resolution, then export at a bitrate that's too low. The file says “1080p,” but hair, skin, fabric, and shadows look smeared because there wasn't enough data to describe them well.
Practical rule: Resolution tells you how large the picture is. Bitrate helps decide how well that picture survives export.
For a tribute video, bitrate often protects the feeling of the image more than people expect. Old photos have fine tonal changes, paper texture, and subtle grain. If bitrate gets squeezed too hard, those details can collapse into mushy blocks or banded shadows. That's the kind of damage viewers may not name, but they will feel.
The Tech Behind the Curtain Codec Container and Color
A family tribute can look beautiful in your editor, then lose some of its warmth after export for reasons that are hard to spot from the settings menu alone. Codec, container, and color are often the hidden parts deciding whether a smile looks natural, a faded photo keeps its paper texture, or a voice note still feels close and human.
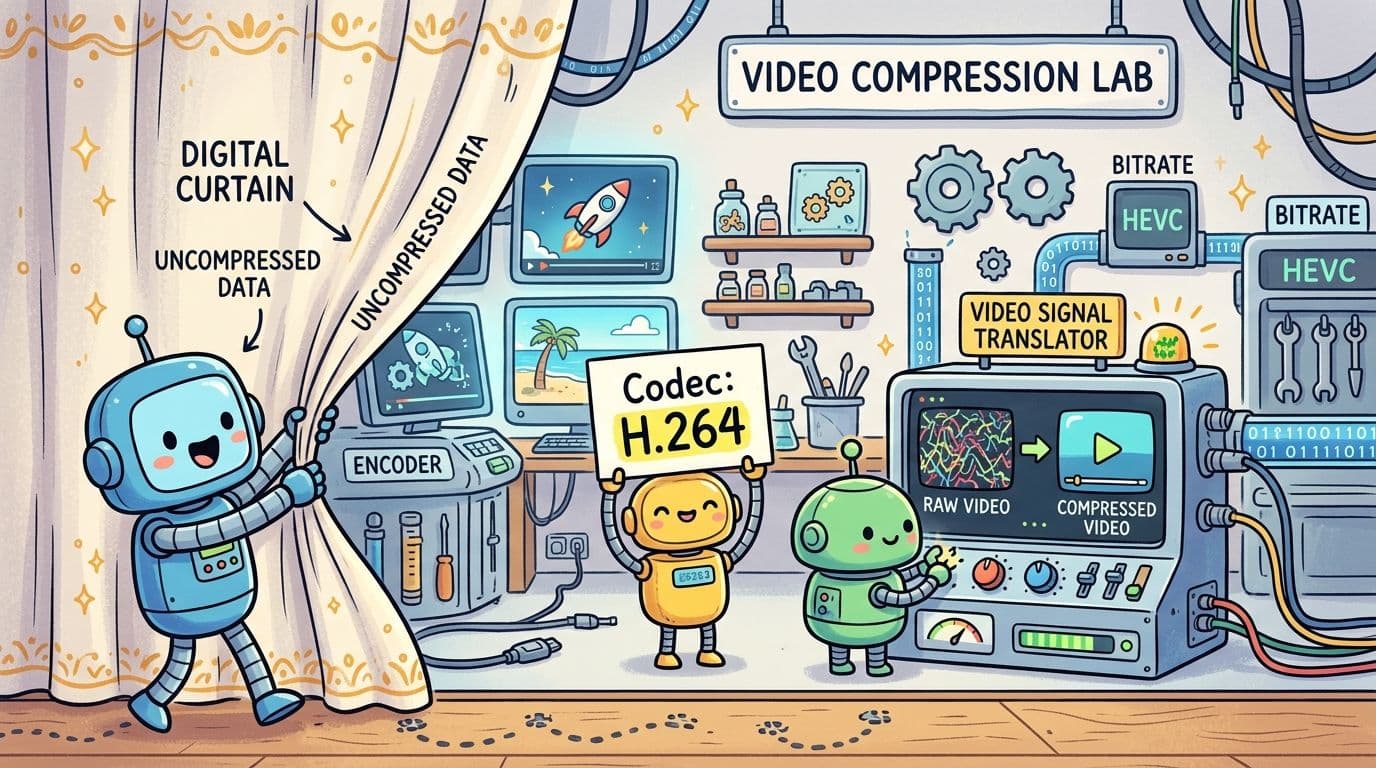
Codec and container in plain English
A codec is the method that compresses and plays back your video. It decides how the file gets smaller while trying to keep the picture and sound intact.
A container is the wrapper around that compressed media. It keeps the video, audio, and timing together, which is why you see file endings like .mp4 or .mov.
A simple way to separate them is this. The codec shapes the contents. The container carries them.
For online delivery, Arizona State University's video specs identify H.264 in an MP4 file as the industry-standard choice, with a constant frame rate between 23.98 fps and 60 fps. For a family video, that usually means fewer playback surprises across phones, tablets, laptops, and TVs.
If one format opens easily and another creates confusion, this plain-language guide on AVI to MOV format differences explains why the wrapper matters.
Why some files feel easy to share
Compatibility sounds technical, but it affects a very human moment. You want relatives to press play and watch, not text back that the file will not open.
That is why H.264 in MP4 is such a common choice for sharing. It works well across many devices and apps, so the tribute reaches people in the form you intended.
There is also a second use case. You may want one version for sharing and another for safekeeping. The same ASU guidance notes that ProRes 422 HQ is preferred for high-quality archival masters because it preserves full color depth and avoids some of the compression damage that can appear after repeated exports. If you expect to trim, re-edit, or reuse the video later, keeping a higher-quality master protects the original feeling of the piece.
Color carries memory
Color does more than make an image look nice. It sets emotional temperature.
The warm tone in a grandmother's kitchen photo. The soft yellow of an old print. The cool blue light in a winter snapshot. Those details help viewers feel like they are stepping back into a real moment, not just watching a slideshow.
That is why consistency matters. If one clip suddenly looks too orange, too gray, or overly saturated, the mood shifts. Even viewers who cannot name the problem will feel that something is off.
You do not need advanced color tools for a tribute video. You just need to protect what already feels true to the memory.
Audio deserves the same care
A tribute video often lives or dies by the sound. A recorded laugh, a short voicemail, gentle piano, or the room tone behind someone speaking can make the difference between watching a video and feeling a person's presence.
For delivery, AAC is a common and dependable audio codec. Stereo sound is usually the right fit for family videos too. The goal is simple. Keep voices clear, music smooth, and avoid export settings so compressed that audio starts to sound thin or harsh.
Clear audio helps a memory feel present. Distorted audio can make a heartfelt tribute feel distant.
The Great Trade-Off Balancing Stunning Quality and Shareable Size
Every export choice sits on a balance scale. On one side, you want the clip to look rich, clean, and emotionally true to the original photo. On the other, you want a file that uploads quickly, shares easily, and doesn't clog someone's phone.
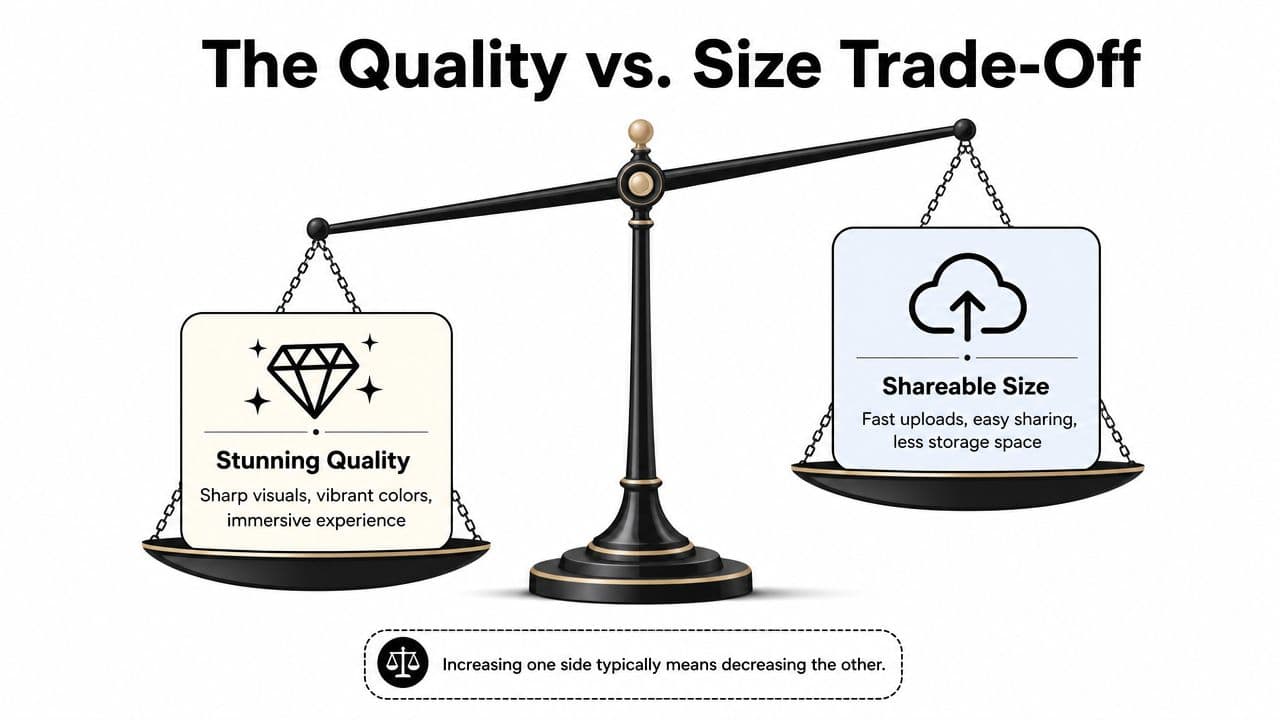
Why bigger isn't always better
It's tempting to max everything out. Higher resolution. Higher bitrate. Biggest file possible. That can make sense for a master file, but it isn't automatically the best version for sharing.
A family member opening the video in a text thread doesn't need a heavy file if a lighter export looks nearly identical on a phone screen. And if the file is so large that uploading becomes frustrating, the tribute may not get shared as smoothly as you hoped.
There's also a hidden trap. More pixels don't guarantee a better result. Ant Media's guide notes that a well-encoded 720p stream at 2500 kbps can look better than a poorly encoded 1080p stream at 2000 kbps. That's a useful reminder that resolution isn't the whole story.
If you need to shrink a file without blindly wrecking it, this walkthrough on how to compress MP4 video more carefully can help.
Choose quality for the destination
The best export is the one that fits the job.
Consider these common situations:
- Family group chat: Prioritize easy playback and manageable size.
- Memorial service screen: Prioritize stable, polished quality at the display's expected resolution.
- Editing into a longer montage: Prioritize a stronger source file so the next export doesn't degrade it too much.
- Long-term keepsake: Save a higher-quality master, then create smaller copies for sharing.
A good mindset is “appropriate quality,” not “maximum quality.” That's especially true for memory work, because the goal isn't to win a specs contest. The goal is to preserve tenderness, texture, and recognition.
Sometimes the best export is the one that opens instantly, plays smoothly, and still lets everyone feel the moment.
Recommended Export Settings for Your Photo for Video Clips
When people ask for export help, they usually don't want a lecture. They want presets they can trust. The table below gives you practical starting points for common situations.
Simple presets you can actually use
Professional output standards call for a minimum of 1920 × 1080 at 24 fps, with 1080p typically needing 10 to 15 Mbps and 4K needing 44 to 56 Mbps to preserve visual fidelity. That makes a solid foundation for choosing export settings.
| Use Case | Resolution | Frame Rate | Bitrate (VBR) | Codec/Container | Notes |
|---|---|---|---|---|---|
| Social Media Reel | 1920 × 1080 | 24 fps or 30 fps | 10 to 15 Mbps | H.264 / MP4 | Best when you want a clean, shareable file that still looks polished on phones and social platforms. Choose the platform's preferred aspect ratio before export. |
| Tribute Video Project | 1920 × 1080 or 3840 × 2160 | 24 fps | 10 to 15 Mbps for 1080p, 44 to 56 Mbps for 4K | H.264 / MP4 | Good for clips that will be placed into a larger edit. Use 4K only if the rest of the project supports it and storage isn't a concern. |
| Digital Archival | 3840 × 2160 when available | 24 fps | 44 to 56 Mbps | High-quality master format for archive, plus H.264 / MP4 sharing copy | Keep one high-quality master for safekeeping, then export smaller viewing copies for family sharing. |
How to choose between them
If you're unsure which row fits, use the destination as your guide.
For social sharing, 1080p is often the practical sweet spot. It's sharp enough for modern screens, easier to upload, and less likely to create headaches when sending to multiple people.
For a larger tribute edit, match the rest of your timeline. If the main project is 1080p, exporting the clip at 1080p keeps things straightforward. If the main project is 4K and you want more room for reframing, a 4K source can be worthwhile.
For archival storage, think like a family historian. Save the strongest version you can reasonably manage, then make smaller copies for everyday use.
A few quick reminders help:
- Keep frame rate consistent: Don't mix random settings unless you have a reason.
- Prefer standard formats: H.264 in MP4 remains the easiest choice for broad playback.
- Export once for archive, once for sharing: One file doesn't need to do every job.
- Check the result on another screen: A quick phone test catches surprises before you send it widely.
Your Final Check Bringing It All Together
You are at the last step now. This is the moment where a beautiful tribute either keeps its warmth or loses a little of it during export.
A final check is less about chasing perfect specs and more about protecting what the video is meant to hold. A grandparent's smile. The softness in an old photo. The calm pace of a memorial slideshow. The small details are technical, but the result is emotional.
Before you hit save, run through this short checklist:
- Match the file to its job: A clip for group texts, a tribute played at an event, and a file you want to keep for years do not need the same settings.
- Choose a resolution that fits the destination: 1080p is usually the right balance for sharing with family. Go higher only if the screen, platform, and original material can benefit from it.
- Keep frame rate consistent: Consistent motion feels natural. Random changes can make a gentle memory feel strangely choppy or overly slick.
- Give bitrate enough room: Bitrate works like water flow through a pipe. Too little, and fine details get squeezed out. Faces, hair, fabric, and shadow detail are often the first things to suffer.
- Stick with widely supported formats: H.264 in an MP4 file is still the easiest choice for playback across phones, laptops, and TVs.
- Check the audio before exporting: Clear sound helps the video feel present and human. If you are using music or spoken words, choose quality settings that keep them clean and full rather than thin or harsh.
You do not need to memorize every term. You only need to remember what each setting is protecting.
Resolution protects clarity. Frame rate protects the feel of motion. Bitrate protects texture and detail. Codec and container protect whether the file opens easily. Audio settings protect presence.
That is the core point of video quality settings. They help the finished clip feel like the memory you meant to share, with its tone, texture, and tenderness still intact.
If you want to turn a single treasured photo into a short living memory for a birthday, memorial, anniversary, or family keepsake, Photo for Video makes that process simple. You upload one image, describe the motion and tone you want, and get a polished clip that's ready for tribute edits, reels, and sharing with the people who matter most.