Photo Montage Creation: Storytelling & AI Guide 2026
Master photo montage creation. Our 2026 guide covers storytelling, digitizing photos, AI animation, timing, & audio for meaningful tributes.
You've probably got a folder, shoebox, or phone album open right now. There are glossy prints with bent corners, faded drugstore photos, a few scans that came out too blue, and maybe one portrait that everyone in the family loves even though it's scratched right across the face. You're not trying to make a flashy promo. You're trying to make something that feels like the person, the season, the family.
That's what makes good photo montage creation different from dropping images into a template and clicking export. A strong family montage has rhythm, restraint, and point of view. It knows when to linger on a smile, when to cut to a crowded kitchen table, and when to leave a damaged photo imperfect because the wear is part of the memory.
Photomontage has always been more than decoration. The form emerged in the mid-1800s as experimental photography under the name combination printing, and the term photomontage became associated around 1918 with German Dada artists using pasted images for social and political critique, before commercial advertising absorbed the technique by the late 1920s, as noted in the history of photomontage on Wikipedia. Family editors inherit that same storytelling power, but with a different responsibility. You're not arguing politics or selling a product. You're preserving emotional truth.
A lot of people already digitize family images, but guidance falls off when they want those pictures to move. While 78% of users in major markets digitize old family photos for keepsakes, fewer than 12% find guidance on turning them into short animated clips for birthday or memorial reels, according to this photomontage discussion of digitized keepsakes and animated-memory gaps. That gap is real. Most tutorials assume clean modern files. Real family archives rarely look like that.
If your project is a tribute, anniversary film, or birthday reel, it helps to study examples of what makes a memory edit land emotionally before you touch the timeline. This short guide on turning family memories into video stories is useful for seeing how personal footage and old photos can carry a narrative without feeling overproduced.
Table of Contents
- From Photo Box to Storyboard
- Planning Your Montage Narrative
- Digitizing and Prepping Your Photos
- Animating and Sequencing Your Story
- Choosing Audio and Adding Polish
- Exporting and Sharing Your Finished Montage
From Photo Box to Storyboard
The projects that work best usually start the same way. Someone wants to honor a parent turning eighty. A sibling is assembling a memorial piece and only has one weekend. A granddaughter found a stack of black-and-white prints in a biscuit tin and wants to show them at an anniversary dinner. The practical problem looks technical, but the underlying question is emotional. What should the viewer feel by the end?
That answer changes your editing decisions immediately. If the montage is for a memorial, you're looking for presence, warmth, and continuity. If it's for a birthday, you can hold more playfulness and contrast. If it's for an anniversary, the edit often works best when it shows repetition across time: the same smile, the same gesture, the same habit in different decades.
Good family montages don't impress people with effects. They make people recognize a life.
The old roots of photomontage matter here because they remind you that collage is a storytelling form, not a gimmick. Even the earliest composite-image experiments were trying to shape meaning from separate fragments. That's exactly what family editors do with albums, negatives, phone captures, scans, and voice notes. The tools changed. The editorial judgment didn't.
Most family archives come with flaws that modern tutorial culture tends to ignore. Faces are slightly soft. Edges are torn. Contrast is flat. One image is a clean studio portrait and the next is a yellowed snapshot under kitchen light. When you animate those images, every flaw gets more visible, not less. That's why tasteful photo montage creation starts with a clear promise to yourself: enhance the memory, don't sanitize it.
Start with the emotional destination
Before making a single cut, define the final feeling in plain language. Use a short sentence, not a vague theme.
Examples:
- Memorial tribute: “We want people to feel her gentleness and humor.”
- Milestone birthday: “We want the room to feel how much life he's packed in.”
- Anniversary piece: “We want to show a marriage that was built in ordinary days.”
That sentence becomes your filter. It helps you leave out photos that are technically good but emotionally irrelevant.
Build a simple beat sheet
A family montage doesn't need a complicated screenplay. It needs a sequence of emotional beats.
Try this structure:
-
Opening memory
Start with the face or image people most associate with the person. Don't open with a title card if the photograph can do the work better. -
World building
Add place, family context, home details, uniforms, kitchens, gardens, cars, pets. These details make a life feel inhabited. -
Relationships
Move into pairs and groups. Family montages usually become emotional when viewers stop looking at one person and start noticing who surrounded them. -
Signature moments
Include the recurring traits. Dancing. Fishing. Church clothes. Apron in the kitchen. The look they gave the camera. -
Closing image End with calm. A final portrait, a gentle smile, an empty chair, or a quiet scene connected to them often works better than a loud finale.
When I build tribute edits, I don't sort by year first. I sort by what each image does. Some photos establish character. Some create relief. Some break your heart. Once you know that, the storyboard gets much easier.
Planning Your Montage Narrative
A chronological slideshow is easy to assemble and hard to care about. It can still work for record-keeping, but it rarely creates emotional momentum. The stronger approach is to organize your edit around change, contrast, and return.
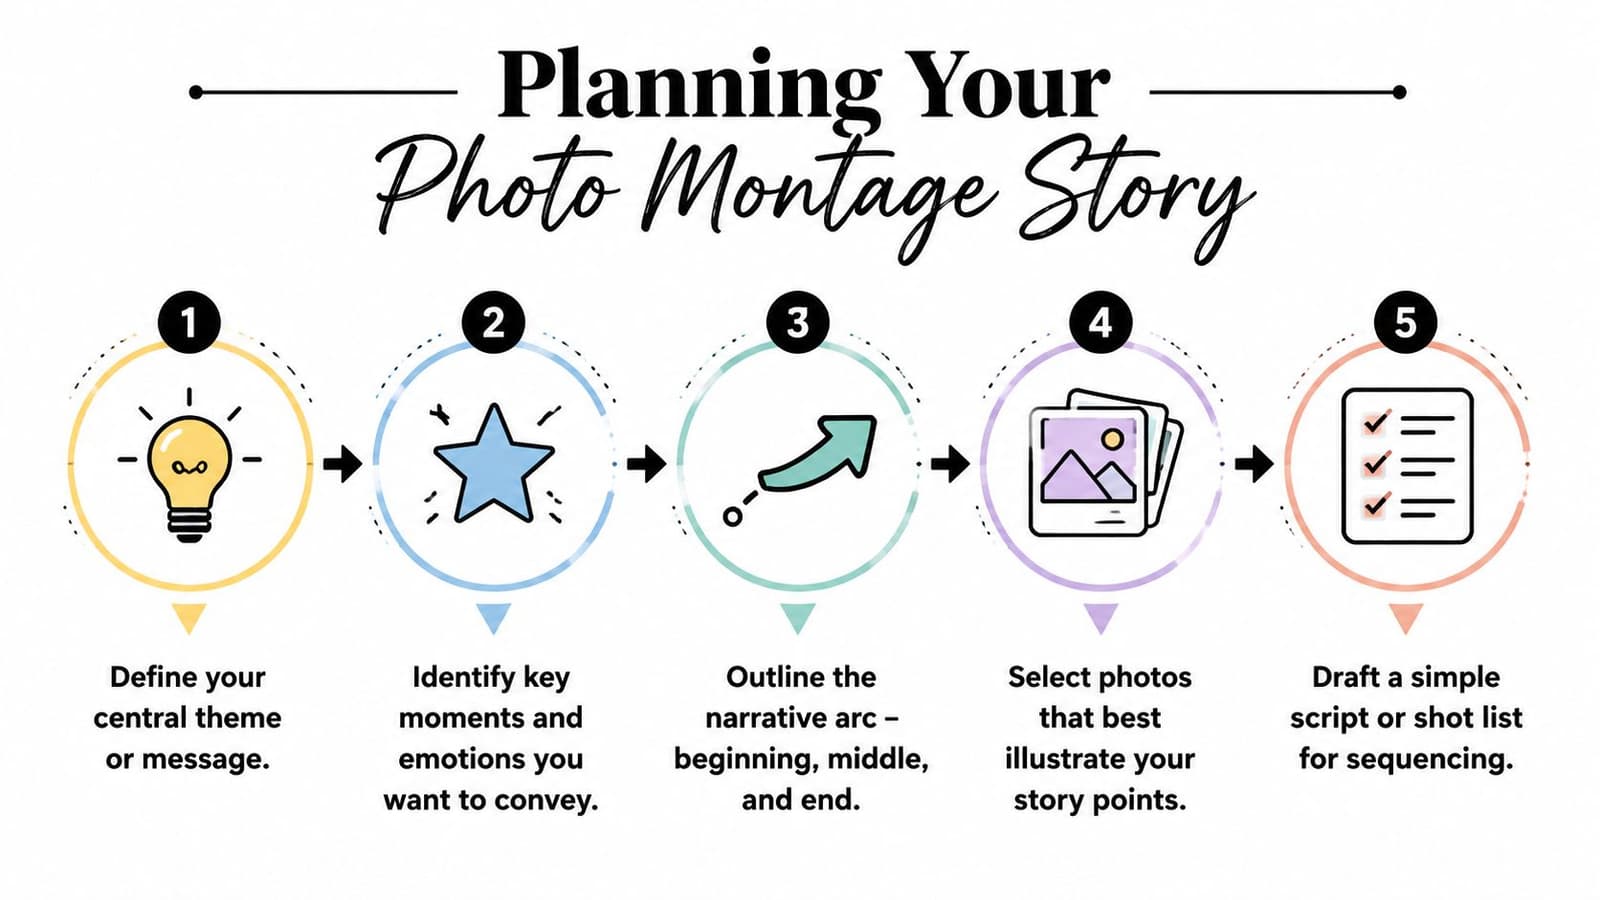
Start with the emotional destination
Think of your sequence as a short film, even if it runs under three minutes. The first third introduces the subject and tone. The middle expands the world and relationships. The final section narrows into meaning. That doesn't mean you need voiceover or text on every frame. It means every image should have a job.
A quick way to pressure-test your idea is to write three lines:
- Beginning: Who are we meeting?
- Middle: What kind of life are we seeing?
- End: What should remain with the viewer?
If you can't answer those cleanly, you don't have a narrative yet. You have a pile of assets.
Practical rule: if two photos communicate the same idea, keep the one with the stronger expression, cleaner silhouette, or better connection to the next shot.
Build a simple beat sheet
Different family projects need different shapes. Here are three that hold up well in real editing timelines.
| Project type | Opening move | Middle focus | Best closing note |
|---|---|---|---|
| Memorial tribute | A direct portrait or quiet candid | Relationships, rituals, familiar places | Peace, gratitude, continuity |
| Milestone birthday | Childhood or early adult energy | Growth, humor, family life, achievements | Celebration with warmth, not spectacle |
| Anniversary montage | Couple image with strong body language | Shared routines, seasons, family expansion | Enduring partnership |
Once you pick the shape, create a shot list. Keep it short enough that you'll use it.
A useful list might look like this:
- Anchor portrait with eye contact
- House or hometown image to establish place
- Hands-at-work photo that shows habit or craft
- One crowded family frame for energy
- One imperfect snapshot that feels real
- Closing still with visual calm
Some editors script every beat in detail. For family work, I prefer a looser map. It leaves room for discovery. The image you thought was just transitional can become the heart of the piece if it carries the right expression.
Let themes outrank dates
Dates still matter, especially when you're labeling chapters or placing photos in life order. But emotional logic should lead. A wedding image may sit better next to a later anniversary laugh than next to a stiff reception shot from the same day. A child portrait may land harder after an elder close-up because viewers feel the whole life span in one cut.
That's the part many beginners miss. Montage is built on adjacency. Meaning happens between images, not just inside them.
Digitizing and Prepping Your Photos
A moving montage only looks as good as the files you feed into it. If the scans are muddy, clipped, or tiny, every pan, zoom, and transition will expose the weakness. Prep work isn't glamorous, but it's where a polished edit starts.
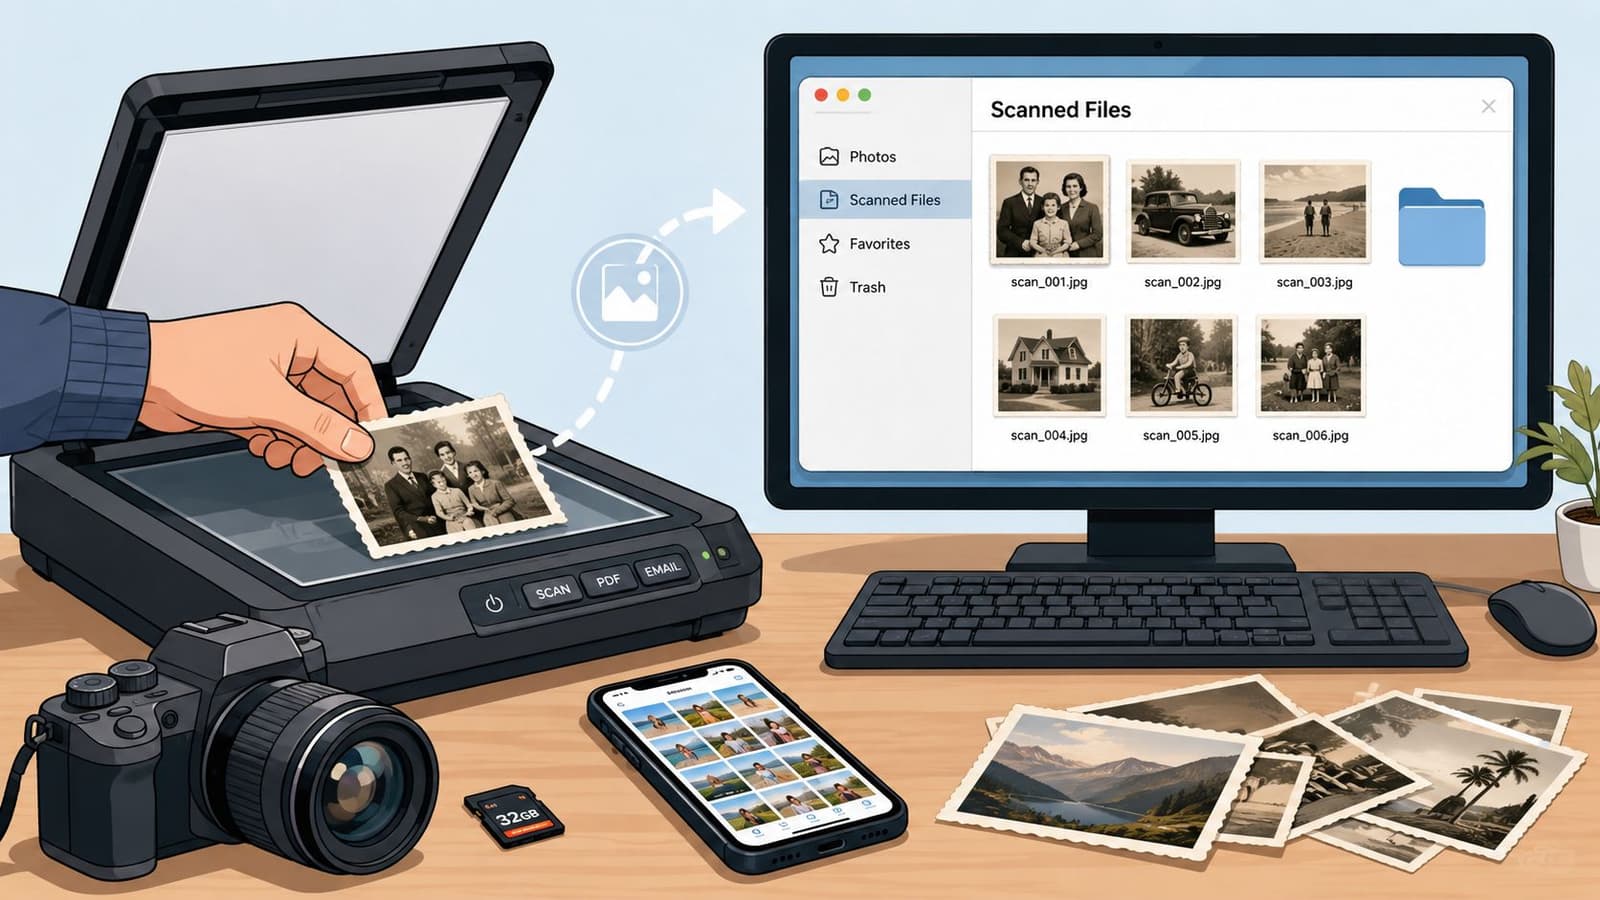
Scan for flexibility, not convenience
For professional results, use source images at a minimum of 300 DPI, which helps prevent pixelation and supports cleaner compositing. Adobe also recommends importing photos as RAW files when possible to keep more room for exposure and color adjustments in the edit, as explained in Adobe's photomontage guidance on image resolution and RAW workflows.
That advice matters even more with old family photos because you often need to crop in, stabilize framing, or animate subtle movement. A low-quality scan may look passable as a still but fall apart once you push into a face.
If you're working through a family archive and need a practical primer before the edit stage, this guide on how to scan old photos for video projects is worth keeping nearby.
A few habits make a real difference:
- Clean the print first: Use a soft cloth or blower. Dust becomes much more obvious after sharpening and motion.
- Capture the border when relevant: Handwritten edges, scalloped borders, and print margins can add context and age.
- Avoid aggressive auto-corrections: Scanner software often crushes contrast or over-neutralizes color.
- Name files immediately: “Grandma_1950s_portrait_front-room” is better than “Scan_0047.”
Restore gently and keep the age
The mistake I see most often is over-restoration. Editors remove every crease, flatten all grain, push skin tones into modern color, and end up with something clean but emotionally wrong. Family photos don't need to look new. They need to look cared for.
Leave a little paper texture, a little softness, and some tonal unevenness. Those details tell the viewer they're looking at a real object that survived time.
Use retouching in layers. Correct the distractions first: dust specks, scanner streaks, obvious color casts, severe exposure imbalance. Then stop and ask whether the image still feels like itself.
A practical prep order:
- Crop and straighten so the frame feels intentional.
- Set exposure so faces read clearly.
- Adjust white balance if the cast distracts from the subject.
- Lift midtones carefully to recover expression.
- Retouch damage selectively rather than smoothing everything.
- Export a master copy before making montage-specific crops.
Build a usable asset folder
Editors lose time when they prep visually but not organizationally. Put your files into folders that reflect editorial use, not just chronology.
Try:
- Hero portraits
- Couples and family groups
- Homes and places
- Documents and ephemera
- Funny and candid moments
- Closing options
That simple structure makes sequencing faster because you're searching by emotional function, not by scan date.
Animating and Sequencing Your Story
Motion is where a static collection starts feeling like a lived memory. The challenge is restraint. Family photos rarely need dramatic camera sweeps or constant parallax. They need movement that feels earned.
Use motion to direct attention
The classic move is still the most reliable one. A slow pan or zoom, often called the Ken Burns effect, gives the eye a path to follow. Start wide on a family scene, drift toward the face that matters, and hold just long enough for recognition. Or begin on a detail, like clasped hands or a uniform badge, then ease out to reveal the wider image.
This works because the movement has editorial purpose. It tells viewers where to look. It also solves a common problem with old photos, where the most meaningful detail is small or buried in a busy frame.
A few motion choices that usually work:
- Slow push-in on portraits: best for reflection, intimacy, and memorial tone.
- Side-to-side drift across group shots: useful when several faces deserve attention.
- Reveal from detail to full frame: good for letters, medals, recipes, certificates, and objects.
- Very slight zoom-out on joyful scenes: creates breathing room and avoids melodrama.
Blend AI clips with traditional moves
Modern AI tools can generate short motion clips from a single still, which opens a new option for living-memory edits. The key is not to use them everywhere. One gently animated shot in the right place can feel moving. Too many can make a tribute feel synthetic.
If you're exploring that workflow, this walkthrough on turning a photo into video with AI is a practical starting point for understanding prompts, motion choices, and output handling.
When using AI animation on scanned family photos, keep prompts simple and physically believable. Think in terms of subtle motion:
- a slight head turn
- soft blinking
- a gentle camera push
- hair moving lightly
- fabric shifting with a breeze
Avoid instructions that introduce theatrical drama. Family archives already carry emotional weight. They don't need exaggerated motion to prove it.
A short demo can help you visualize how modest movement behaves inside a montage timeline:
Sequence for breath, not novelty
The biggest compositing mistake is inconsistency. A subject lit from the side pasted into a background lit from behind breaks the illusion immediately. Strong results depend on matching lighting, perspective lines, and sharpness levels, as noted in this practical compositing advice on lighting and perspective consistency. Even in family montage work, that principle applies when you're combining cutouts, frames, layered backgrounds, or document textures.
I'd add one editorial rule on top of that: don't animate every image at the same intensity. Variety keeps the sequence alive.
A healthy rhythm often looks like this:
- animated clip
- still image with slow push
- static hold with text or voiceover
- wider group image with pan
- quiet close-up
- another animated moment
Movement should support memory. If the viewer starts noticing the technique before the person, pull it back.
That balance is what separates tasteful photo montage creation from novelty editing. You're building presence, not showing off software.
Choosing Audio and Adding Polish
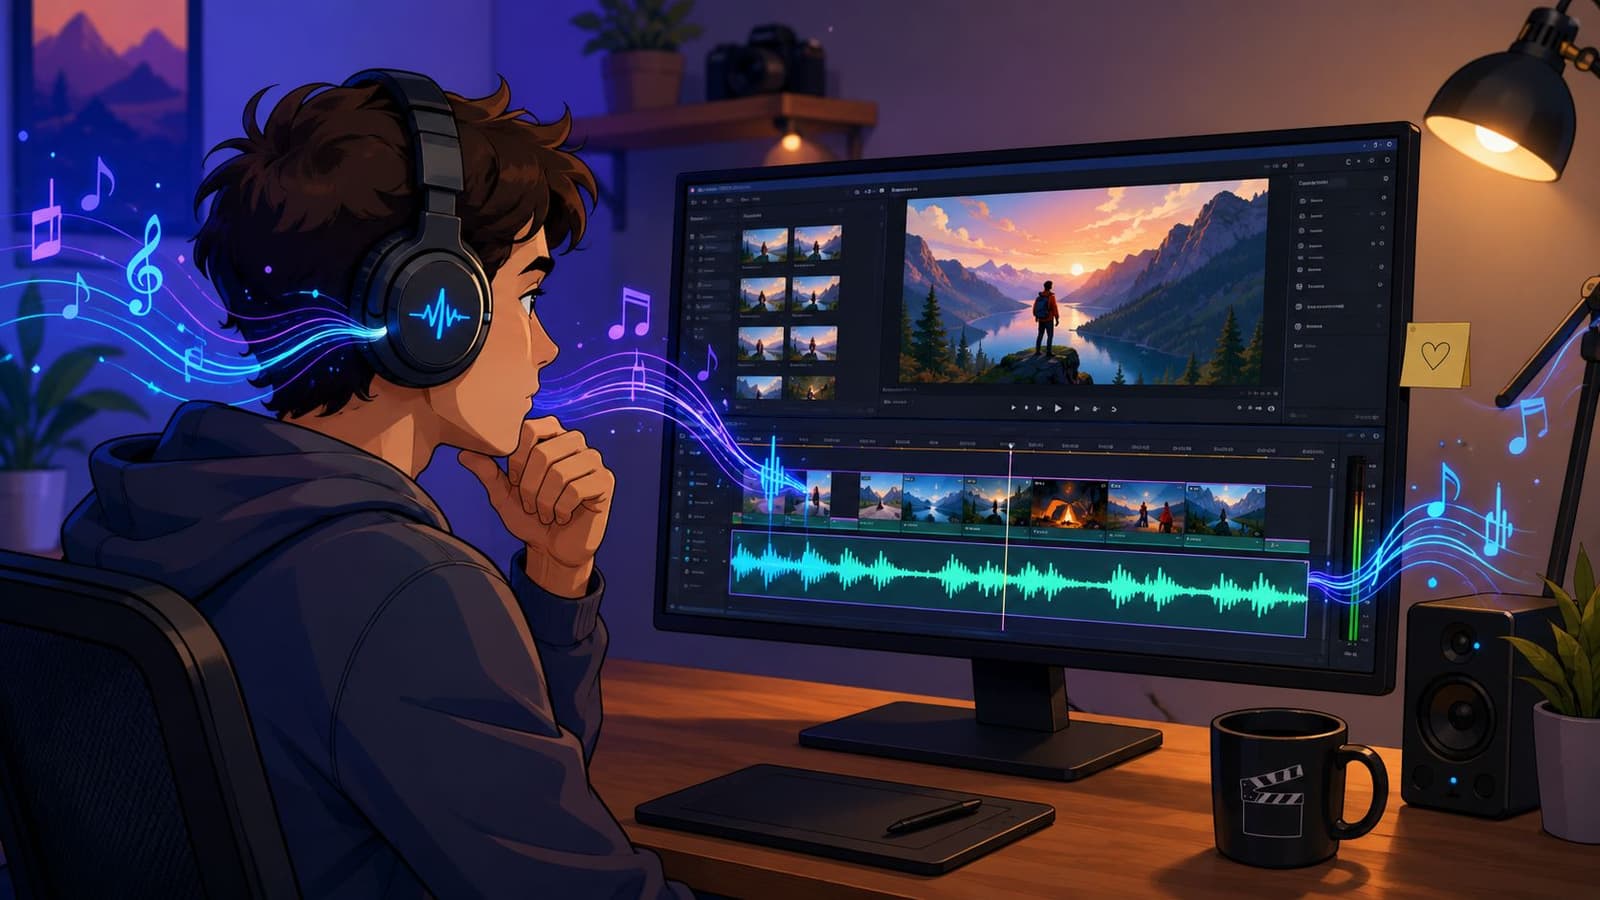
Editors sometimes spend hours polishing scans and then drop in generic piano music at the end. That's usually where a montage loses its emotional precision. Audio shapes how the viewer interprets every cut.
Music decides the emotional temperature
Start by deciding whether the montage needs music without vocals, a lyric-driven song, or spoken memory with light underscore. Music without vocals is usually the safest for tributes because it leaves room for images and any recorded voice. Lyrics can work, but they often over-direct the viewer's feelings or clash with the specifics of the person being remembered.
I usually test music against three questions:
- Does it respect the age and tone of the photos?
- Does it leave space for breath?
- Can it support both candid and solemn images without feeling manipulative?
If the answer is no to any one of those, I move on.
A stronger track often has a clear emotional lane but restrained arrangement. Solo piano, soft strings, light acoustic guitar, or ambient pads can all work. What usually fails is music that announces emotion too aggressively from the first second.
Mix for intimacy
Voiceover, if you use it, should sound close and human. It doesn't need radio polish. A son reading a short remembrance, a granddaughter naming places and dates, or a spouse telling one small story can add more depth than another twenty photos.
Use basic mixing discipline:
- Lower the music under speech so every word stays easy to understand.
- Fade in and out gently at section boundaries.
- Trim harsh breaths and handling noise if they distract.
- Don't wall-to-wall the soundtrack if silence would help a photograph land.
A short pause before a closing image can be more powerful than a swelling ending.
The best audio choice is often the one that makes the edit feel less edited.
Polish matters, but invisible polish matters most. Clean transitions, even loudness, and thoughtful fades will do more for the piece than decorative sound design.
Exporting and Sharing Your Finished Montage
A montage can feel perfect in the edit bay and still fall apart in the room where it matters. I have seen gentle, carefully paced family pieces play with crushed blacks on a church projector, clipped audio on a TV USB input, or awkward vertical crops in a group chat. Export is part of the storytelling because it decides how the memory is received.
Different screens ask for different versions. A memorial service needs reliability. A phone share needs a smaller file that opens without friction. An archive copy should preserve as much quality as your project allows, especially if you used old scans, light restoration, or subtle AI motion and may want to revisit the piece later.
Recommended Export Settings by Platform
| Platform / Use Case | Resolution | Format | Notes |
|---|---|---|---|
| Memorial service or TV playback | 1920x1080 | MP4 | Safe default for compatibility. Test on the actual screen if possible. |
| YouTube upload | 1920x1080 or 3840x2160 if your project supports it | MP4 | Keep titles and faces away from extreme edges. |
| Instagram Reels or Stories | 1080x1920 | MP4 | Reframe vertical crops manually. Don't let auto-crop decide which face gets cut off. |
| Messaging apps and family group chats | 1080x1920 or 1920x1080 | MP4 | Export a lighter duplicate if the full file is too large to send easily. |
| Archive master for future edits | Highest project resolution available | MP4 or your editing software's master format | Save a clean version with no burned-in captions if you may repurpose later. |
For family montages, I usually make three exports. One high-quality 1080p file for playback, one smaller MP4 for easy sharing, and one archive master stored with the project files, scans, music licenses, and a text note listing names and dates. That last step sounds dull until someone asks for a revised version two years later.
Final review before you send it
Watch the finished piece twice. The first pass is technical. The second is emotional.
Editor pass:
- Check spelling: names, dates, and locations matter more than decorative effects.
- Look for jumpy motion: especially on scanned prints, cropped enlargements, or AI-animated stills that move a little too much.
- Listen for audio bumps: abrupt music starts, uneven voice levels, and hard cuts stand out fast.
- Check skin tones and contrast: old photos can export darker or warmer than they looked in the timeline.
- Scan the ending: the final image usually needs a little more hold than your editing instincts suggest.
Family pass:
- Does it feel like them?
- Is any image unintentionally awkward, too private, or too fragile for a public room?
- Will relatives outside the immediate household understand who they are seeing and why each moment matters?
I also watch once on a different device before sending anything. A laptop, living room TV, and phone will reveal different problems. This matters even more with old photographs. Film grain, paper texture, faded colors, and minor scratches can look tender and honest on one screen, then muddy or overprocessed on another if the export is too compressed.
If you used AI motion on a still image, keep that motion restrained in the final file. The goal is to give a photograph breath, not to make it perform. Family images, especially older scans, carry their own authority. Export settings should protect that texture, not polish it into something anonymous.
If you want to turn a treasured still into a gentle living-memory clip for a tribute, anniversary, or birthday edit, Photo for Video is built for that exact use case. It lets you animate a single old scan, phone capture, or family portrait into a short MP4 with natural motion that fits cleanly into a montage without stripping away the original texture of the photograph.