Old Photo Recovery: How to Restore Your Family History
Learn professional old photo recovery with our step-by-step guide. We cover physical repair, scanning, digital restoration, and animating photos for memorials.
You open a closet, pull down a battered box, and find the family archive you meant to organize years ago. Loose prints. Album pages sticking at the corners. A few studio portraits curling at the edges. Maybe there's also an old USB drive or memory card with scans you can't open anymore. That's the moment old photo recovery stops being an abstract idea and becomes a very personal job.
Most families don't need a lecture on why these photos matter. They already know. The harder part is knowing what to do first so you don't make things worse. A fragile print can tear during cleaning. A rushed phone snapshot can lock in poor quality forever. A deleted digital folder can become unrecoverable if the device keeps writing new data.
Modern old photo recovery really has two sides. One is physical preservation and restoration of the print in your hand. The other is digital recovery and repair of files that were deleted, corrupted, or scanned badly the first time. That split matters because the tools, risks, and expectations are different.
There's also a hopeful side to this. Old-photo recovery is now a broad consumer category, not just something reserved for archives or museums. Services like Ontrack's photo recovery offerings reflect how common photo loss has become across storage devices, while restoration tools now help families improve the visual quality of aging prints for sharing and keepsakes.
Table of Contents
- From a Dusty Box to a Living Memory
- Assess and Handle Your Photos Before Scanning
- Digitize Your Photos for Flawless Restoration
- Restore Your Images with Digital Tools
- Recover Lost or Deleted Digital Photos
- Prepare and Animate Your Restored Photos
From a Dusty Box to a Living Memory
A family usually begins this process in one of two places. They either have a physical photo that's fading, scratched, or torn, or they know the photo existed digitally and now it's gone from the drive, phone, or card where it used to live. Both count as old photo recovery, but they need different first moves.
When I talk families through this, I keep the workflow simple. Protect the original object. Create the best digital version you can. Repair only after you've preserved what's there. Then decide how you want to use it, whether that means printing it, sharing it with relatives, or turning it into something more vivid for a memorial or anniversary tribute.
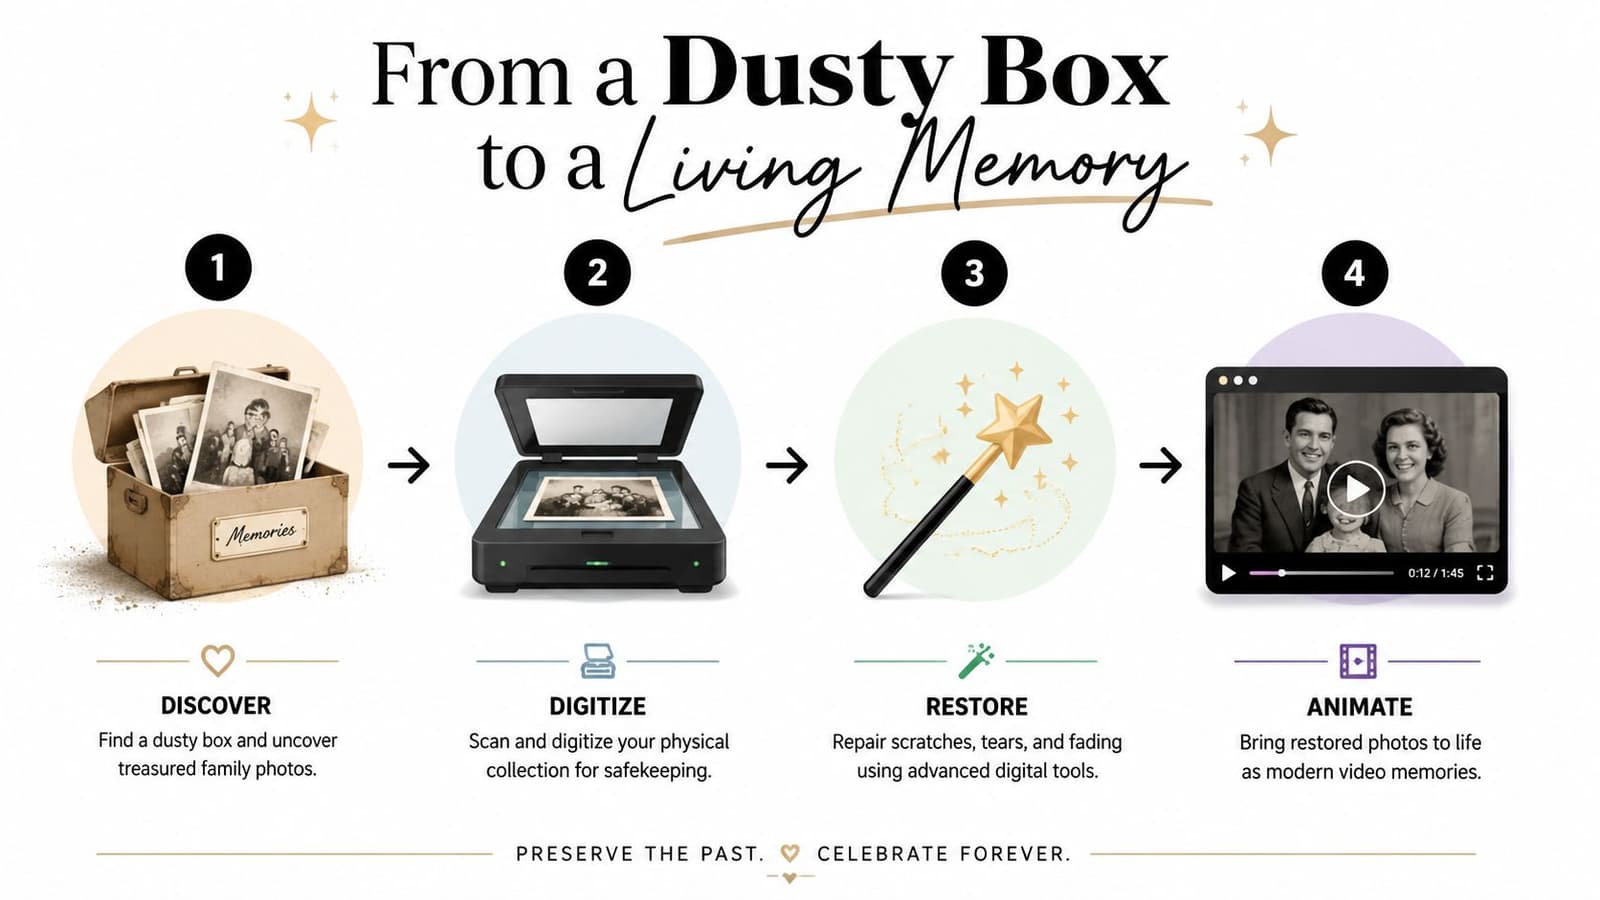
That broader workflow matters more now than it used to. A major milestone in restoration was Microsoft's Bringing Old Photos Back to Life project on GitHub, publicly released in 2018, which helped formalize AI-based restoration for defects like scratches, blotches, and missing regions. In practice, that shifted old photo recovery from mostly manual retouching toward a two-part digital process: preserve or digitize first, then restore.
Old photos usually aren't lost all at once. Families lose them in layers: fading paper, damaged albums, bad scans, broken storage, forgotten file names.
That's why this work needs a full-lifecycle mindset. The print in the box might still be stable enough to scan well. The poor scan from years ago might need to be replaced, not “fixed.” The deleted folder might still be recoverable if nobody keeps using the device. And the final result doesn't have to stop at cleanup. A restored image can become a shareable keepsake that feels current without stripping away its age.
If you treat every stage as non-destructive, you keep your options open. That's the key difference between careful recovery and accidental damage.
Assess and Handle Your Photos Before Scanning
The first mistake people make is reaching for a scanner before they've looked closely at the print. If a photo is shedding surface material, stuck to another photo, or carrying mold, rough handling can do more damage in a minute than age did in years.
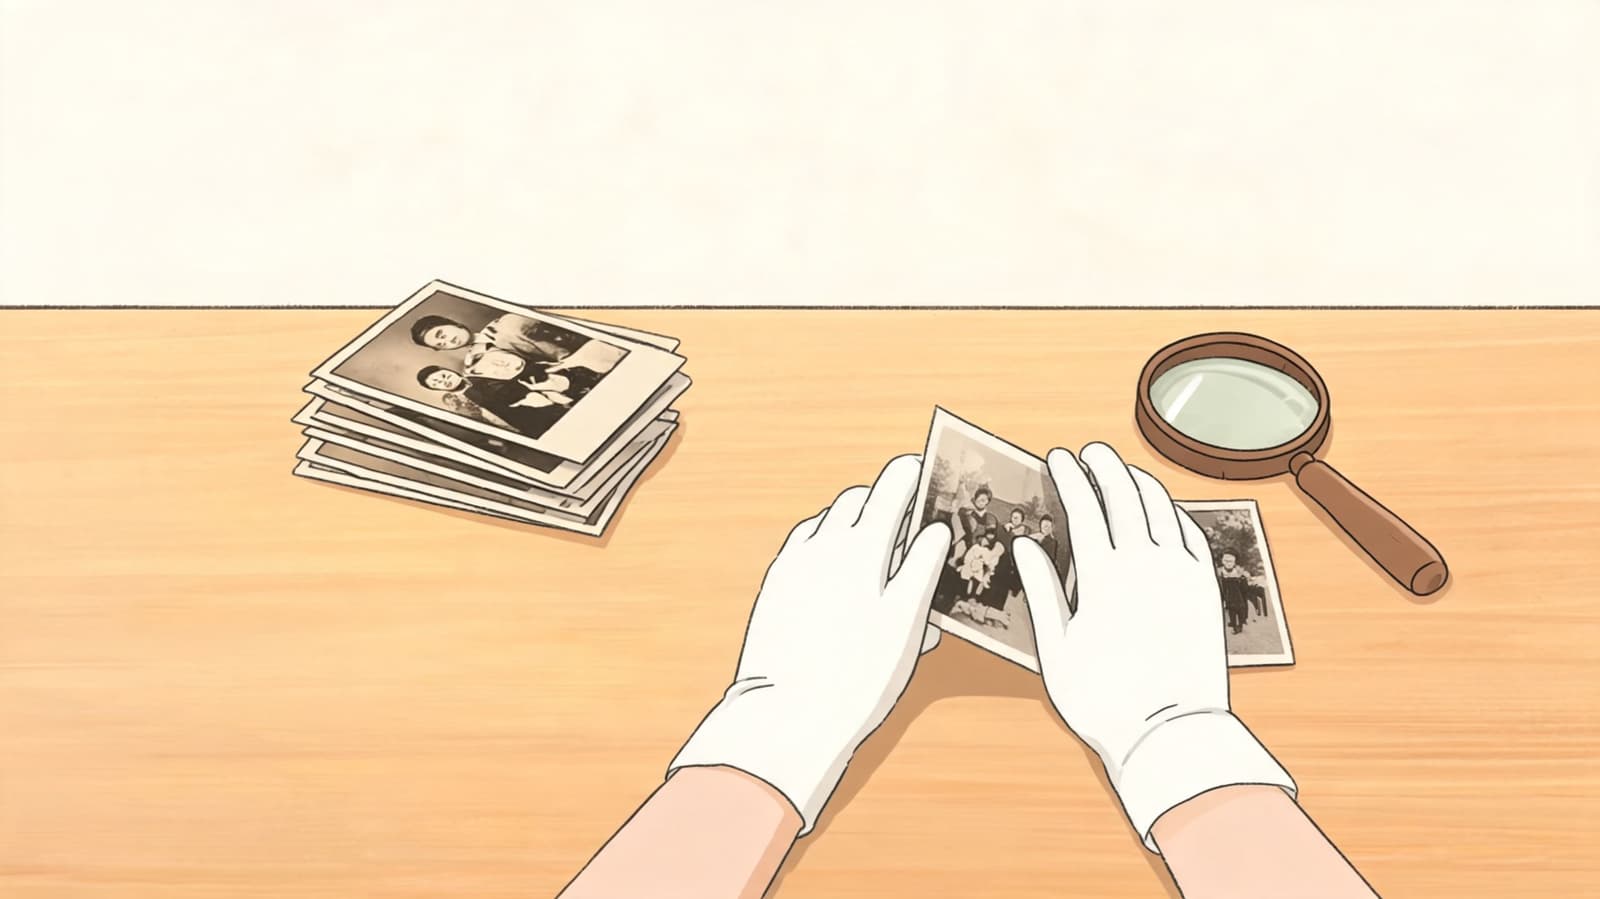
Sort first, don't clean first
Lay the photos out on a clean, dry surface and create three groups:
- Ready to scan. Prints that are dry, flat enough to handle, and only show light dust, mild fading, or small surface scratches.
- Needs minor cleaning. Photos with loose dust, lint, or surface debris that can be removed gently without moisture.
- Consult a pro. Prints with mold, active sticking, major tears, missing pieces, severe water damage, or surfaces that appear to be lifting.
This decision step matters because many guides talk about tools but skip the harder judgment call. A more useful approach is a restoration versus reconstruction mindset. Conservation providers note they work on photographs ranging from minor damage to torn or missing pieces, which helps families think more clearly about what can be recovered from a scan, what requires artistic rebuilding, and what should be preserved as-is for authenticity. That distinction is reflected in Carolina Conservation's photograph services.
Practical rule: If the surface looks unstable, don't test it with pressure.
A photo with a crease is often still scannable. A photo with missing facial detail is different. Software can soften the damage, but it can't recover information that no longer exists. At that point, you're moving from restoration into reconstruction, and families should know the difference before they approve any edit.
What you can handle at home
For basic handling, less is better.
- Hold by the edges. Clean, dry hands are often safer than casual rubbing with cloths. If you use gloves, make sure you can still grip the print gently.
- Remove loose debris carefully. Use a very soft brush or a short burst of air meant for delicate cleaning. Keep your hand light.
- Keep liquids away. Water, sprays, household cleaners, and glass cleaners can damage emulsions and coatings.
- Separate problem items mentally, not physically. If two photos are stuck together, don't pry them apart at the kitchen table.
A simple home setup can still be careful. Clear the table, keep food and drinks away, and work in small batches so you don't shuffle prints into new scratches. If you're building a longer-term preservation plan, this guide on the best way to preserve old photos is a good companion to the handling stage.
Use a quick triage checklist before each scan session:
| Condition | Home action | Better next step |
|---|---|---|
| Light dust | Gentle dry cleaning | Scan after debris is removed |
| Minor curl | Handle gently, don't force flat | Use scanner lid pressure lightly |
| Tears with all pieces present | Scan carefully | Repair digitally later |
| Missing sections | Scan as-is | Consider reconstruction after scan |
| Mold or active sticking | Stop handling | Contact a conservator |
The main job here isn't to make the print look better. It's to get it safely to the scanning stage without losing anything.
Digitize Your Photos for Flawless Restoration
A rushed scan creates problems you can't fully fix later. If the file is soft, compressed, cropped too tightly, or captured from a screen instead of the original, every later stage becomes guesswork. Good restoration starts with a good digital source.
Restoration specialists consistently recommend a sequence of preserve → digitize → repair → color-correct → export, and they advise scanning the original print at high resolution while doing all edits on a copy so the physical original stays untouched. That workflow is outlined in this restoration guide from Pixels Photo Art.
Why the scan matters more than the software
Families often ask whether they can skip the scanner and use a phone. Sometimes they can, but that depends on the goal. A quick phone capture is better than leaving a photo undocumented in a fragile album. It isn't the same as a controlled, high-quality scan intended for restoration.
A weak scan usually causes four downstream problems:
- Retouching becomes obvious. Dust and scratches blend into compression artifacts.
- Faces break down sooner. Fine detail in eyes, hair, and skin gets lost.
- Color correction gets brittle. Small tone changes produce ugly shifts faster.
- Creative reuse suffers. Cropping, enlarging, and animation all reveal flaws.
The scanner doesn't make the photo better. It captures how much information is still there.
That's why screenshots are such a dead end. If the only copy you have is a screenshot of a photo on social media, use it as a temporary placeholder, not as your master source. Scan or recover the original file if there's any way to do it.
A scanning setup that protects your options
A flatbed scanner is usually the safest choice for loose prints because it gives even lighting and stable alignment. If you're using a phone because that's what you have, work under soft, even light and keep the camera parallel to the print to avoid distortion.
Use this practical setup checklist:
- Scan the original print, not a reprint or screen capture. Every generation loses detail.
- Work from the cleanest stable version. Don't wait for perfect condition if handling is safe now.
- Save a master copy first. Keep one untouched file before edits begin.
- Use a loss-minimizing format when possible. TIFF is better as a preservation master. JPEG is fine for sharing copies.
- Leave breathing room around the edges. Don't crop tightly during the scan. You can trim later.
If you're unsure whether your file is strong enough for restoration, compare it against the guidance in this article on how to get a high-resolution photo. It helps to think of the scan as a digital negative. Once you've captured the fullest version, you can derive smaller, cleaner, or more stylized copies from it. You can't reverse a bad original capture.
A simple naming system also saves headaches later. Use family name, rough date, and subject if known. “Garcia_family_portrait_wedding_scan_master” is much more useful than “IMG_0047-final-final.”
For albums with handwritten notes, scan both the image and any back print or captions. The writing often becomes part of the memory. It also helps prevent future confusion when relatives inherit the files but not the stories behind them.
Restore Your Images with Digital Tools
Digital restoration is the stage where careful work pays off. The print stays protected, your master scan stays untouched, and every correction can be reviewed, undone, or saved as a separate version. That matters with family photos, because the goal is not to make them look newly manufactured. The goal is to recover what was there and keep the person in the picture recognizable to the people who loved them.
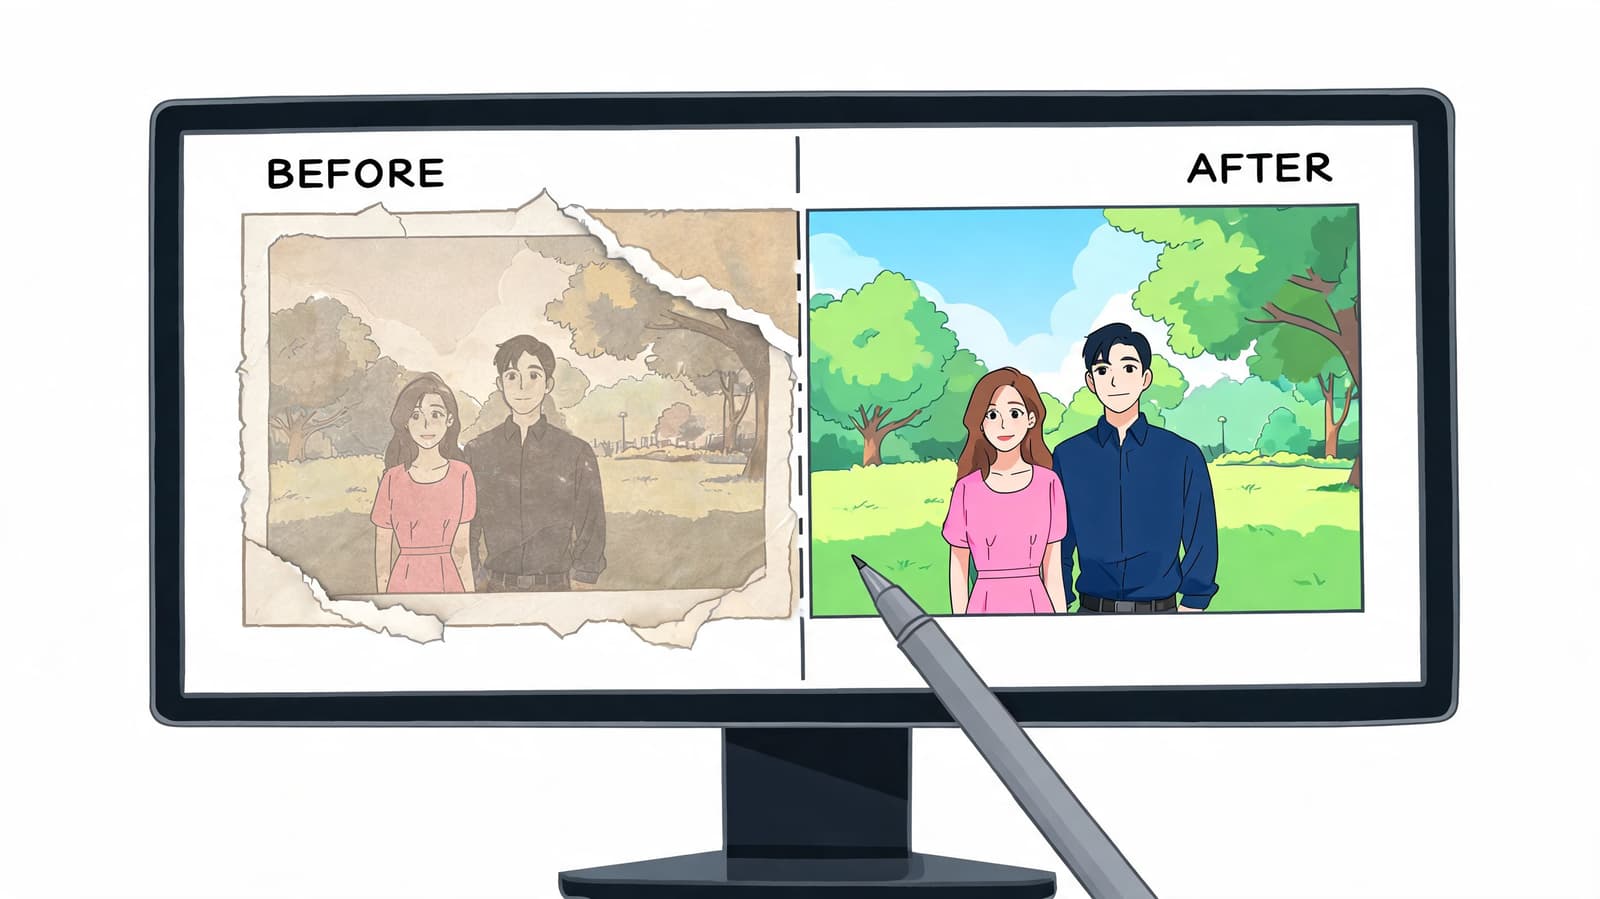
Choose the right tool for the job
Good restoration software falls into two groups. Manual editors give control. AI tools save time on repetitive cleanup. The right choice depends on the photo, the damage, and how much accuracy matters.
| Tool | Best For | Price | Key Feature |
|---|---|---|---|
| Adobe Photoshop | Detailed manual restoration | Paid | Healing Brush, Clone Stamp, layered editing |
| GIMP | Budget-conscious manual edits | Free | Strong retouching tools without subscription |
| AI restoration apps | Fast cleanup for common defects | Varies | Automated scratch, blotch, and tone repair |
Photoshop remains the standard for difficult work because layers, masks, and retouching tools let you isolate one problem at a time. GIMP can handle much of the same repair work if you want a free option and can tolerate a slower interface. AI apps are useful for drafts, quick family sharing, or batches of lightly damaged prints.
The trade-off is simple. Manual editing preserves judgment. AI speeds up routine repair but can invent details that were never in the original, especially in faces.
A restoration order that usually works
The safest workflow starts with what is objectively damaged before touching anything interpretive.
-
Crop and straighten
Set the frame first. Slight tilt or skew makes every later adjustment harder to judge. -
Remove dust, scratches, and small blemishes
Use healing or cloning at a moderate zoom level. Check often at full view so skin, fabric, and backgrounds do not turn soft or smeared. -
Set black point, white point, and midtones
Restore tonal range before chasing color. Many faded photos look better once density and contrast are corrected properly. -
Correct color casts carefully
Yellowing, magenta shifts, or faded blues often respond to small adjustments. Strong color correction can erase the period feel of the print. -
Repair torn edges or missing areas last
Structural reconstruction is the most interpretive part of the job. Keep it separate so you can compare it against the unrebuilt version. -
Save an editable file, then export a sharing copy
Keep layers if your software supports them. Export JPEGs only for sending, posting, or printing copies.
Subtle work usually holds up better over time.
Families often ask for the photo to look "new again." I understand the instinct, but over-restoration causes its own damage. Skin turns plastic, suit fabric loses weave, and the expression changes just enough that the person stops feeling like themselves. If a sibling or grandchild says, "That doesn't look like him," the edit has crossed the line from restoration into reinterpretation.
Where AI helps and where it can mislead
AI does well with repeated, low-stakes defects. Dust spots, light scratches, creases in plain backgrounds, and broad tonal cleanup are all good candidates. It is less reliable around eyes, teeth, hands, jewelry, military insignia, handwriting, and any feature a family member would use to identify the person.
This walkthrough shows the difference between quick enhancement and more thoughtful restoration:
Use AI for the first pass, then inspect the image manually at both zoomed-in and normal viewing sizes. Pay special attention to facial structure, hairlines, and objects with sentimental meaning, such as wedding rings, medals, or a handwritten studio mark on the border.
For missing sections, label your choices clearly in the family archive. Filling in a blank wall or sky is one kind of repair. Rebuilding part of a face or hand is reconstruction. That version may still be worth making for sharing or animation later, but it should not replace the preservation copy. This full workflow only works if each stage stays clear about what was scanned, what was restored, and what was newly generated.
Recover Lost or Deleted Digital Photos
Deleted doesn't always mean destroyed. It often means the file system has marked the space as available. The photo may still be recoverable for a while. The danger is what happens next.
The single most important move is to stop using the affected device immediately. Don't keep taking photos on the phone. Don't save new files to the card. Don't install recovery software onto the same drive you're trying to recover from.
What to do in the first few minutes
A practical recovery response looks like this:
- Stop writing new data. This is the part people skip, and it's the part that hurts them most.
- Identify the original storage location. Was it a phone, SD card, external drive, laptop drive, or cloud-synced folder?
- Recover from the original medium first. Don't work from a copy that might already be incomplete.
- Check cloud trash quickly. If deletion happened through sync, the retention window may be limited.
- Run recovery software promptly. Delay reduces your chances, especially if the device stays active.
A research summary on photo recovery notes that using recovery software promptly after data loss improves success and that avoiding further use of the affected device helps preserve recoverable data. It also notes practical storage differences, including sharp drops on SSDs once TRIM is issued and declining recovery on HDDs as overwriting begins, with cloud trash acting only as a short-term safety net in synced scenarios. That guidance appears in this photo recovery research summary PDF.
If the device is still writing, recovery is getting harder while you're deciding what to do.
What recovery software can and can't do
Tools such as Recuva or Disk Drill can be useful for ordinary consumer recovery attempts, especially after accidental deletion or simple corruption. They scan for file remnants and let you recover what hasn't been overwritten yet.
What they can't do is recreate data that no longer exists on the medium. They also can't promise clean previews, intact filenames, or complete metadata. Sometimes you recover the image but lose the folder structure. Sometimes the thumbnails show up, but the file opens partially. That's normal in real-world recovery.
If the photos are uniquely important and the device may have physical damage, stop before repeated DIY attempts make the situation worse. Professional recovery exists for a reason. It's not for every family and every file, but it's worth considering when the lost images are irreplaceable and the storage device itself is failing.
The best mindset is calm urgency. Don't panic. Don't keep clicking around. Treat the medium like evidence.
Prepare and Animate Your Restored Photos
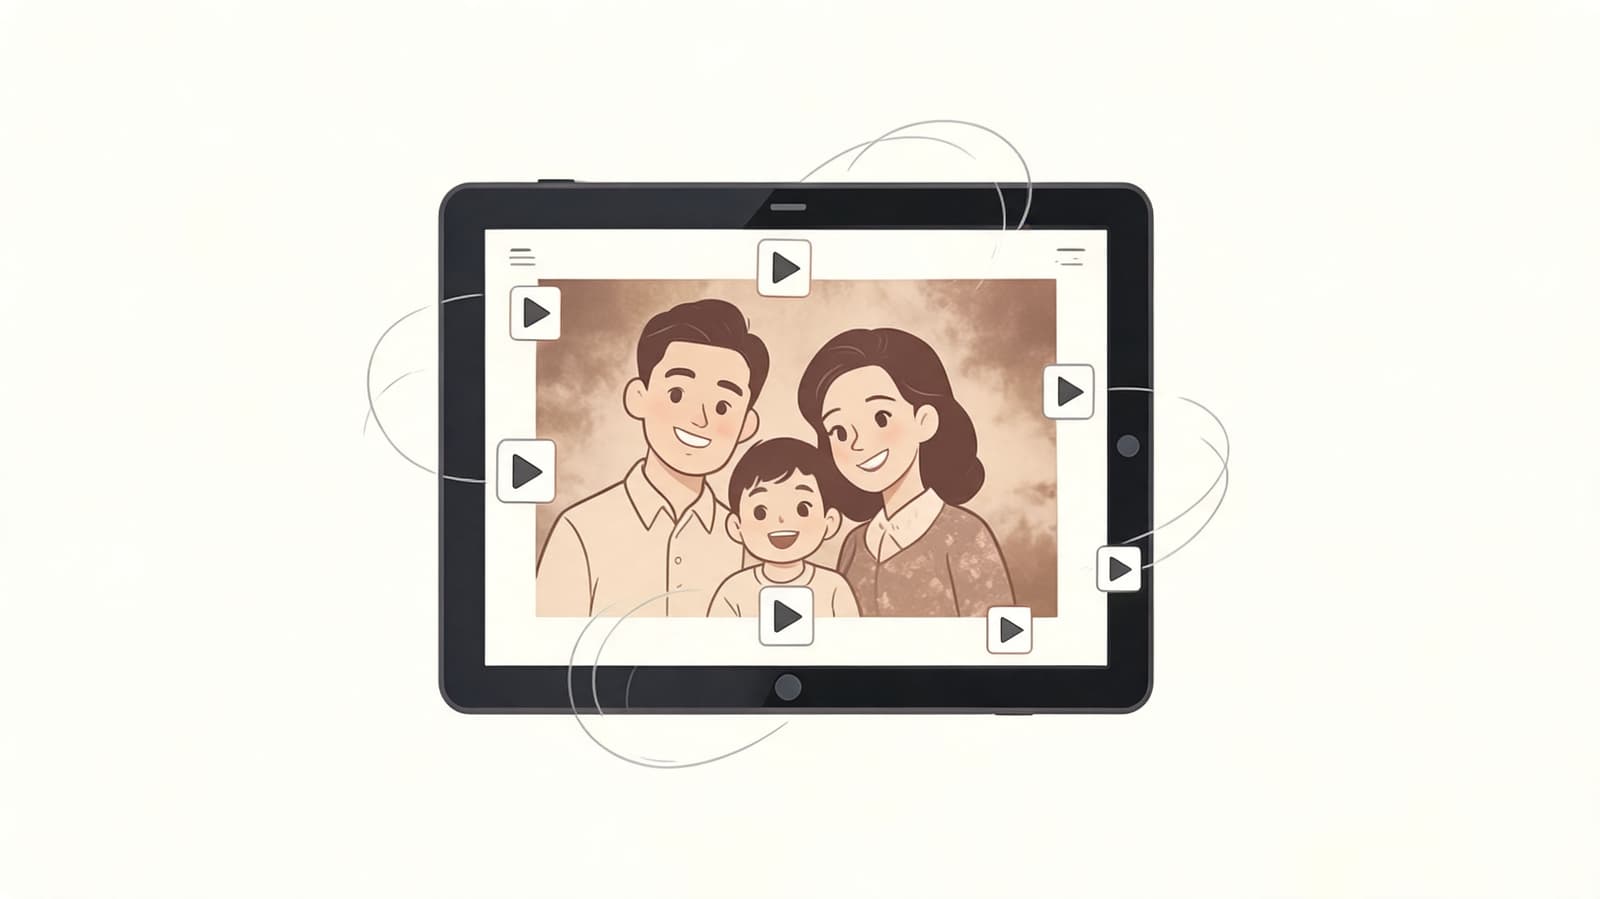
A restored photo becomes much more powerful when it's prepared for actual use. Families often finish the cleanup, save a file, and stop there. That leaves a lot of value on the table. The same careful scan and restoration work can support tribute videos, memorial slideshows, anniversary reels, and living keepsakes.
Build the final image for motion
Not every restored image is ready for animation the moment the dust is removed. Motion reveals things static viewing can hide. Crooked framing, awkward edge repairs, and over-smoothed faces become more noticeable once the image starts moving.
Before you animate anything, prepare a delivery version:
- Crop for the story, not just the subject. Leave enough environment to support subtle camera movement.
- Keep the highest-quality final file. Motion tools need detail around faces and edges.
- Check repaired areas at full size. Tiny cloning mistakes become obvious in animated motion.
- Leave room around hands, hair, and shoulders. Tight crops limit natural movement options.
A family portrait often works better with a little negative space than with a perfect tight crop. That extra room lets the final clip breathe.
Keep the feeling of the original
Taste matters in these situations. Some photos benefit from full cleanup and balanced color. Others become more moving when you leave a trace of the original paper texture, a little grain, or the soft tonal roll-off that tells your brain this image came from another time.
Some of the most effective restored photos still look old. They just don't look broken.
That's especially true for memorial work. A photo doesn't need to be made modern to feel alive. It needs clarity where emotion lives: the eyes, the posture, the connection between people in the frame.
If you plan to animate the image, guide the motion gently. A simple instruction is better than a complicated one. Think in terms of a small camera drift, a slight push-in, or a soft portrait movement that respects the stillness of the original. Overly dramatic motion can feel wrong for family history.
For hands-on guidance, this tutorial on how to animate old photos is useful because it treats the image as memory material, not just content. That distinction matters. You're not creating spectacle. You're extending the life of a photograph so it can be felt in a current format.
The strongest results usually come from restraint. Good scanning preserves detail. Good restoration removes distractions. Good preparation makes the image usable. Then a short, thoughtful animation can turn a static picture into something a room will pause for.
If you've restored a photo that deserves to be seen and felt again, Photo for Video can turn that single image into a short living memory for birthdays, memorials, anniversaries, and family keepsakes. Upload one favorite photo, add a brief motion prompt, and create a polished clip that keeps the warmth of the original while making it shareable today.